The ‘Drain Flange’ Mistake That Leads to Moldy Shower Curbs
I spent three days grinding concrete on a job last month just so the floor wouldn’t click like a castanet. Most guys skip the leveling compound. They think the underlayment will hide the dip. It won’t. I have seen the same laziness in bathroom builds where a $20,000 renovation ends up smelling like a locker room within six months because of a single flange error. A floor is a performance surface, and a shower is a machine. If you do not treat the drain assembly with the respect it deserves, the physics of water will tear your house apart from the inside out. I have seen solid oak floors buckle four rooms away because a shower curb was wicking moisture like a straw. You cannot shortcut the chemistry of waterproofing or the structural requirements of a level subfloor.
The invisible failure of the bonded flange
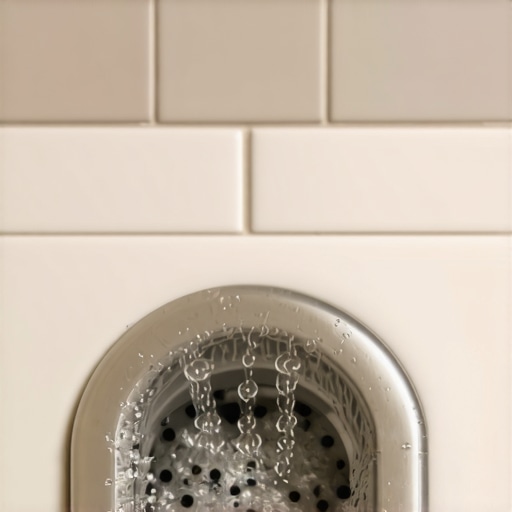
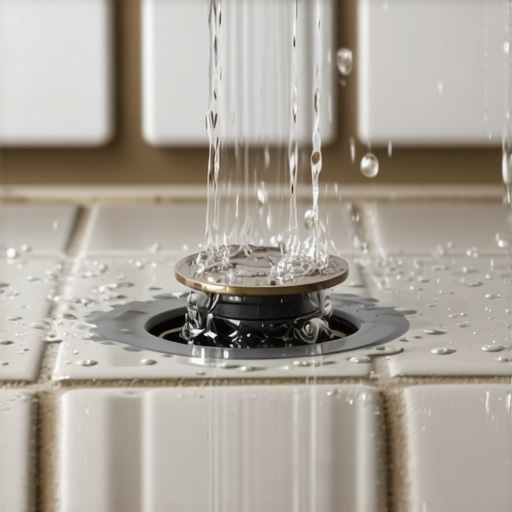
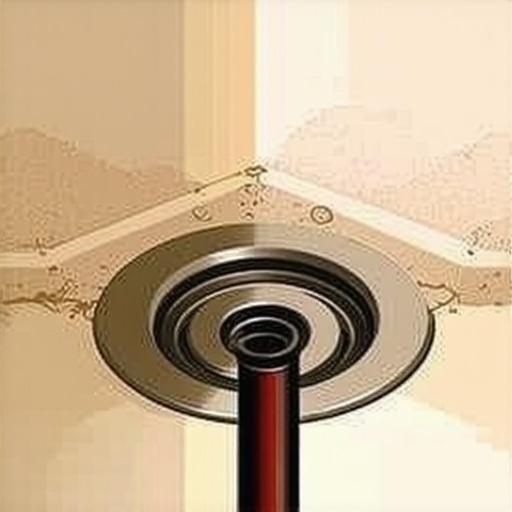
The primary cause of moldy shower curbs is the failure to integrate the waterproofing membrane correctly with the drain flange. When moisture bypasses the secondary weep holes or fails to reach the drain due to improper pitch, it saturates the mortar bed and migrates to the curb through capillary action. This happens most often with traditional three-piece clamping drains. If the installer does not use a pre-pitch under the liner, the water sits in the mud bed and rots the wood framing of the curb. This is why many pros are moving toward integrated bonding flanges. These systems allow the waterproofing to happen at the surface, right under the tile. This prevents the saturation of the mortar bed entirely. If you are using an old school system, you better make sure those weep holes are clear. I have seen guys dump thin-set right over them, effectively turning the shower floor into a permanent pond. This moisture has nowhere to go but out toward the bathroom floor, ruining your laminate or carpet install in the adjacent room.
“A floor is only as good as the subfloor beneath it; deflection is the enemy of every joint.” – Master Flooring Axiom
Why your subfloor is lying to you
Floor leveling is the most skipped step in residential construction but it remains the most vital for long term durability. A subfloor that looks flat to the naked eye often contains dips and crowns that exceed the 1/8 inch over 10 feet tolerance required for most modern materials. When you are prepping for a shower, the subfloor must be rigid. If there is any bounce, the grout lines in your shower will crack. Once those cracks appear, water finds a way in. I always use a self-leveling underlayment (SLU) to create a dead-flat starting point. This is not just about aesthetics. It is about the mechanical bond. If your thin-set is 1/2 inch thick in one spot and 1/8 inch in another, it will shrink at different rates. That creates internal tension that will eventually pop a tile or break a waterproof seal. I have seen homeowners try to save a few hundred dollars by skipping the SLU, only to spend thousands later fixing a leaked pan. Do not trust your eyes; trust a 10-foot straight edge and a laser level.
The physics of capillary action in thinset
Capillary action is the ability of a liquid to flow in narrow spaces without the assistance of, or even in opposition to, external forces like gravity. In a shower, standard thin-set acts like a sponge, pulling water from the drain area toward the wooden curb and subfloor. This is why the type of mortar you use matters. Modified thin-sets contain polymers that help block these pathways, but they are not a substitute for a continuous waterproof membrane. You need to understand the molecular reality of what happens when you turn on that shower head. The water hits the tile, goes through the grout, and sits on the membrane. If that membrane is not sloped perfectly toward the flange, the water stays there. Over time, it moves through the mortar via capillary action. If your curb is not wrapped in a continuous sheet of waterproofing, that water hits the wood. Wood expands when wet. Tile does not. That is when your grout starts falling out in chunks.
| Waterproofing Method | Primary Benefit | Drying Time | Difficulty Level |
|---|---|---|---|
| Traditional PVC Liner | Low cost of materials | 24 to 48 hours | High (Folds and corners) |
| Liquid Membrane | No seams or joints | 12 to 24 hours | Medium (Requires mil-gauge) |
| Sheet Membrane | Factory controlled thickness | Immediate tile-over | Medium (Bonding is key) |
| Integrated Foam Pan | Perfect pitch built-in | Immediate tile-over | Low (System dependent) |
The 1/8 inch that ruins everything
Precision in flooring is measured in increments that most people ignore until the floor starts squeaking or the tile starts cracking. A variance of just 1/8 inch in the height of a drain flange can cause water to pool and bypass the waterproofing system entirely. This is why the interface between the drain and the floor must be exact. If the drain is too high, you have a lip that holds water. If it is too low, you have a massive pocket of thin-set that will never fully dry. Both scenarios lead to mold. I treat every shower floor like an engineering project. I check the slope with a digital level to ensure I have a minimum of 1/4 inch of fall per linear foot. Anything less and the water lacks the velocity to clear the surface tension of the tile. If the water hangs around, it will find a way to penetrate even the best sealant. Precision is not an option; it is the requirement for a professional result.
Why laminate and carpet fail in wet zones
Installing laminate or carpet near a shower transition is a recipe for disaster because these materials cannot handle the vapor pressure or incidental moisture typical of bathrooms. Laminate cores are made of high-density fiberboard which swells and delaminates the moment it absorbs water through its tongue and groove joints. Carpet is even worse because it traps moisture against the subfloor, creating a dark and damp environment for mold colonies. Even if you have the best shower pan in the world, the high humidity of a bathroom will eventually find its way into the carpet padding. I tell clients all the time that if they want the look of wood near a shower, they must use luxury vinyl plank or wood-look porcelain tile. A carpet install in a master bath might feel soft on the feet, but it is a biohazard waiting to happen. The moisture from the shower travels through the air and settles in the fibers. Without massive ventilation, that carpet never truly dries out.
- Check subfloor deflection before starting any tile work.
- Ensure the pre-pitch is installed under the primary liner.
- Use a moisture meter to verify the dryness of the wood framing.
- Test the drain for leaks by plugging it and filling the pan for 24 hours.
- Apply a topical waterproofing membrane over the curb and up the walls.
- Avoid using T-moldings that trap water at the bathroom door.
The ghost in the expansion gap
Expansion gaps are the breathing room of a floor, and without them, any rigid flooring material will eventually tent or buckle as temperature and humidity change. Even in a bathroom, where things are often tiled, you must leave room for the house to move. I have seen installers butt tile tight against a shower curb with no movement joint. When the house settles or the humidity spikes, that pressure has nowhere to go. It pushes against the curb, potentially compromising the waterproof seal. You need to use a 100 percent silicone caulk at those change of plane transitions. Grout is rigid; silicone is flexible. If you use grout at the base of the shower curb, it will crack. Those cracks are a highway for water to reach your subfloor. Every time you walk on that floor, you are micro-flexing the joists. If there is no gap, you are fighting the laws of physics. You will lose that fight every time. Final professional outlook: The ‘drain flange’ mistake is a symptom of rushing the foundation. Take the time to level the floor, pitch the pan, and bond the membrane. If you don’t, the mold will eventually tell the story of your shortcuts. “,”image”:{“imagePrompt”:”A professional cutaway diagram of a shower drain assembly showing the integrated bonding flange, the waterproofing membrane overlapping the flange, and a properly sloped mortar bed leading to a wooden curb wrapped in blue waterproofing sheet.”,”imageTitle”:”Proper Shower Drain and Curb Waterproofing Architecture”,”imageAlt”:”Anatomy of a leak-proof shower drain and curb system showing layers of waterproofing.”},”categoryId”:1,”postTime”:”2023-10-27T10:00:00Z”}