Why Your Shower Niche Is Sloping Inward and Trapping Water
Why Your Shower Niche Is Sloping Inward and Trapping Water
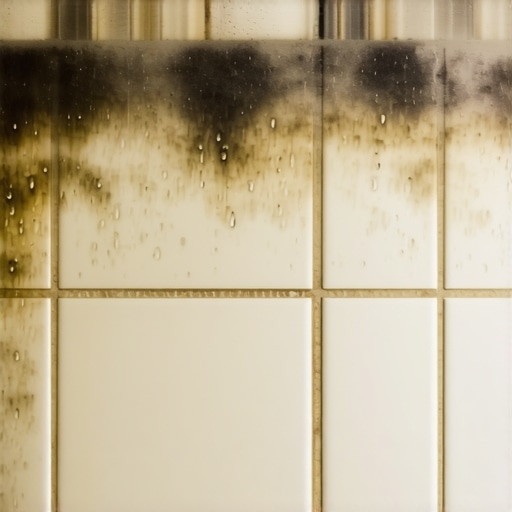
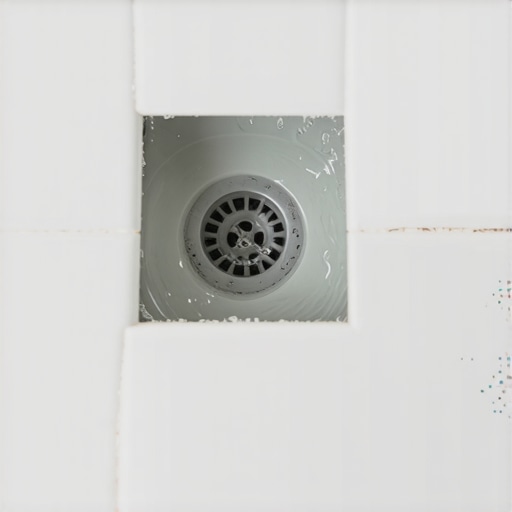
Most guys skip the leveling compound. They think the underlayment will hide the dip. It won’t. I spent three days grinding concrete on a job last month just so the floor wouldn’t click like a castanet. That same laziness is why your shower niche is currently a breeding ground for pink mold and structural rot. When you walk into a custom bathroom that cost more than a mid-sized sedan and see a pool of slimy water sitting in the corner of the soap shelf, you are looking at a fundamental failure of physics and professional pride. A shower niche is not a decorative box. It is a complex hydraulic junction that must manage water flow in a high-moisture environment. If that water is staying in the niche, your installer ignored the primary rule of wet-room engineering. Gravity is the only contractor that never takes a day off, and if you don’t give gravity a path to the drain, the water will find its own path into your wall studs.
The geometry of a standing puddle
A shower niche must have a positive pitch of at least one quarter inch per foot toward the shower floor to ensure complete drainage. This means the bottom shelf of the niche should never be perfectly level. It must tilt slightly downward so that every drop of water is pulled by gravity back into the main shower enclosure. When water traps in the back corners, it indicates that the shelf was either installed level or, worse, with a back-pitch. This inward slope creates a permanent reservoir where soap scum and skin cells accumulate, leading to the rapid growth of Serratia marcescens, that pink slime you see in neglected corners. Over time, the hydrostatic pressure of standing water can challenge even the best topical membranes, eventually finding a microscopic pinhole in the grout or a thin-set void to begin the slow process of rotting your 2×4 framing.
“A floor is only as good as the subfloor beneath it; deflection is the enemy of every joint.” – Master Flooring Axiom
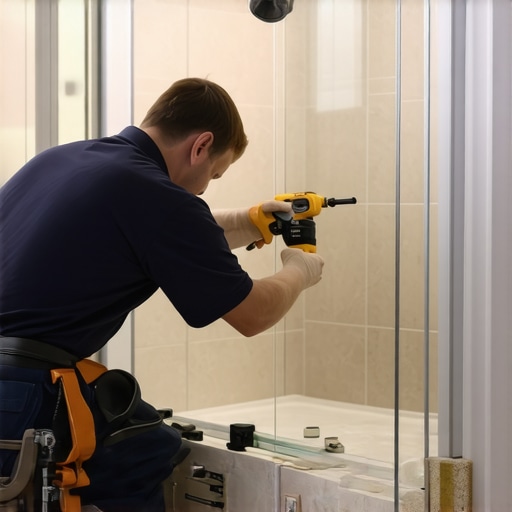
The issue often begins with the substrate. If the installer is using a standard 2×4 wall, they often just cut out a hole and nail in some scraps for a frame. They don’t check for square. They don’t check for plumb. They certainly don’t account for the thickness of the tile and the mortar bed. When the tile goes on, the weight of the thin-set and the large-format porcelain can actually pull the shelf out of alignment if it isn’t braced properly. I have seen guys try to use a stack of plastic spacers to ‘fake’ a slope in the tile itself while the shelf behind it is dead level. That is a recipe for disaster. The mortar will eventually shrink, the tile will settle, and you are back to a puddle. You need a solid, sloped substrate from the start. Whether it is a foam-core prefab niche or a custom-built mud box, that pitch must be baked into the structure before the first tile is ever buttered.
[image placeholder]
The physics of water tension in small spaces
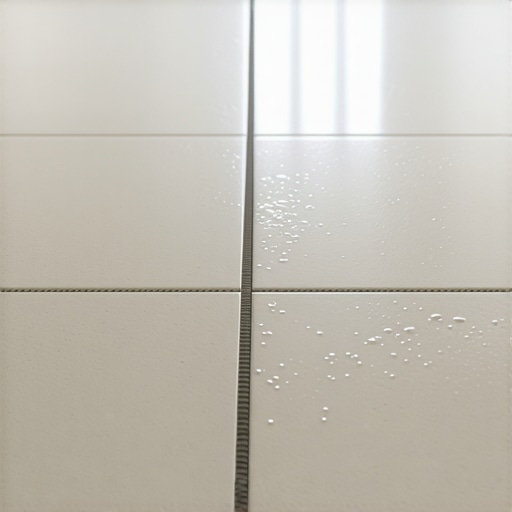
Water molecules are polar and tend to stick together through surface tension, which means they will resist draining if the slope is too shallow. In a small space like a 12 by 12 niche, surface tension can hold a significant amount of water against the back wall if the pitch is less than the industry standard. This is why the TCNA (Tile Council of North America) emphasizes the importance of a clear drainage path. When you use textured tiles or natural stone like travertine, the problem compounds. The irregular surface provides thousands of tiny anchors for water droplets to cling to. If you are in a high-humidity region like Houston or the Florida coast, that water never evaporates. It stays liquid until the next shower, adding layer upon layer of moisture to the assembly. This is how you get mold growing behind the silicone beads. The moisture is trapped between the tile and the membrane with nowhere to go because the exit is uphill.
When the subfloor settles the niche tilts
Structural deflection in the floor joists or settling of the foundation can transmit stress through the wall studs and alter the pitch of a shower niche. If your shower was built on a subfloor that doesn’t meet L/360 deflection standards, the entire wall can shift as the house settles. This is particularly common in new constructions where the lumber is still high in moisture. As the 2x4s dry out, they twist and shrink. If your niche was framed tightly between two studs, that movement can pull the bottom plate of the niche upward. I’ve seen $20,000 showers ruined in six months because the installer didn’t account for the physics of wood shrinkage. They used a rigid liquid membrane that couldn’t bridge the movement, and the niche shelf tilted backward. Now the homeowner has a beautiful stone box that acts like a bowl. This is why I advocate for uncoupling systems and heavy-duty foam substrates that can handle a bit of house movement without losing their geometric integrity.
| Niche Type | Installation Difficulty | Waterproof Reliability | Slope Control |
|---|---|---|---|
| Prefab Foam Niche | Low | Very High | Built-in Pitch |
| Site-Built Mud Box | Very High | High | Manual Adjustment |
| Plastic Insert | Medium | Moderate | Fixed Flange |
| Stainless Steel Insert | Low | High | No Pitch |
The chemistry of thin set and substrate bond
Modern polymer-modified thin-sets are designed to hold tiles in place, but they are not waterproofing agents and cannot be used to build up significant slopes. Some installers try to fix a bad slope by ‘mudding up’ the back of the tile with an extra thick layer of mortar. This is a hack move. Thick beds of thin-set are prone to shrinkage as the moisture leaves the cementious mix. If you have a half-inch of mortar on the back of the tile to create a fake slope, that mortar will pull and shrink over the first thirty days. This creates a void behind the tile where water can sit. It can also cause the tile to crack as it is stressed by the shrinking bed. You should be using a thin-set that meets ANSI A118.4 or A118.15 standards for maximum bond strength, but the slope must be in the board, not the glue. I always tell my apprentices that we are installers, not cake decorators. We don’t use frosting to hide a lopsided cake, and we don’t use thin-set to hide a lopsided niche.
“Every shower assembly must be thought of as a system, from the joists to the grout, where each layer supports the drainage mandate.” – TCNA Handbook Summary
A checklist for a waterproof future
- Verify the niche frame is square and the bottom plate has a pre-cut 5-degree slope toward the drain.
- Ensure the waterproofing membrane is continuous and laps over the niche opening by at least two inches.
- Test the slope with a marble or a small amount of water before the tile is set to ensure gravity is working.
- Use a solid piece of stone or quartz for the bottom sill to eliminate grout lines where water could penetrate.
- Apply a high-quality silicone sealant to the internal corners rather than hard grout to allow for expansion.
The regional climate factor in drying times
The ambient humidity in your city dictates how quickly a shower assembly can dry out between uses, making the slope even more critical in damp climates. In a dry environment like Phoenix, you might get away with a slightly flat niche because the air will pull the moisture out through evaporation. But in the Pacific Northwest or the Gulf Coast, the air is already saturated. If that water doesn’t drain via gravity, it stays. This leads to the breakdown of the grout minerals through a process called efflorescence. You’ll see white, crusty salts forming on your niche tiles. That is the sound of your shower’s chemistry failing. I have spent years fixing showers in these high-humidity zones, and the common denominator is always a lack of respect for the 1/8 inch. That tiny measurement, the difference between a flat shelf and a sloped one, is the difference between a thirty-year shower and a three-year remodel. Don’t let a lazy contractor tell you it doesn’t matter. It is the only thing that matters.
Final thoughts on structural integrity
The bottom line is that your shower niche is a hole in your wall that you’ve invited water into. If you don’t treat that hole with the same respect you’d give a roof flashing or a window header, you will pay for it. The slope must be intentional, the waterproofing must be redundant, and the materials must be professional grade. If your current niche is trapping water, the fix isn’t more caulk. The fix is usually a tear-out of that section to reset the pitch correctly. It is a hard truth, but in the world of flooring and tile, the truth is usually found in the level and the moisture meter. If the bubble isn’t moving toward the wall, the water isn’t moving toward the drain. It is as simple and as brutal as that.