Stop Shower Grout Cracks with This Flexible Caulk Move
I have spent twenty five years on my knees with a moisture meter and a magnesium float. Most guys skip the leveling compound. They think the underlayment will hide the dip. It won’t. I spent three days grinding concrete on a job last month just so the floor wouldn’t click like a castanet. That job was for a living room, but the same logic applies to your bathroom. If the subfloor is not dead flat, your shower pan will flex. When that pan flexes, your grout will crack. It is a mathematical certainty. You see it every day in builder grade homes where the tile meets the tub or where two walls meet in a corner. These are called change of plane joints. If you fill them with hard grout, they will fail. The house moves. The wood shrinks. The grout snaps. You need a move that accounts for the physics of a shifting structure. Stop trying to fight the movement and start planning for it with a flexible sealant strategy that actually works.
The physics of the change plane
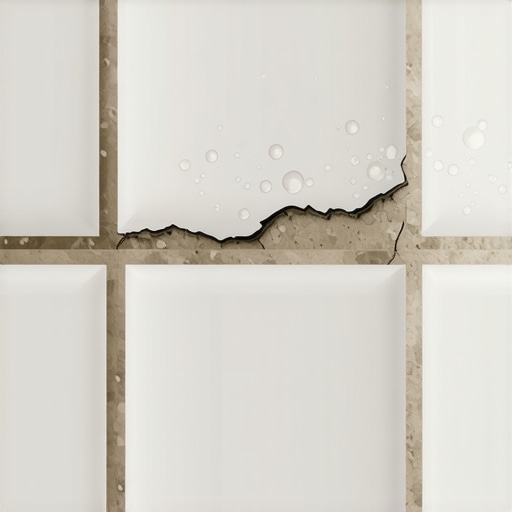
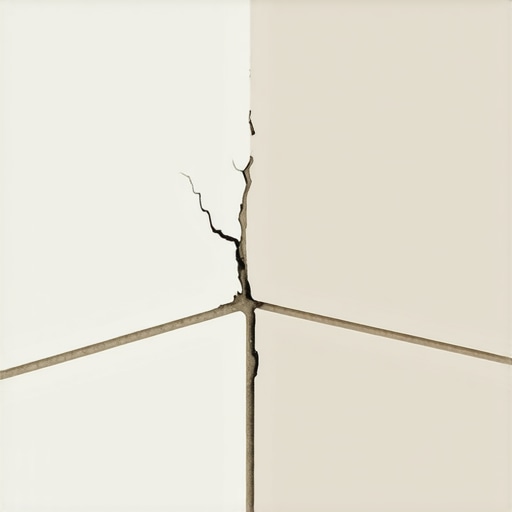
Shower grout cracks occur because the change of plane joints are subject to structural movement that rigid grout cannot accommodate. These joints represent the intersection of two different planes, such as where the wall meets the floor or where two walls meet. A flexible silicone sealant is required here to provide a waterproof barrier that moves with the house. Unlike a standard carpet install where the edges are tucked under a baseboard, shower tile edges are exposed to direct water pressure. When you use hard grout in these corners, the slight expansion and contraction of the wall studs will pull the grout away from the tile. This creates a hairline fracture. Water enters that fracture. Then you have mold growing behind your tile. This is not a cosmetic issue. It is a structural engineering failure. You must realize that a house is a living, breathing organism made of organic materials. Wood dries out over time. It twists. It bows. If your tile installation is rigid, it is brittle. Brittle things break under stress.
“A floor is only as good as the subfloor beneath it; deflection is the enemy of every joint.” – Master Flooring Axiom
Why your subfloor is lying to you
Floor leveling is the most overlooked step in shower construction because installers assume the thin-set or the shower pan will compensate for a sloped subfloor. If your subfloor has a dip of more than one eighth of an inch over ten feet, your shower pan will not sit flush. This creates a void. Every time you step into that shower, the pan deflects. That deflection puts immense pressure on the perimeter grout lines. I have seen laminate floors fail for the same reason, but a laminate failure just means a squeaky plank. A shower failure means a rotted subfloor and a five thousand dollar repair bill. You have to grind the high spots. You have to fill the low spots with self-leveling underlayment. Do not trust the plywood. Do not trust the concrete slab. Check it with a straight edge. If you find a gap, fix it before the first tile touches the ground. The stability of your grout depends entirely on the lack of movement in the substrate below. If the base moves, the surface cracks. It is that simple.
The chemical reality of silicone versus acrylic
Choosing the right sealant requires understanding the chemical bond of 100 percent silicone versus cheap acrylic caulk or siliconized latex. True 100 percent silicone provides the highest level of elasticity and water resistance for wet environments. Acrylic caulks contain water that evaporates as they cure. This evaporation causes the bead to shrink. When the bead shrinks, it pulls away from the tile edges. Silicone does not shrink. It undergoes a chemical cross-linking process that maintains its volume. It remains rubbery for decades. Many people buy the cheap stuff because it is easier to clean up with water. That is a mistake. Professional results require professional materials. You want an acetoxy-cure silicone for most tile applications because it bites into the glazed surface of the tile and forms a permanent bond. If you are working with natural stone, you need a neutral-cure silicone to prevent staining. The chemistry matters more than the color match.
| Sealant Type | Elasticity Grade | Shrinkage Rate | Best Use Case |
|---|---|---|---|
| 100% Silicone | High | Zero | Shower corners and pans |
| Siliconized Latex | Medium | 10-15% | Baseboards in dry areas |
| Acrylic Caulk | Low | 20-30% | Interior trim painting |
| Polyurethane | Very High | Zero | Exterior expansion joints |
The 1/8 inch that ruins everything
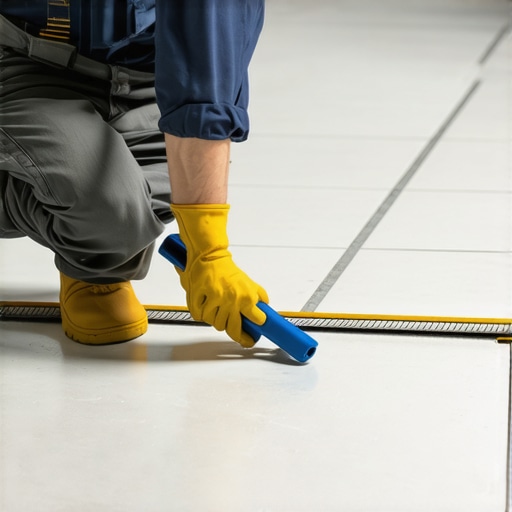
Gap width is the defining factor in sealant performance because a bead that is too thin cannot handle the percentage of expansion required by the joint. You need at least a one eighth inch gap at every change of plane to allow the flexible caulk to work. If the tiles are touching, there is no room for the sealant to sit. You end up with a thin smear on the surface that will peel off within a month. I see this in every carpet install where the installer tries to transition to tile without a proper gap. They cram grout into a tight space and wonder why it pops out. You must use spacers. You must ensure that the vertical corner where the two walls meet is clean of all thin-set and debris. The sealant needs to bond to the two side walls but not the very back of the joint. This is known as preventing three-point adhesion. If the caulk bonds to the back of the joint, it loses its ability to stretch. It will tear down the middle. Professional installers often use a backer rod in deep joints to ensure the caulk only bonds to the sides.
The grout mistake everyone makes
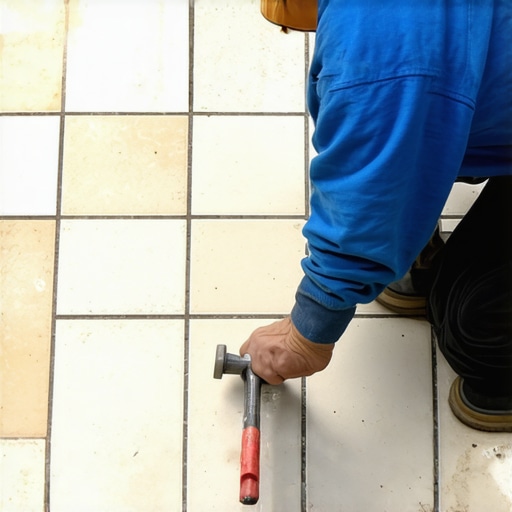
Applying grout to the corners and then caulking over it is the fastest way to ensure a leak because the grout will eventually crack and push the caulk out. You must leave the corners completely empty. No grout should ever enter a change of plane. When I walk onto a job site and see a guy grouting the vertical corners, I know he is an amateur. He is creating a ticking time bomb. Grout is a mineral product. It is stone. Stone does not bend. If you put stone in a corner that moves, the stone will turn into dust. That dust then prevents your silicone from bonding to the tile. If you have existing grout in your corners, you must rake it out. Use a multi-tool with a diamond blade. Get it all out. Vacuum the joints until they are pristine. Use denatured alcohol to wipe the tile edges. Only then can you apply the flexible move that stops the cracks forever.
Checklist for a leak-proof corner
- Remove all existing grout from vertical and horizontal change of plane joints.
- Ensure the gap is at least one eighth of an inch wide.
- Clean the tile edges with 91 percent isopropyl alcohol or denatured alcohol.
- Apply a high-quality 100 percent silicone sealant that matches your grout color.
- Tool the bead with a dry finger or a specialized caulking tool to ensure a concave shape.
- Allow the sealant to cure for a full 24 hours before exposing it to water.
Regional climate and moisture impact
Environmental humidity and local building codes dictate the specific moisture barrier requirements that work in conjunction with your flexible caulking. In a high humidity region like the Gulf Coast, the wood framing in your walls will expand and contract significantly more than in a desert climate. This means your flexible move is even more vital. You are not just sealing out water from the shower. You are managing the vapor drive from the house itself. If you live in a cold climate where the heat runs all winter, your house will shrink as the moisture leaves the wood. This is when you will see the biggest cracks in your grout. The TCNA standards are clear about this. Every transition from one material to another or one plane to another requires a movement joint. This is not a suggestion. It is a requirement for a warrantied installation. If you ignore the physics of your local climate, your tile will fail regardless of how much you paid for it.
“All tile installations will experience movement; the goal is to control where that movement occurs.” – TCNA Handbook Commentary
The final transition logic
The goal is a shower that lasts thirty years, not three. You achieve this by respecting the chemistry of your materials. Do not treat your shower like a carpet install or a laminate floor where you can hide mistakes with a piece of trim. In a shower, the sealant is the trim. It is the final line of defense. When you apply that bead of silicone, you are applying a gasket. Think of it like the head gasket in a car engine. It has to handle heat, pressure, and movement. If it fails, the system fails. Use a steady hand. Do not use too much soap when tooling the joint, as the soap can get behind the silicone and ruin the bond. I prefer to tool it dry or with a very small amount of glass cleaner. This ensures the silicone is forced into the pores of the tile and the edge of the pan. Once that bond is set, those cracks will be a thing of the past. You will have a flexible, waterproof corner that moves as the house moves. That is the master flooring move.