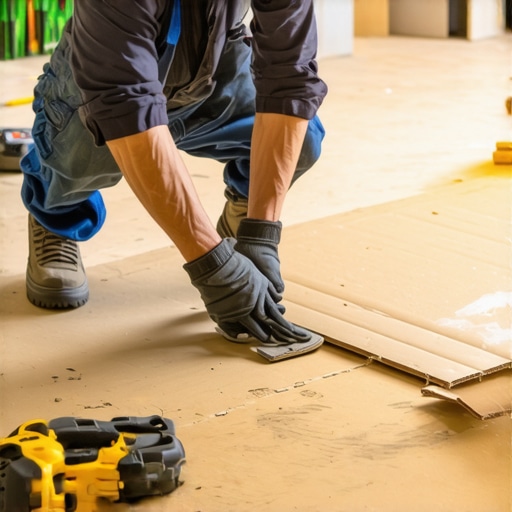
The Cardboard Shim Trick for Uneven Subfloors
The Cardboard Shim Trick for Uneven Subfloors
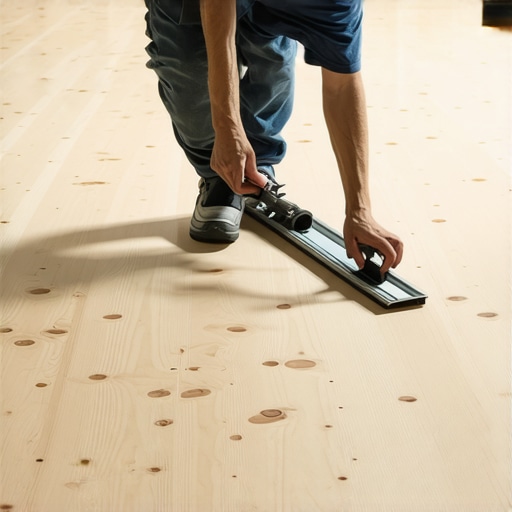
Most guys skip the leveling compound. They think the underlayment will hide the dip. It won’t. I spent three days grinding concrete on a job last month just so the floor wouldn’t click like a castanet. My boots were white with dust and my lungs felt like they had swallowed a bag of Portland cement. I have seen every shortcut in the book. The most common one involves sliding pieces of cereal boxes or scrap roofing felt under a laminate plank to stop a bounce. It is the hallmark of a hack. If you want a floor that lasts thirty years, you do not build it on a foundation of trash. You build it on a flat, dry, and structurally sound surface. I smell like WD-40 and oak dust most days because I refuse to walk away from a subfloor that is lying to me. A subfloor might look flat to your naked eye, but a ten-foot straight edge reveals the truth every single time.
The ghost in the expansion gap
Subfloor leveling requires a tolerance of 1/8 inch over a six-foot radius to ensure laminate and hardwood locking mechanisms do not fail under foot traffic. When you ignore a dip, you create a void. Every time someone walks over that spot, the tongue and groove joint flexes. Eventually, that friction generates heat and mechanical stress. The wood fibers fatigue. The clicking sound you hear is the sound of your floor dying. Professionals use self-leveling compounds or high-compression shims, not cardboard. Cardboard is organic material. It compresses. It rots if there is any moisture vapor transmission from the crawlspace. You are essentially putting a ticking time bomb under your expensive flooring. If you are doing a carpet install, you might get away with minor imperfections because the pad masks the dip, but for hard surfaces, the subfloor is the law.
“A floor is only as good as the subfloor beneath it, deflection is the enemy of every joint.” – Master Flooring Axiom
Why your subfloor is lying to you
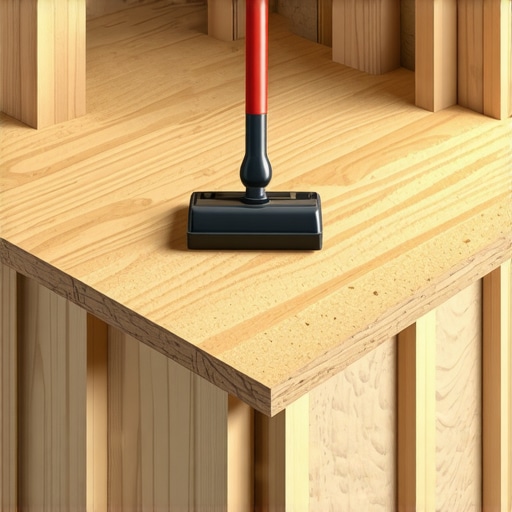
Plywood and OSB subfloors react to humidity by swelling at the edges, creating a crowned effect that ruins the installation of laminate and tile. You must check the moisture content. I carry a Pin-type meter everywhere. If the subfloor is more than 4 percent different from the flooring material, you are going to have a bad day. In a humid shower environment, this is even more critical. You cannot just slap thin-set on a wavy floor and expect the tiles not to crack. The physics of load distribution dictates that any air gap under a tile or a plank will result in a structural failure. I have seen $20,000 marble jobs ruined because the installer was too lazy to use a floor sander on a few high spots. It is about the chemistry of the bond. If your substrate is dusty or oily, the adhesive will sit on top like water on a waxed car.
The 1/8 inch that ruins everything
Precision leveling involves mapping the entire room with a laser level to identify low spots that require polymer-modified self-leveling underlayment. Most homeowners think they can just add more padding. That is a lie. Too much cushion is actually worse for laminate. It allows the floor to bounce too much, which snaps the locking plastic. You want a firm, flat base. When we talk about floor leveling, we are talking about mechanical engineering. We are managing the deflection of the joists and the compression strength of the substrate. If you are working over a crawlspace, you need to be thinking about the vapor barrier. If you do not have a 6-mil poly sheet on that dirt, the moisture will rise and turn your cardboard shims into mush within two seasons.
The physics of the cardboard shim trick
Using cardboard as a shim is a temporary fix that fails because cellulose fibers lack the compressive strength to withstand the thousands of pounds of pressure exerted by household furniture. Think about a refrigerator sitting on a spot you shimmed with a piece of a pizza box. The cardboard crushes down to nothing. Now your floor is unlevel again. If you must shim, use cedar shakes or specialized plastic shims that do not compress. Better yet, use a patch compound like Henry 547. It bonds to the wood. It becomes part of the structure. It does not move. I have seen guys try to use layers of duct tape. It is pathetic. The adhesive in the tape eventually dries out, shifts, and leaves a sticky mess that squeaks every time the temperature changes.
| Material Type | Max Deviation (10ft) | Acclimation Time | Moisture Limit |
|---|---|---|---|
| Laminate | 3/16 inch | 48 Hours | 12% MC |
| Solid Hardwood | 1/8 inch | 7-14 Days | 9% MC |
| Engineered Wood | 3/16 inch | 72 Hours | 12% MC |
| Ceramic Tile | 1/8 inch | None | N/A |
The chemistry of the bond in wet areas
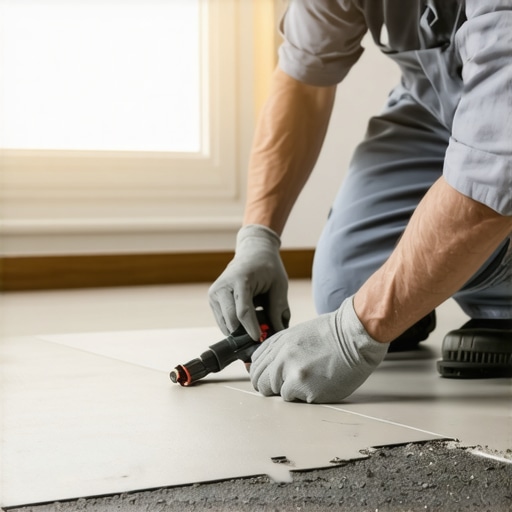
Installing floors near showers or in bathrooms requires a waterproof substrate that resists mold growth and maintains structural integrity when exposed to high humidity. This is where the cardboard shim trick becomes a crime. Cardboard is a food source for mold. You are literally planting a garden under your floor. In these areas, you need cement board or a high-density foam backer. The thin-set used must be polymer-modified to allow for slight movement without losing its grip. I always tell apprentices that if they wouldn’t build a boat out of it, don’t put it near a shower. We use Schluter systems or similar membranes to ensure that even if water gets past the grout, it does not reach the wood. The subfloor must be perfectly flat because any pooling of water behind the tile will cause the adhesive to emulsify over time.
“The National Wood Flooring Association requires subfloors to be clean, dry, and flat to 1/8 inch in 6 feet for most professional applications.” – NWFA Standard 101
Leveling compound versus the quick fix
Self-leveling underlayment is a fluid cementitious material that uses gravity to create a perfectly horizontal surface, unlike manual shimming which creates uneven pressure points. When you pour a bag of leveler, you are using science. The polymers in the mix allow it to flow into every crack and dip. It creates a monolithic slab. This is the only way to handle a concrete floor that has a belly in it. You cannot shim concrete with cardboard. It will absorb the lime and alkalinity from the concrete and disintegrate. You need to prime the floor first. If you don’t prime, the dry concrete will suck the water out of the leveler too fast. It will crack. It will flake off. I have spent hours with a floor maintainer and a diamond cup wheel fixing jobs where the last guy didn’t use primer. It is a mess you want to avoid.
The professional subfloor inspection checklist
- Check for squeaks and screw down any loose plywood sheets into the joists.
- Use a 10-foot straight edge to find any gaps larger than 3/16 of an inch.
- Test the moisture content of the subfloor at multiple locations near exterior walls.
- Sand down high spots at the seams of OSB panels caused by edge swelling.
- Ensure the subfloor thickness meets the span requirements of the floor joists to prevent bounce.
The final verdict on shim tricks
Structural integrity is the only metric that matters in flooring, and shortcuts like cardboard shims are a betrayal of the craft. If you want a floor that feels solid like a rock, you do the work. You grind the high spots. You fill the low spots with the right products. You wait for the acclimation period. A floor is not just something you walk on. It is a system. It includes the joists, the subfloor, the underlayment, and the finish material. If any part of that system is weak, the whole thing fails. I take pride in my work because I know when I leave a job, that floor isn’t going anywhere. It won’t squeak. It won’t cup. It won’t click. That is the difference between a master installer and someone who just bought a miter saw yesterday. Use the right tools. Respect the materials. Never trust a dip.