The ‘Marble Roll’ Test for Finding Floor Dips
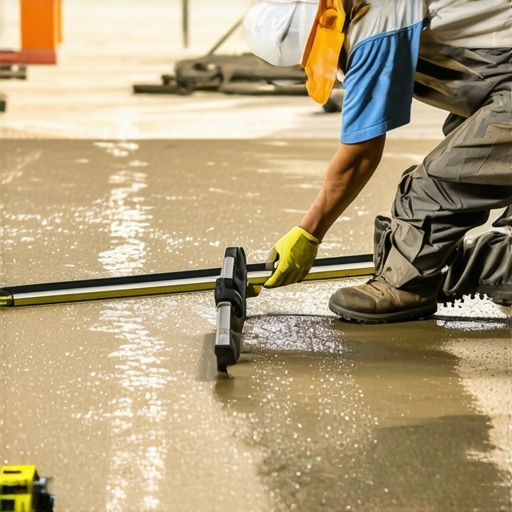
I spent three days grinding concrete on a job last month just so the floor wouldn’t click like a castanet. Most guys skip the leveling compound. They think the underlayment will hide the dip. It won’t. I have seen it a thousand times. You walk into a house that looks beautiful on the surface, but every step sounds like a dry twig snapping. That is the sound of a failed subfloor. My knees have the scars from decades of crawling across plywood and slabs, and if there is one thing I have learned, it is that gravity is the only inspector that never takes a bribe. When you are prepping for a floor leveling project, you are fighting a battle against the invisible topography of your home. You cannot trust your eyes. Your eyes want to see a flat plane because the walls are vertical. But the floor is a different beast entirely. This is why I always keep a single glass marble in my tool vest next to my moisture meter.
The one eighth inch that ruins everything
A floor is only as good as the subfloor beneath it. Deflection is the enemy of every joint, and if your subfloor has a dip of more than one eighth of an inch over a ten foot radius, your expensive flooring is already on a path to failure. When you roll a marble across a room, you are using a precision instrument of physics. If the marble accelerates or veers sharply, you have found a low spot. This is not just about aesthetics. In a laminate or LVP installation, a dip creates a void. Every time someone walks over that void, the locking mechanism of the plank flexes. Over months of foot traffic, that plastic or wood fiber tongue will fatigue and eventually snap. You will hear it first. Then you will feel the bounce. By the time you see the gap opening up, it is too late. The floor is dead. You have to rip it up because you were too lazy to use a bag of self leveling underlayment and a primer. Building to NWFA standards means hitting that 3/16 inch per 10 feet or 1/8 inch per 6 feet mark. Anything less is just a temporary decoration.
“A floor is only as good as the subfloor beneath it; deflection is the enemy of every joint.” – Master Flooring Axiom
The physics of the click of death
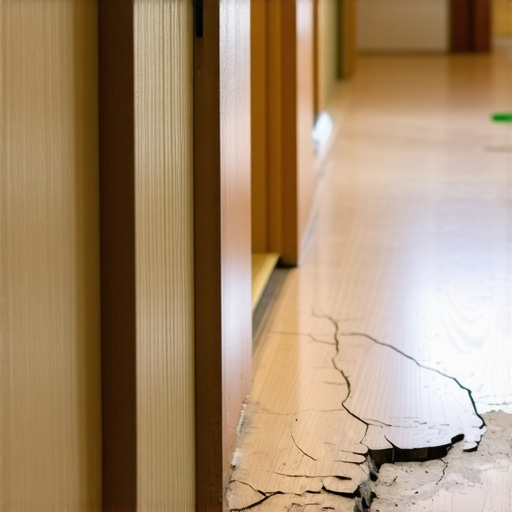
Laminate flooring is a floating system, meaning it relies on its own mass and the friction of the underlayment to stay put. When a floor leveling issue is ignored, the laminate acts like a bridge over a canyon. The physics are simple but brutal. If the subfloor drops away, the plank must support the weight of the person walking. Since laminate is mostly high density fiberboard, it has limited shear strength. The marble roll test identifies these canyons before they are covered. I once worked a carpet install where the owner thought the pad would hide a half inch dip near the doorway. It looked fine for a week. Then the carpet started to stretch and pool in the dip, creating a trip hazard that looked like a permanent shadow. You cannot hide structural incompetence with foam or fiber. You fix the subfloor or you accept the failure. This applies doubly to showers. If your subfloor is not perfectly sloped toward the drain with no birdbaths, you will have standing water that eventually eats through the waterproofing membrane. A shower floor is a hydraulic system, not just a tile surface.
The molecular chemistry of levelers
When you find a dip using the marble test, you have to choose your weapon. Most people run to the big box store and grab the cheapest bag of portland cement they see. That is a mistake. Professional floor leveling requires high flow underlayments with specific polymers that allow the material to seek level without losing structural integrity. You need to understand the water to powder ratio to the gram. If you add too much water, the polymers will float to the top and create a chalky surface that your adhesive will never bond to. If you use too little, the material will not flow, and you will end up with ridges that are harder to grind down than the original concrete. You must also consider the substrate. Wood subfloors require a different approach than concrete. On wood, you need a lath or a fiber reinforced leveler to handle the natural expansion and contraction of the lumber. If you pour a rigid cement over a flexible wood joist system without the right chemistry, the leveler will crack and turn into grit under your floor. It is about the bond strength and the compressive strength, which should be at least 3,000 PSI for residential work.
| Subfloor Type | Required Levelness | Best Fix Method | Acclimation Time |
|---|---|---|---|
| Concrete Slab | 1/8 inch per 10 feet | Self Leveling Underlayment | 24 to 72 hours |
| Plywood Subfloor | 3/16 inch per 10 feet | Fiber Reinforced Patch | 48 to 96 hours |
| OSB Subfloor | 1/8 inch per 6 feet | Sand and Patch | 72 hours |
| Radiant Heat | Strict 1/8 inch | Thermal Mass Leveler | Varies by system |
Why your subfloor is lying to you
Humidity is the great deceiver in flooring. You can have a floor that is perfectly level in July, but by January, the joists have dried out and pulled the subfloor into a series of waves. This is why acclimation is not a suggestion. It is a requirement. You need to let your materials sit in the environment where they will live for at least three days. I have seen $15,000 wide plank walnut floors cup so bad they looked like potato chips because the installer ignored the crawlspace humidity. The moisture from the ground was being sucked up through the subfloor into the wood. The marble roll test should be done at the same time you check the moisture content. If your subfloor is over 12 percent moisture, do not put a floor over it. You are just trapping a rot factory under your feet. Use a calcium chloride test on concrete or a pin meter on wood. These numbers do not lie, unlike the salesperson who tells you that waterproof LVP can be installed anywhere.
The ghost in the expansion gap
Every floor needs to breathe. When you are finishing a laminate or hardwood job, that 1/4 inch or 1/2 inch gap around the perimeter is the most important part of the room. If you run your flooring tight against the drywall or the baseboard, you have created a ticking time bomb. As the temperature and humidity change, the floor will expand. If it has nowhere to go, it will buckle. It will push up in the center of the room, creating a giant hump. I once saw a floor that had expanded so much it actually pushed a partition wall out of alignment. People think the baseboard hides the gap, and it does, but the gap must exist. Never nail your baseboard into the flooring. Always nail it into the wall studs. The floor must be able to slide under the trim. If you pin the floor down, you are asking for a failure that no amount of leveling can fix. This is basic engineering, but it is the most common mistake in the industry.
Subfloor Preparation Checklist
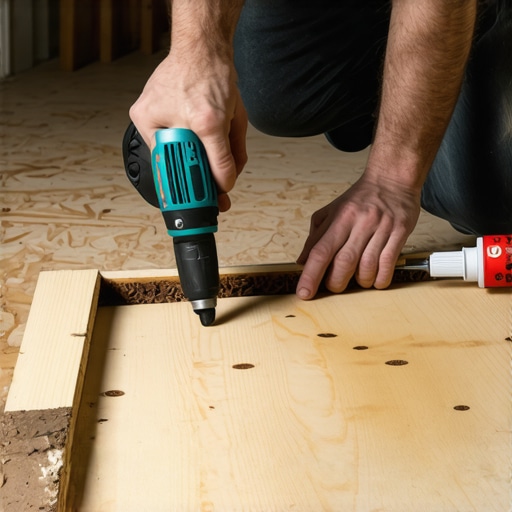
- Check for squeaks and secure loose boards with deck screws.
- Perform the marble roll test in at least six directions per room.
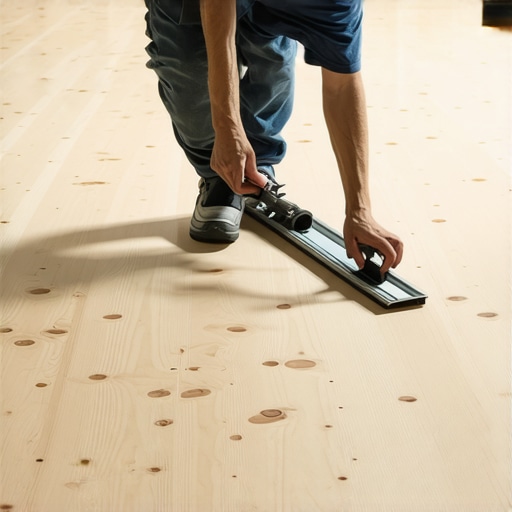
- Use a 10 foot straight edge to verify all dips and humps.
- Grind down high spots in concrete using a diamond cup wheel.
- Prime the substrate with the specific primer recommended by the leveler manufacturer.
- Mix self leveling compound with a high speed mixer to ensure no lumps.
- Verify moisture levels are within the range of the adhesive or flooring type.
The final word on floor prep
The next time you are tempted to skip the floor leveling step, remember the sound of a marble rolling into a low spot. That sound is the sound of money leaving your pocket. Whether it is a carpet install where the pad will eventually bottom out or a tile shower where the water refuses to drain, the subfloor is the foundation of your reputation. I have spent my life ensuring that when a client walks across a floor I built, they feel nothing but solid, silent resistance. It is the silent floor that speaks the loudest about the quality of the craftsman. Take the extra day. Grind the concrete. Pour the leveler. Roll the marble. If the marble stays true, your floor will too. There are no shortcuts in structural engineering, and make no mistake, a floor is a piece of engineering. You are building a performance surface that must withstand thousands of pounds of pressure and millions of steps. Treat it with the respect it deserves, or it will humiliate you in front of your clients. Always follow the TCNA and NWFA guidelines. They were written in the blood and sweat of installers who learned these lessons the hard way. Do not be the guy who thinks he knows better than a century of collective experience.