The Primer Mistake That Ruins Self-Leveling Pours
The invisible failure hiding beneath your new floor
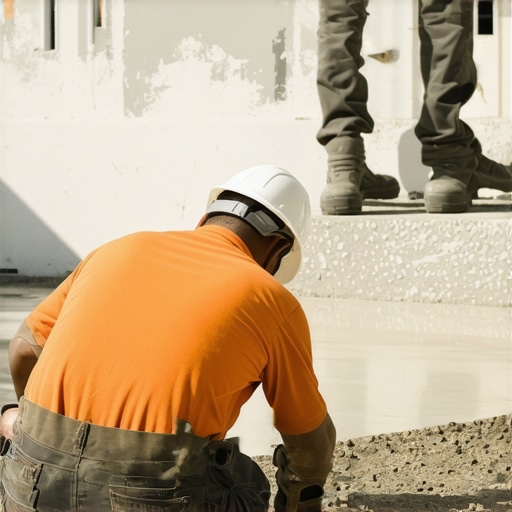
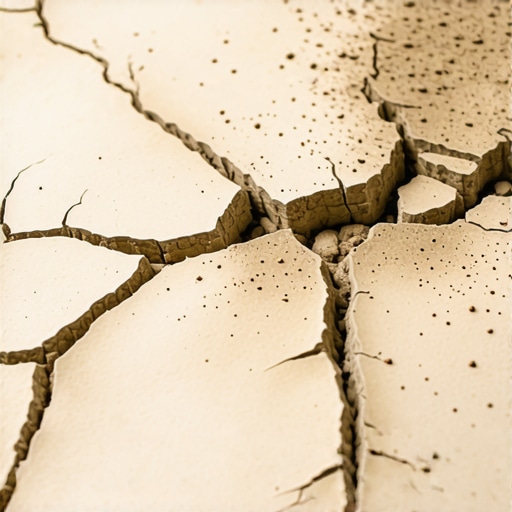
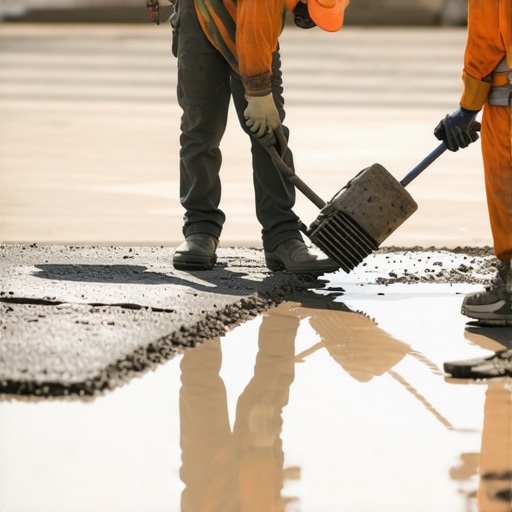
I spent three days grinding concrete on a job last month just so the floor wouldn’t click like a castanet. The previous installer had skipped the primer entirely. Most guys skip the leveling compound. They think the underlayment will hide the dip. It won’t. When I arrived, the self-leveling underlayment was literally crunching under my boots. It had bonded to nothing. It was just a thin, brittle sheet of expensive rock sitting on top of dust. The homeowner was out five thousand dollars in materials alone because someone didn’t want to wait forty minutes for a primer to tack up. This is the reality of subfloor prep. It is not pretty. It is loud, it is dusty, and it smells like wet lime and grinding wheels. If you get the chemistry of the interface wrong, the most expensive Italian tile or the finest white oak will eventually fail. A floor is a system. The surface you walk on is just the skin. The subfloor is the skeleton, and the primer is the connective tissue. Without that bond, the skeleton collapses.
The physics of surface tension and porosity
Self leveling underlayment requires a specific chemical bond to the substrate to prevent pinholing and delamination during the curing process. When you pour a high-flow cementitious product onto a raw concrete slab, the slab acts like a giant sponge. It is thirsty. If you do not seal that porosity with a dedicated primer, the slab will suck the moisture out of the leveling compound faster than it can hydrate. This results in a flash-dry scenario where the bottom layer of your pour turns into dust while the top stays wet. You end up with a floor that looks flat but has the structural integrity of a cracker. The primer creates a bridge. It fills the capillaries of the concrete and provides a tacky surface that the leveling compound can grab onto. This is not a suggestion. It is a structural mandate for any professional installation.
“A floor is only as good as the subfloor beneath it; deflection is the enemy of every joint.” – Master Flooring Axiom
The ghost in the expansion gap
Expansion gaps are the most overlooked part of a floating floor installation and their absence will lead to buckling and joint failure. Many installers think they can run a floor tight to the baseboard to avoid using quarter round. This is a death sentence for your laminate or luxury vinyl plank. Every material on this planet expands and contracts with changes in temperature and humidity. When a floor hits a wall with nowhere to go, the energy has to go somewhere. It goes up. You get peaking at the seams. You get boards that pop out of their locking mechanisms. If you have used a self-leveling compound and didn’t leave that gap, the entire mass can shift and crack. You need a minimum of a quarter inch, often more depending on the run length. It is the difference between a floor that lasts thirty years and one that fails in three months.
Why your subfloor is lying to you
A subfloor might look flat to the naked eye while hiding dips and humps that exceed the industry standard of one eighth inch over ten feet. You cannot trust your eyes in this business. You trust a ten-foot straightedge or a laser level. When you are prepping for a carpet install, people think they can get away with more. They think the padding will mask the craters. It might for a year, but eventually, the carpet will stretch and show every imperfection. In showers, the stakes are even higher. If your subfloor isn’t perfectly pitched or leveled before you build your pan, you are inviting standing water and mold. The prep work is where the job is won or lost. The actual installation of the finish material is just the victory lap.
| Primer Type | Drying Time | Best Use Case | Bond Strength |
|---|---|---|---|
| Acrylic Latex | 30 to 60 minutes | Standard porous concrete | Medium |
| Epoxy Primer | 4 to 12 hours | Non-porous or oil-contaminated surfaces | High |
| Polyurethane | 2 to 4 hours | Moisture mitigation scenarios | High |
The 1/8 inch that ruins everything
Precision leveling is required because modern locking mechanisms on laminate and LVP have a very low tolerance for vertical deflection. If your floor has a dip of just three sixteenths of an inch, the tongue and groove of your plank will flex every time you step on it. Over thousands of footfalls, that plastic or wood fiber will fatigue. It will snap. Then you have a soft spot. Then you have a gap. Then you have moisture getting into the core of the plank. It all starts with that 1/8 inch. You must use a high-quality self-leveling underlayment to bring the entire surface into a single plane. This isn’t about making the floor level with the earth. It is about making it flat. You can have a floor that is out of level by an inch across the room and it will still perform, as long as it is flat. Flatness is the metric of success.
- Vacuum the floor twice to remove all micro-dust particles.
- Check the moisture content of the slab with a calcium chloride test.
- Mix the primer according to the manufacturer’s dilution ratio for the specific porosity.
- Apply the primer with a soft-bristled broom to ensure it is worked into the pores.
- Wait for the primer to become transparent and tacky before pouring the compound.
- Use a spiked roller during the pour to release trapped air and prevent pinholes.
The chemistry of the flash dry
When you pour a self-leveling product, a complex chemical reaction begins. The water in the mix is there for two reasons. It facilitates the flow and it hydrates the portland cement. If the substrate is not primed, the water is stolen from the mix. This is known as the flash dry. When this happens, the crystalline structure of the cement cannot form properly. You are left with an unhydrated powder at the interface. This is why you see self-leveler peeling up in large chunks. It is not the fault of the product. It is the fault of the prep. I have seen guys try to save money by watering down the primer or using a cheap paint primer. Do not do this. Use the primer specifically engineered for the leveler you are using. They are designed to work together at a molecular level.
“Substrate preparation is the most critical phase of any tile or stone installation; failure to comply with TCNA standards regarding flatness will void all warranties.” – TCNA Handbook Standards
The danger of over-thinning your leveler
Adding too much water to self-leveling underlayment to make it flow better will destroy the compressive strength of the cured product. It is tempting to add an extra quart of water to get that glass-like finish. Don’t. You will end up with a chalky surface and a layer of white film on top known as laitance. This laitance is weak and will prevent your thin-set or adhesive from bonding to the leveler. You must use a precise measuring bucket. If the bag says 5.5 quarts, you use 5.5 quarts. Not a drop more. The physics of cement suspension depends on that specific ratio. If you over-water, the heavy aggregates sink to the bottom and the fines float to the top. You get a stratified mess that has no structural integrity. It will crack and it will crumble under the weight of your furniture.
The local humidity factor
Regional climates play a massive role in how these chemicals behave. In high-humidity areas, the drying time of your primer can double. If you pour on top of wet primer, you create a slip plane. The leveler will never bond. In dry, desert climates, the slab will be even thirstier, requiring two coats of primer to fully seal the surface. You have to read the room. You have to feel the air. If you are doing a carpet install in a basement, moisture is your primary enemy. You need a primer that also acts as a moisture vapor barrier. This prevents the damp smell and the eventual rot of the carpet tack strips. Every environment demands a different tactical approach to subfloor architecture.