The ‘Hammer Tap’ Test for Finding Hollow Spots Under New Laminate
I spent three days grinding concrete on a job last month just so the floor wouldn’t click like a castanet. Most guys skip the leveling compound. They think the underlayment will hide the dip. It won’t. I walked into a house last Tuesday where the homeowner had just finished a DIY install. It looked great from the doorway, but as soon as I took a step, it sounded like a hollow drum. That is the sound of a failing floor. That is the sound of a subfloor that was never prepped. If you can hear the floor before you feel it, you have a structural void that will eventually snap your locking mechanisms. I have spent 25 years with a moisture meter in my pocket and sawdust under my nails, and I am telling you now that a floor is only as good as the flat surface it sits on.
The physics of the hollow click
A hollow sound under laminate flooring indicates a gap between the plank and the subfloor where air resides. This occurs when the subfloor is not flat, causing the floating floor to bridge over low spots. When stepped on, the plank deflects into the void, creating a percussive sound and putting immense stress on the tongue and groove joints. This eventually leads to cracked locking systems and floor failure.
When we talk about laminate, we are talking about a floating system. It is not glued. It is not nailed. It relies on gravity and the mechanical strength of its joints to stay together. If you have a dip in your concrete slab or plywood subfloor that exceeds 1/8 inch over a 6 foot span, you are asking for trouble. The physics are simple. Kinetic energy from your footstep travels through the wear layer into the high-density fiberboard core. If that core has nowhere to transfer that energy except into empty air, it vibrates. That vibration is the drum sound you hear. Over time, that constant flexing will fatigue the HDF core. The micro-cracks start at the bottom of the groove and work their way up. One day, you will notice a lip on your floor. That is the joint failing. It is a slow death for a floor that should have lasted twenty years.
The hammer tap protocol for perfection
The hammer tap test is a diagnostic method used to locate specific voids under installed flooring by listening for acoustic changes. By tapping a small hammer or a heavy tool handle across the floor, you can identify precisely where the subfloor drops away. A solid sound indicates full contact, while a high-pitched, resonant ring identifies a hollow pocket that needs structural attention.
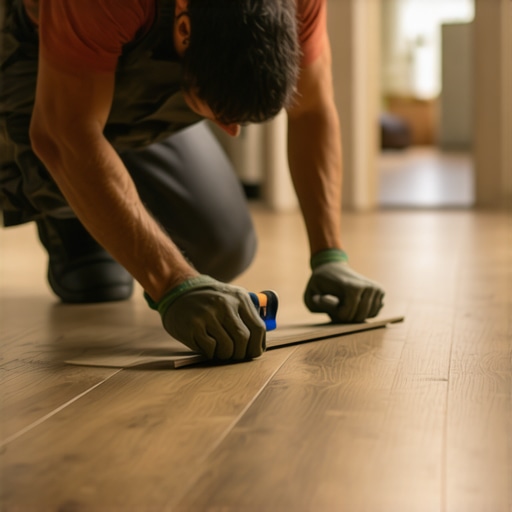
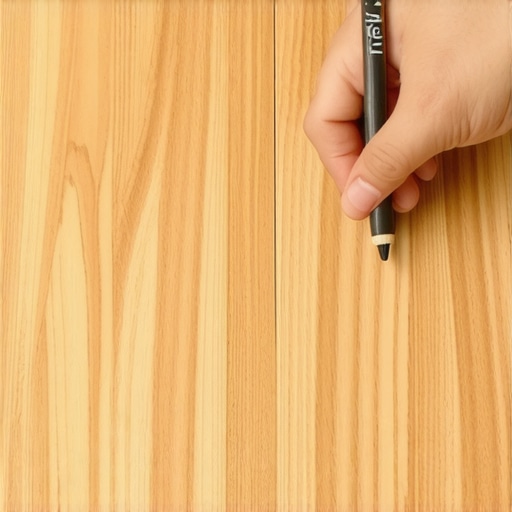
I carry a small 8-ounce finishing hammer for this exact reason. I do not swing it like I am driving a 16-penny nail. I let the weight of the head do the work. You start at the perimeter and work your way in, tapping every six inches. It is a tedious process, but it is the only way to map the topography of a floor that is already covered. When you hit a hollow spot, the tone changes instantly. It goes from a dull thud to a bright ring. I mark these spots with low-tack blue painter tape. Usually, you will find these spots near doorways or where the previous carpet install left a mess of staples and tack strip holes that were never filled. If you find a cluster of hollow spots in the center of the room, your subfloor is likely crowned or dipped across a large joist span.
“A floor is only as good as the subfloor beneath it; deflection is the enemy of every joint.” – Master Flooring Axiom
The chemistry of floor leveling compounds
Floor leveling requires high-flow calcium aluminate or Portland cement based compounds to create a flat substrate for laminate. These materials are engineered to flow into low spots and seek a perfectly level plane through gravity. Proper application involves using a primer to ensure a chemical bond between the old subfloor and the new leveling layer, preventing future delamination or cracking.
You cannot just buy a bag of the cheapest patch and throw it down. You need to understand the moisture vapor transmission rate of your slab first. If you are working on concrete, you are dealing with a porous sponge that is constantly exhaling water vapor. I prefer calcium aluminate products because they dry faster and have higher compressive strength. You are looking for something that hits at least 3,500 psi. Before you pour, you must prime the floor. If you do not prime, the dry concrete will suck the water out of your leveler before it has a chance to hydrate. The leveler will turn to dust. It will crack. Then you will have loose rocks rattling under your laminate, which is even worse than an air pocket. You want a product that flows like heavy cream. Use a spiked roller to get the air bubbles out. If you leave bubbles, you are just trading one type of hollow spot for another.
| Compound Type | Drying Time | Compressive Strength | Best Use Case |
|---|---|---|---|
| Self-Leveling Underlayment | 4-24 Hours | 4,000+ PSI | Large room unlevel slabs |
| Feather Finish Patch | 15-30 Minutes | 3,000 PSI | Small dips and ridges |
| Gypsum-Based Leveler | 12-48 Hours | 2,500 PSI | Over radiant heat systems |
When carpet install habits ruin laminate
Moving from carpet to laminate requires a complete shift in subfloor preparation standards because carpet hides imperfections that laminate highlights. Installers accustomed to carpet often overlook 1/4 inch dips because the padding and pile absorb the deviation. Laminate is rigid and requires a flatness tolerance of 3/16 inch over 10 feet to prevent joint separation and hollow sounds.
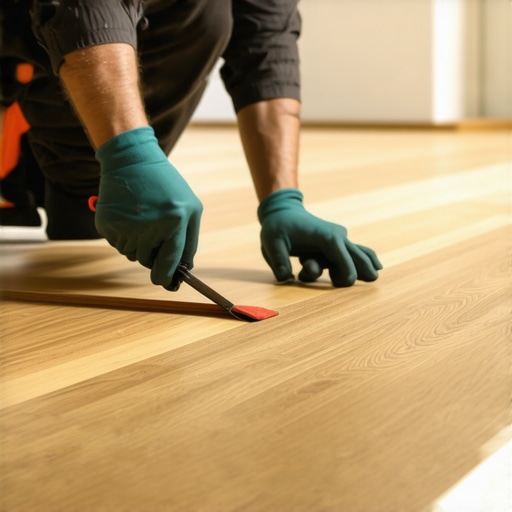
The biggest mistake I see is guys coming off a carpet job and thinking they can just sweep the floor and start clicking planks. Carpet is the great hider. You can have a literal hole in the floor and carpet will bridge it. Laminate is the great revealer. Every single staple left over from the carpet pad will telegraph through or cause a click. Every bit of dried drywall mud will create a high spot. I spend more time with a floor scraper and a shop vac than I do with a saw. If you do not get the subfloor down to the bare, clean substrate, your laminate will never sit still. I have seen floors where the installer left the old tack strips near the wall. The laminate sat on top of them, creating a massive ramp that eventually snapped the first row of planks right off the tongue.
Waterproof lies and the reality of showers
Waterproof laminate flooring is designed to resist surface spills but remains vulnerable to moisture from below and excessive humidity in bathrooms. While the wear layer is impervious to water, the joints can still allow vapor to reach the HDF core if the perimeter is not sealed with 100 percent silicone. In high-moisture areas like those near showers, even the best laminate requires a vapor barrier and careful expansion gaps.
I get tired of hearing sales reps tell people they can put laminate in a full bath with a shower and never worry. That is a lie. If you have a teenager taking a twenty minute steam shower, that moisture is going into the air. It will find the expansion gap at the wall. It will get under the baseboard. Once that moisture hits the raw edge of the plank, it is over. The core will swell like a sponge. This is why the hammer tap is so important in bathrooms. If you have a hollow spot near a shower, that is where the moisture will collect and sit. You need to seal every single perimeter inch with a high-quality silicone. Do not use caulk. Use silicone. It remains flexible so the floor can still move, but it keeps the water out of the core. If you do not do this, your waterproof floor will be in the dumpster in two years.
- Check subfloor flatness with a 10-foot straightedge before starting.
- Remove all old carpet staples and adhesive residue.
- Apply a 6-mil poly vapor barrier over all concrete slabs.
- Allow laminate to acclimate in the room for 48 to 72 hours.
- Maintain a 1/4 inch to 3/8 inch expansion gap around all vertical obstructions.
- Perform the hammer tap test before installing baseboards to catch errors early.
“Subfloor flatness shall be within 3/16 inch in 10 feet or 1/8 inch in 6 feet.” – NWFA Professional Standards
The fatal mistake of skipping the grinder
Grinding high spots in a subfloor is an essential step that cannot be replaced by adding more underlayment or padding. High spots act as fulcrums for laminate planks, causing them to teeter and putting extreme pressure on the locking mechanisms. A diamond-cup grinder is the only professional way to remove these humps in concrete, while a belt sander is required for wood subfloors.
People are afraid of the dust. I get it. Grinding concrete creates a cloud that will find its way into your kitchen cabinets three rooms away if you are not careful. But you cannot ignore a hump. If you have a high spot, and you try to fix it by putting extra underlayment in the low spots around it, you are building a trampoline, not a floor. The extra cushion will cause the floor to bounce. That bounce will eventually break the click-lock joints. I use a shroud on my grinder hooked up to a HEPA vacuum. It is the only way to do it right. You have to take that hump down until the straightedge sits dead flat. If you skip this, no amount of hammer tapping or expensive underlayment will save your floor from failing. You will be calling me in six months to rip it all out and start over. Do it right the first time so you only have to do it once.