The ‘Quarter Trick’ for Checking Proper Slope on a Shower Curb
Most guys skip the leveling compound. They think the underlayment will hide the dip. It won’t. I spent three days grinding concrete on a job last month just so the floor wouldn’t click like a castanet. That job was supposed to be a simple laminate install over an old slab. Instead, I found a half inch belly in the center of the room that would have snapped every locking tab within a week. You cannot hide physics with a foam pad. If the foundation is out of whack, your finish material is already failing. This is especially true when we talk about wet areas like showers. A shower curb that is not sloped correctly is a slow motion disaster for your carpet install or laminate in the hallway. Water does not care about your tile choice. It only cares about gravity and capillary action. When that curb is flat or, heaven forbid, pitched outward, moisture will migrate under your baseboards and rot out the subfloor before you even notice the smell of mold. This guide breaks down the mechanics of the quarter trick and the structural necessity of proper pitch in modern flooring architecture.
The physics of the failing shower curb
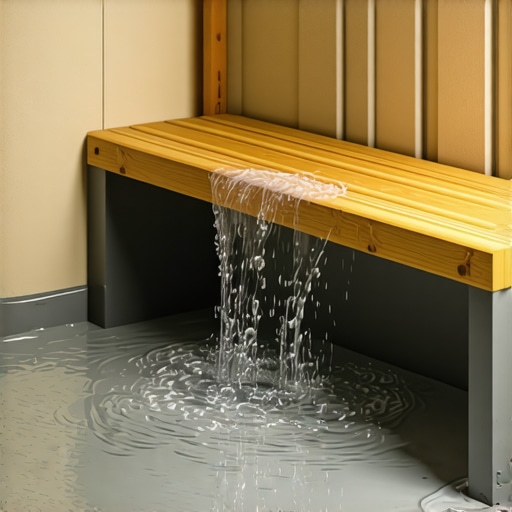
A properly sloped shower curb must have a minimum inward pitch of one eighth to one quarter inch toward the drain to prevent water migration. This ensures that gravity pulls moisture off the horizontal surface of the curb and back into the waterproofed pan area where it can safely exit through the drainage system. Without this pitch, water dwells on the grout lines and eventually finds a path through the smallest pinhole in the sealant. This leads to saturation of the subfloor and the eventual failure of any adjacent laminate or carpet install. I have seen thousand dollar rugs ruined because a tiler forgot that water does not move uphill.
“A floor is only as good as the subfloor beneath it; deflection is the enemy of every joint.” – Master Flooring Axiom
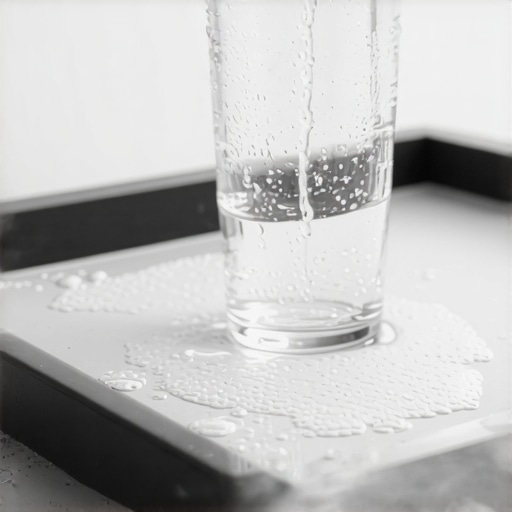
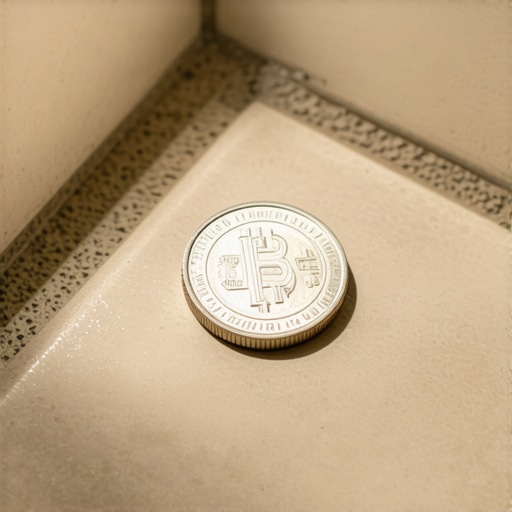
The mechanics of water movement are relentless. In a shower environment, we deal with surface tension and hydrostatic pressure. When you spray a shower head, the water hits the walls and runs down to the curb. If that curb is dead level, the water sits. Surface tension keeps it in a pool. If the bathroom is humid, that water stays there for hours. It begins to penetrate the grout. Even high quality epoxy grout is not a substitute for proper slope. The quarter trick is a field test used by old school mechanics to verify that the tile setter did their job before the glass doors go in. You place a quarter on the curb. If the coin does not immediately begin to slide or lean toward the shower interior, the curb is flat. A flat curb is a failed curb. You want that coin to show a clear bias toward the drain. If the coin rolls toward the bathroom floor, you are looking at a tear out. Do not let anyone tell you they can fix it with a bead of silicone. Silicone is a maintenance item, not a structural waterproofing solution.
The quarter trick saves your subfloor
To perform the quarter trick, place a standard US quarter on the center of the finished shower curb and observe the tilt. If the coin sits perfectly flat, the curb lacks the necessary pitch to shed water into the pan. If the coin tilts toward the bathroom, the curb is pitched incorrectly and will leak. This simple check identifies drainage issues that lead to floor leveling problems and subfloor rot in adjacent rooms. Most installers ignore this because they are in a rush to get to the next job. But if you are installing laminate or carpet next to that shower, you are the one who will get the callback when the floor starts to swell or the carpet padding starts to stink.
When we zoom into the chemistry of the installation, we see why this matters. Thin set mortar is a hydraulic cement. It is designed to hold tile, not to act as a waterproof barrier. Most people do not realize that tile and grout are porous. Water travels through them via capillary action. This is the same process that pulls water up into a tree. If the curb is not sloped, the water stays in the mortar bed. It becomes a reservoir. This reservoir eventually reaches the wooden framing of the curb. If that wood gets wet, it expands. When it expands, it cracks the grout. Now you have a direct highway for water to hit your subfloor. If you have a carpet install in the master bedroom that touches this shower, the pad will act like a sponge. It will suck that water right out from under the tile. I have pulled up carpet that was bone dry on top but black with mold underneath because of a flat curb three feet away.
Leveling compound is not a suggestion
Floor leveling requires a subfloor that is flat within three sixteenths of an inch over a ten foot radius to prevent material failure. Using a high quality self leveling underlayment or SLU is the only way to achieve the surface profile needed for large format tile or click lock laminate. Ignoring these tolerances leads to vertical deflection which snaps the tongues and grooves of your flooring. I have seen guys try to shim a floor with extra layers of roofing felt or cardboard. It is hack work. It fails every time. You need to grind the high spots and fill the low spots with a cementitious compound that has a compressive strength of at least 3,000 PSI.
| Material Type | Janka Hardness | Acclimation Time | Max Subfloor Moisture |
|---|---|---|---|
| Solid White Oak | 1360 | 7 to 14 Days | 4 percent over subfloor |
| Engineered Maple | 1450 | 3 to 5 Days | 12 percent total MC |
| Laminate Core | N/A | 48 Hours | Relative Humidity 75 percent |
| Luxury Vinyl Plank | N/A | 48 Hours | 85 percent RH |
The chemistry of self leveling underlayment is fascinating. These products use calcium aluminate cement instead of standard Portland cement to provide rapid strength gain and low shrinkage. When you mix a bag of SLU, you are initiating a complex exothermic reaction. The water to powder ratio is the most important part of the process. If you add too much water, you dilute the polymers and the floor will dusty and soft. If you use too little, it will not flow and you will end up with ridges that are harder than rock to grind down. I always use a spiked roller to break the surface tension and release trapped air bubbles. This ensures a dense, flat surface that is ready for any floor leveling project. Without this step, your laminate will feel like a trampoline. Every step will produce a hollow thud that screams cheap labor.
Why your subfloor is lying to you
Subfloors often appear flat to the naked eye but contain significant dips and crowns that ruin flooring installs. You must use a straightedge or a laser level to verify the topography of the room before any material is unboxed. Moisture is the primary cause of subfloor movement, especially in regions with high humidity. In a place like Houston, the air is so thick you can wear it. That humidity gets into the crawlspace and swells the OSB or plywood. If you lock that moisture in with a vapor barrier and then put a floor on top, the subfloor will cup and bow as it tries to dry out. The floor is a living, breathing part of the house. It is not a static object.
- Check subfloor moisture with a pin meter before starting any work.
- Grind down high spots in concrete using a diamond cup wheel and HEPA vacuum.
- Apply a primer specifically designed for the leveling compound to ensure a chemical bond.
- Install an expansion gap of at least one quarter inch around the entire perimeter.
- Verify the slope of all wet area curbs using the quarter trick or a torpedo level.
The interaction between different materials is where most failures occur. Take a transition between a tile shower and a carpet install. Most guys just tuck the carpet into a tack strip and call it a day. But if the floor leveling was not done correctly, you have a height mismatch. This creates a trip hazard and a point of mechanical stress. The carpet will wear out faster at the transition because the foot traffic is hitting it at an angle. The same goes for laminate. If the transition is not dead level, the T molding will rattle every time you walk on it. It drives homeowners crazy. It makes the whole house feel like it was built on sand. I spend more time on the prep than I do on the actual install. That is the difference between a floor that lasts fifty years and one that lasts five.
“Water follows the path of least resistance, and usually, that path leads directly to your most expensive investment.” – TCNA Handbook Commentary
The ghost in the expansion gap
Expansion gaps are required for all floating floors to allow for the natural expansion and contraction caused by temperature and humidity changes. If you push your laminate tight against the baseboards or the shower curb, the floor has nowhere to go when the humidity rises. It will lift off the subfloor in the middle of the room. This is called peaking. It looks like a mountain range in your living room. You need to leave at least a quarter inch, sometimes a half inch depending on the run length, to give the floor room to move. I have seen entire floors buckle and rip the baseboards right off the wall because the installer did not leave a gap. They thought it looked cleaner without the gap. They were wrong. It looked like a wreck. Professional flooring architecture requires an understanding of these mechanical forces. You are building a system, not just laying planks. Every component, from the moisture barrier to the wear layer, has a job to perform. If one part fails, the whole system collapses. That is why the quarter trick is so important. It is the first line of defense in a complex engineering challenge. You are protecting the subfloor. You are protecting the investment. You are making sure the house stays standing and dry for the next generation. It is not just sawdust and glue. It is physics. It is chemistry. It is the craft of the master floor architect.