How to patch a hole in the subfloor before leveling
I smell like WD-40 and oak dust most days. My knees are a wreck and my knuckles have permanent scars from thirty years of wrestling with 3/4 inch solid oak. Most guys walk onto a job site and look at the wall colors. I look at the floor. I look at the way the light hits the surface to see the dips, the waves, and the failures. I spent three days grinding concrete on a job last month just so the floor wouldn’t click like a castanet. Most guys skip the leveling compound. They think the underlayment will hide the dip. It won’t. I had a client once who thought their laminate was defective. It wasn’t. The installer left a two-inch plumbing hole open under the padding. Every time they stepped there, the locking mechanism groaned. Eventually, it snapped. That is why we patch.
The structural reality of a failed substrate
Patching a hole in the subfloor requires **clearing debris**, **checking joist integrity**, and **installing a structural bridge** using **CDX plywood** or **OSB panels**. This prevents **vertical movement** and ensures the **self-leveling underlayment** does not leak through the gap during the **hydration process**. If you do not seal the void, your expensive leveling compound will simply disappear into the crawlspace or the basement below. You are not just filling a gap. You are restoring the load-bearing capacity of the floor system. When you are preparing for a carpet install or laying down laminate, the subfloor is the only thing standing between a quality finish and a structural nightmare. Showers are even more sensitive. A hole near a drain flange is a recipe for a catastrophic waterproofing failure.
“A floor is only as good as the subfloor beneath it; deflection is the enemy of every joint.” – Master Flooring Axiom
Why your subfloor is lying to you
Your subfloor might look flat from six feet up, but the physics of wood and moisture tell a different story. Wood is hygroscopic. It breathes. It moves. A hole in your subfloor, whether from a relocated HVAC vent or a rotted section of plywood, creates a localized point of high deflection. When you pour a self-leveling compound over an unpatched hole, you are adding weight to a weakened structure. The compound itself is heavy. If the patch is not mechanically fastened to the joists, the weight of the leveler will cause the patch to sag. This creates a new dip. You must understand the L/360 rule. This is the industry standard for deflection. It means the floor should not bend more than the length of the span divided by 360. If you have a hole, your deflection is infinite at that point. You must fix the geometry before you touch the chemistry.
The geometry of a proper patch
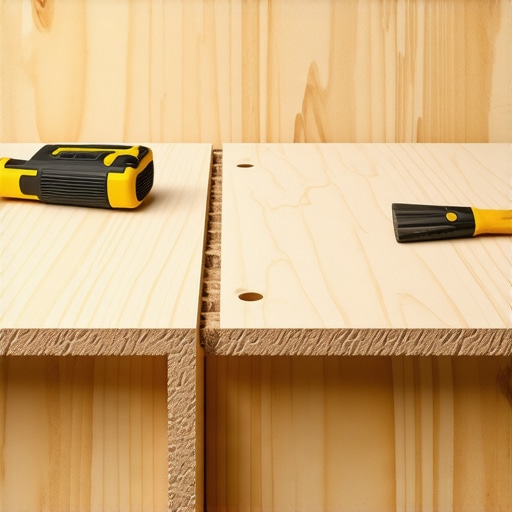
A square hole is easier to fix than a round one. When I find a jagged hole, I take my circular saw and I cut it back to the center of the nearest joists. You cannot just screw a piece of wood into the air. You need a shoulder. If you are patching between joists, you must install blocking. I use 2×4 or 2×6 scrap wood. I screw it into the existing joists to create a frame. This is the skeleton of your floor. Without it, the patch is just a loose tooth. For laminate installations, this is the difference between a floor that feels like a solid rock and one that feels like a trampoline. In showers, this blocking is what supports your pre-slope and your liner. Never trust a patch that is only held in by nails. Use structural screws. They have higher shear strength and they will not pull out when the wood dries out during the winter months.
| Material Type | Thickness Requirement | Fastener Type | Acclimation Time |
|---|---|---|---|
| CDX Plywood | Match existing (3/4 or 5/8) | #8 Deck Screws | 48 Hours |
| OSB (AdvanTech) | Match existing | Ring Shank Nails | 24 Hours |
| Cement Board | 1/2 inch (Wet areas only) | Thin-set and Screws | None |
| Self-Leveler | 1/8 to 1 inch | Mechanical Bond | 24 Hours |
Chemistry of the bond
Once the wood is in place, you have to worry about the interface between the wood and the leveler. Wood is porous. Leveler is a cementitious product. If you pour leveler directly onto dry plywood, the wood will suck the moisture out of the leveler too fast. This ruins the hydration process. The leveler will become brittle and crack. You must use a primer. This is usually an acrylic or SBR latex liquid. It seals the wood pores and creates a sticky surface for the leveler to grab onto. I have seen guys use cheap primer from big-box stores that looks like watered-down milk. Do not do that. Buy the primer that matches your leveler brand. They are engineered to work together at a molecular level. This is where the chemistry of floor leveling becomes more important than the carpentry. If the bond fails, the whole floor fails.
“Substrate preparation is 90% of the labor but 100% of the success in any finished flooring installation.” – TCNA Standard Handbook
The 1/8 inch that ruins everything
The National Wood Flooring Association is very clear about tolerances. A floor must be flat within 1/8 of an inch over a 6-foot radius or 3/16 of an inch over a 10-foot radius. If your patch is sitting 1/4 inch too high, you are in trouble. You will be grinding that wood down until your lungs are full of dust. I always aim to set my patch slightly lower than the surrounding floor. It is much easier to fill a shallow dip with leveler than it is to plane down a high spot. When preparing for a carpet install, people think they can be sloppy. They think the pad will hide it. But over time, the foot traffic will wear the carpet fibers faster over a high spot. You will see a dark line appear on the carpet where it rubs against the subfloor. Precision is not an option. It is a requirement.
- Inspect the joists for any signs of rot or insect damage before closing the hole.
- Vacuum the entire area to remove every grain of sawdust. Dust is a bond breaker.
- Apply a high-quality wood glue or construction adhesive to the joists before laying the patch.
- Space your screws every 6 inches along the perimeter of the patch.
- Seal the seams with a silicone-based caulk or specialized tape to prevent leveler leakage.
- Mix your self-leveling compound with a high-speed drill to ensure no lumps remain.
Professional subfloor restoration steps
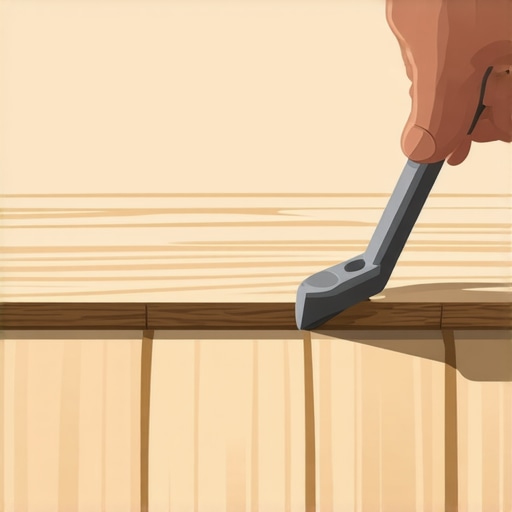
The first step is always moisture testing. I do not care if the house is fifty years old or five days old. I use a pin-type meter to check the moisture content of the subfloor. If the wood is over 12% moisture, you are asking for trouble. You are locking that moisture in when you pour leveler on top. Once the moisture is verified, cut your patch to fit tight. I mean tight. If I can fit a nickel in the gap, it is too wide. I want a friction fit. After the patch is screwed down, I run a straight edge over it. I look for any light passing under the level. If I see light, I know exactly where the leveler needs to go. This is the part of the job that separates the professionals from the handymen. It is tedious. It is boring. But it is why my floors do not squeak and my tiles do not crack. If you treat the subfloor like a structural engineering project, your finished floor will last a lifetime.