How to Install a Flush-Mount Vent in a Laminate Floor
Most guys skip the leveling compound. They think the underlayment will hide the dip. It won’t. I spent three days grinding concrete on a job last month just so the floor wouldn’t click like a castanet. The homeowner wanted a flush-mount vent, but their slab looked like the rolling hills of Kentucky. If you do not get the subfloor within 1/8 inch over a 10-foot radius, that fancy vent is going to be a tripping hazard or a source of snapping floor boards within a week. I have seen it a thousand times. You cannot hide physics behind a piece of decorative wood. This project is not about aesthetics, it is about structural engineering on a microscopic scale.
The structural anatomy of a flush mount transition
A flush-mount vent installation requires a fixed frame integrated into the subfloor and a removable grate that sits level with the laminate surface. Unlike traditional drop-in vents that overlap the floor edges, these units sit inside the floor plane. This creates a challenge for a floating floor system that needs to move. Laminate floors expand and contract with seasonal humidity changes. If you pin the floor down with a vent frame, you are asking for the joints to separate or the planks to peak. You have to create a pocket where the floor can breathe while the vent stays anchored to the substrate.
Why your subfloor is lying to you
Subfloor levelness is the single most important factor in a successful flush-mount vent installation on a laminate surface. Before you even think about cutting into your expensive planks, you must take a 6-foot straight edge to the area around the duct opening. Any dip greater than 1/16 inch will cause the laminate to flex away from the vent frame. This movement eventually breaks the tongue and groove locking system. I once saw a $10,000 floor ruined because the installer ignored a minor hump near the HVAC return. The floor bounced every time someone walked by, and eventually, the laminate wear layer chipped off. You must grind down high spots and fill low spots with a high-compressive-strength cementitious leveler.
“A floor is only as good as the subfloor beneath it, deflection is the enemy of every joint.” – Master Flooring Axiom
The physics of expansion and contraction
Laminate floors are composed of high-density fiberboard that reacts to environmental moisture by expanding along its width and length. When you install a flush-mount vent, you are essentially creating a hole in a moving fabric. You must leave a minimum of 1/4 inch expansion gap between the edge of the laminate and the exterior of the vent frame. This gap is often hidden by the frame itself or a small piece of matching trim, but it must exist. Without it, the floor will press against the vent during the humid summer months. The pressure will cause the floor to buckle in the center of the room. I have seen floors lift three inches off the subfloor because some amateur tight-fitted a vent. Use spacers during the installation to ensure that gap remains consistent around the entire perimeter of the vent.
Tools for surgical precision in floating floors
Success in this task requires more than just a hammer and a prayer. You need tools that can handle the high aluminum oxide content of laminate wear layers without burning the material. Laminate is essentially a photograph glued to sawdust and coated in liquid sandpaper. It eats cheap blades for breakfast.
- Oscillating multi-tool with a carbide-grit blade for plunge cuts
- Fixed-base router with a 1/2 inch shank carbide bit
- Digital calipers for measuring plank thickness versus vent height
- High-tack painter tape to prevent surface chipping
- Polyurethane construction adhesive with a high shear strength
- Pneumatic pin nailer for securing the frame to the subfloor
The 1/8 inch that ruins everything
Matching the height of the vent to the height of the laminate floor is the most technically demanding part of the process. Laminate flooring typically ranges from 7mm to 12mm in thickness, plus the underlayment. Most flush-mount vents are designed for 3/4 inch solid hardwood. This means you will likely need to shim the subfloor underneath the vent or plane down the vent frame. If the vent is 1/32 inch higher than the floor, it will catch socks and furniture. If it is 1/32 inch lower, it becomes a dirt trap. Use a digital caliper to measure your total floor stack height, including the compressed underlayment. Subtract that from the vent thickness to determine exactly how much material you need to remove or add to the substrate.
Adhesive chemistry for the permanent bond
The vent frame must be permanently bonded to the subfloor using an adhesive that can withstand the vibrations of the HVAC system and foot traffic. Do not use standard wood glue for this. You need a moisture-cured polyurethane adhesive. These adhesives expand slightly as they cure, filling small voids in the subfloor and creating a rock-solid bond. However, you must be careful not to let the adhesive get into the expansion gap of the laminate. If the laminate gets glued to the vent frame, the floor is no longer floating. It is now anchored, and it will fail. Apply the adhesive only to the bottom of the vent frame and use a few 18-gauge pin nails to hold it in place while the chemical bond sets over 24 hours.
Janka ratings and material density
When selecting a vent, you must consider the density of the material. Laminate is very hard but brittle. The vent should ideally be made of a material that can handle similar impact. Most vents are red oak or white oak. Refer to the table below for material comparison.
| Material Type | Janka Hardness Rating | Expansion Rate | Recommended Use |
|---|---|---|---|
| Red Oak | 1290 | Moderate | Standard residential |
| White Oak | 1360 | Low | High traffic areas |
| HDF Laminate | N/A (Very High) | High | Main floor surface |
| Bamboo | 3000+ | Extreme | Avoid with laminate |
“Wood is a hygroscopic material; it never stops moving regardless of the finish applied to the surface.” – NWFA Technical Guidelines
The surgical cut in the floor
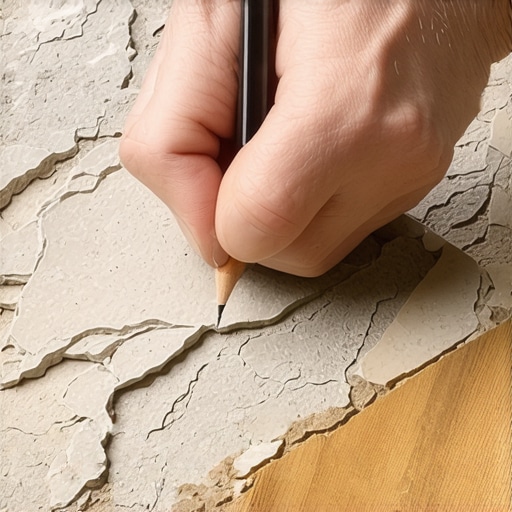
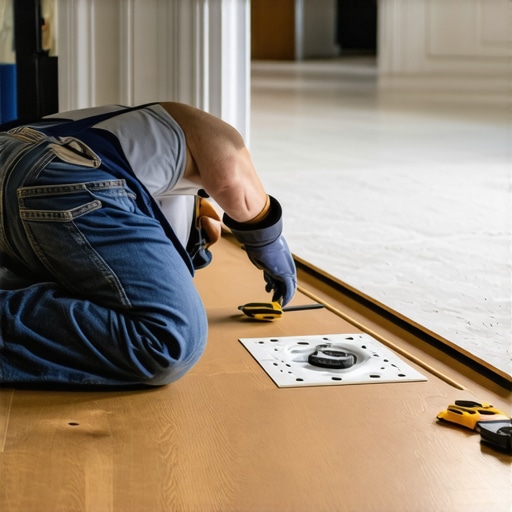
Cutting the hole for the vent frame requires a steady hand and a sharp blade to avoid melting the laminate resin. Start by marking your cut lines on painter tape rather than the floor itself. This prevents the laminate from splintering. Use an oscillating tool for the corners and a circular saw with a fine-tooth carbide blade for the long runs. If you are installing the vent after the floor is already down, you must be extremely careful not to cut into the subfloor or any radiant heating elements that might be buried in the slab. Once the cut is made, vacuum the area thoroughly. Any debris left in the expansion gap will cause the floor to creak when someone walks near the vent. This is the difference between a pro job and a DIY disaster.
How to maintain the thermal envelope
Installing a vent is not just about the floor, it is about the airflow. Ensure the ductwork is properly aligned with the new vent frame. If there is a gap between the subfloor duct and the vent, air will leak into the floor cavity. This can lead to localized moisture buildup under your laminate. Over time, this moisture will cause the HDF core to swell and the edges of your planks to peak. Use high-quality foil tape to seal the duct to the subfloor before you drop the vent frame into place. This keeps the air going into the room where it belongs. It also prevents the whistling sound that occurs when air escapes through small gaps in the floor assembly.
Final thoughts on floor integrity
A flush-mount vent is a mark of a high-end installation, but only if executed with mechanical precision. You are balancing the needs of a stationary HVAC component with the needs of a moving floor. Respect the expansion gaps. Level your subfloor until it is perfect. Use the right chemistry for your adhesives. If you follow these rules, the floor will look like a single, continuous plane for decades. If you cut corners, the floor will remind you of your mistakes every time the furnace kicks on. Take your time. Measure the moisture. Get it right the first time.”