The ‘Hair Dryer’ Hack for Removing Minor Scratches from Laminate
The science of thermal expansion in synthetic resins
Laminate flooring repair using a hair dryer involves the thermal manipulation of the melamine resin wear layer. By applying focused heat, the polymers within the aluminum oxide coating achieve a state of minor plasticity, allowing the surface abrasion to swell and close. This technique is specifically effective for minor scratches and surface scuffs that have not fully penetrated the decorative paper layer or the HDF core.
I spent three days grinding concrete on a job last month just so the floor wouldn’t click like a castanet. Most guys skip the leveling compound. They think the underlayment will hide the dip. It won’t. If you have a dip in that subfloor, no amount of heat from a hair dryer is going to fix the structural failure coming your way. I have seen guys try to use heat to fix a floor that was basically a trampoline. It does not work that way. You have to respect the physics of the installation. I smell like oak dust and WD-40 most days because I actually do the work. I do not just look at the pretty colors. I look at the flatness of the slab. I look at the moisture levels. If you ignore the foundation, the finish is just a countdown to a disaster. A floor is a structural assembly, not a rug. You have to treat it with the same respect you would give an engine block or a load-bearing wall.
The thermal mechanics of melamine and aluminum oxide
Melamine resin acts as the primary binder in high pressure laminate construction, providing the rigidity and impact resistance required for AC4 and AC5 ratings. When you introduce heat from a hair dryer, you are essentially agitating the molecular bonds of the resin. This thermal agitation can cause the edges of a scratch to expand slightly. If the scratch is just a deformation of the plastic layer and not a material removal, the heat can reset the surface tension. It is a subtle re-flow process that can mask the refractive index of the damage. This makes the scratch disappear from the human eye because the light no longer catches on the jagged edges of the torn polymer. It is not magic. It is thermodynamics applied to construction materials.
“A floor is only as good as the subfloor beneath it; deflection is the enemy of every joint.” – Master Flooring Axiom
The step by step guide to the hair dryer method
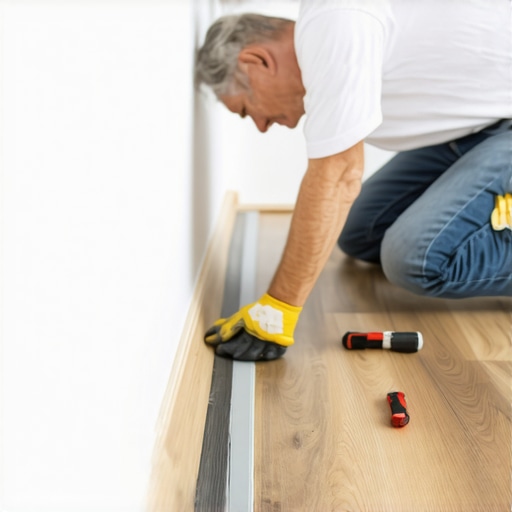
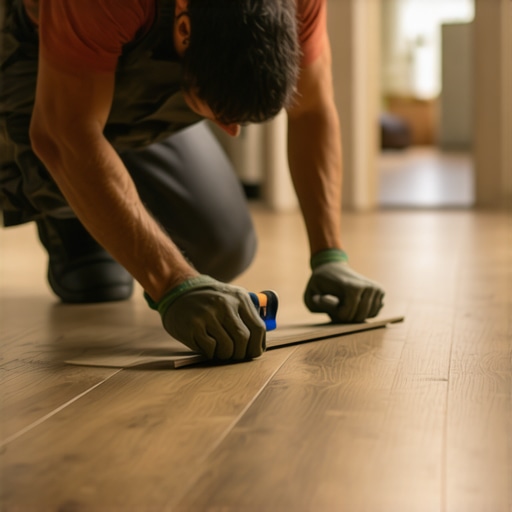
Removing scratches with a hair dryer requires a clean surface and a high heat setting to reach the glass transition temperature of the wear layer. You must hold the nozzle approximately six inches from the laminate surface and move it in a continuous circular motion to avoid delamination. Once the melamine is warm to the touch, use a clean microfiber cloth to buff the scratch in the direction of the embossed grain. This mechanical friction combined with the residual heat encourages the plastic deformation to self-correct. Do not use a heat gun. A heat gun produces concentrated temperatures exceeding 1,000 degrees Fahrenheit, which will char the decorative layer and vaporize the adhesive holding the plank together. Stick to the hair dryer. It is safer for the synthetic components.
The 1/8 inch that ruins everything
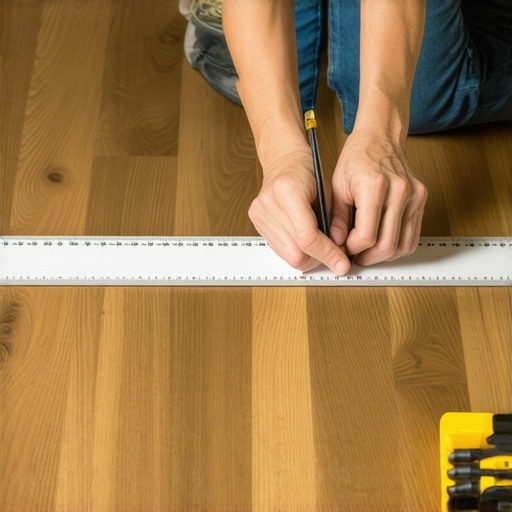
Floor leveling is the most ignored aspect of laminate installation, yet it is the fundamental requirement for a durable floor. If your subfloor has a deviation of more than 1/8 inch over 10 feet, the locking mechanisms will flex every time you step on them. This repetitive stress leads to fatigue failure. The hair dryer hack will not fix a broken tongue and groove. When the joints fail, moisture from showering or cleaning enters the unsealed HDF core, causing irreversible swelling. I have seen people try to sand down swollen laminate. That is a fools errand. You are just removing the protection and exposing the compressed sawdust to more ambient humidity. You might as well throw a bucket of water on a paper bag. Level your floors. Use a self-leveling underlayment. Do the prep work or do not bother installing the floor.
Comparing laminate durability and wear layers
Laminate planks are categorized by their Abrasion Class or AC rating, which determines their resistance to wear and mechanical stress. The wear layer thickness is measured in mils, and the density of the HDF core dictates the impact resistance. Selecting the wrong grade for your traffic level will result in premature failure that no repair kit can solve. [IMAGE_PLACEHOLDER]
| AC Rating | Typical Mil Thickness | Recommended Usage | Durability Level |
|---|---|---|---|
| AC3 | 12 mil | Residential Living Areas | Moderate |
| AC4 | 20 mil | Heavy Residential and Light Commercial | High |
| AC5 | 22+ mil | Heavy Commercial and Retail | Extreme |
The checklist for long term laminate maintenance
Maintaining laminate involves a strict regimen of moisture control and abrasive prevention to preserve the integrity of the wear layer. You must proactively manage the environment to prevent the hygroscopic expansion of the fiberboard core. Follow these professional standards to keep your floor from buckling or scuffing.
- Use a moisture meter to verify the subfloor relative humidity is below 12 percent before installation.
- Maintain indoor humidity between 35 and 55 percent to prevent plank shrinkage.
- Apply felt pads to all furniture legs to prevent mechanical gouging of the melamine.
- Ensure a 1/4 inch expansion gap exists around the entire perimeter of the room.
- Never use a steam mop, as the forced vapor will delaminate the edges.
“Moisture is the primary cause of laminate failure, specifically when the relative humidity of the subfloor exceeds 75% without a proper vapor retarder.” – NWFA Technical Standards
The chemistry of polymer repair sticks and fillers
Laminate repair kits use a blend of wax and hard resins to fill deep gouges that the hair dryer method cannot reach. These fillers are thermoplastic, meaning they soften with heat and harden at room temperature. When you use a melting tool to apply the repair wax, you are creating a mechanical bond with the surrounding laminate. The viscosity of the melted wax allows it to flow into the microscopic pores of the HDF core. Once it cools and cross-links, it becomes a durable part of the surface. However, the color matching is the difficult part. You have to layer the colors to mimic the natural variation of wood grain. It is part art and part industrial chemistry. If you do it right, the repair is indistinguishable from the original plank. If you do it wrong, it looks like a crayon smudge on your expensive floor.
The ghost in the expansion gap
Thermal expansion is an absolute reality for every floating floor system. Laminate is essentially wood fibers suspended in resin. It moves with the seasons. In the humid summers of the South, the planks will grow. In the dry winters of the North, they will shrink. If you do not leave an expansion gap under your baseboards, the floor will bind against the wall. This causes peaking, where the planks push against each other and rise off the subfloor. No hair dryer hack is going to fix a peaked floor. You have to pull up the trim and cut the boards back to give the floor room to breathe. It is a structural necessity. I have seen heavy kitchen islands pinned to a laminate floor, effectively locking it in place. The floor buckled in the middle of the kitchen because it had nowhere to go. It was a disaster. You cannot fight physics. You have to work with it. Give the floor space. Let it move. That is the secret to an installation that lasts thirty years instead of thirty days.