The ‘Silicone Bead’ Rule for Waterproofing Kitchen Sink Cutouts
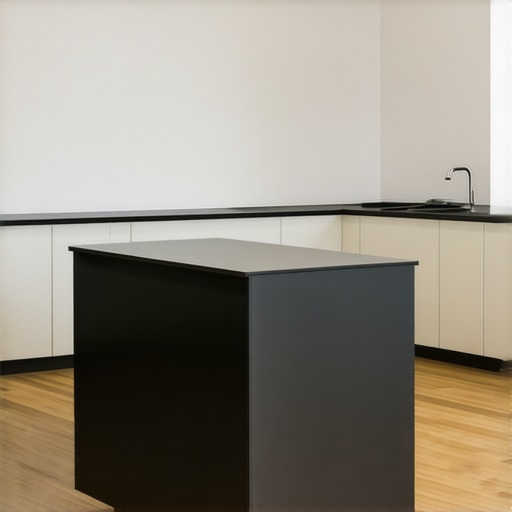
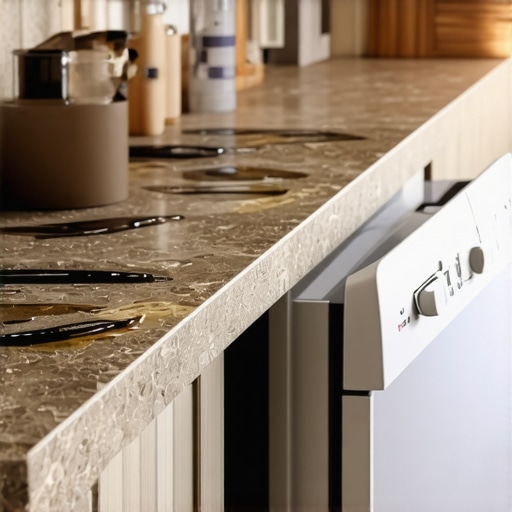
I have spent twenty-five years on my knees with a moisture meter in one hand and a level in the other. I know the smell of WD-40 and fresh oak dust better than I know the scent of my own home. Most people look at a floor and see a color or a pattern. I see a structural performance surface that is constantly under attack from gravity, humidity, and the physics of expansion. Homeowners always ask why their waterproof vinyl is buckling after just a year. Usually, it is because they locked it under a heavy kitchen island or failed to treat the raw edges at the sink. I once walked into a house where a beautiful kitchen renovation turned into a nightmare. A high-end laminate was installed perfectly across the room, but the installer skipped the silicone bead around the dishwasher and sink cutout. A minor leak from a loose supply line sent water straight into the raw core of the planks. Within forty-eight hours, the floor had swelled three-quarters of an inch. The entire kitchen had to be torn out because a ten-dollar tube of silicone was missing. That is the reality of the trade. If you do not respect the chemistry of the materials, the materials will fail you.
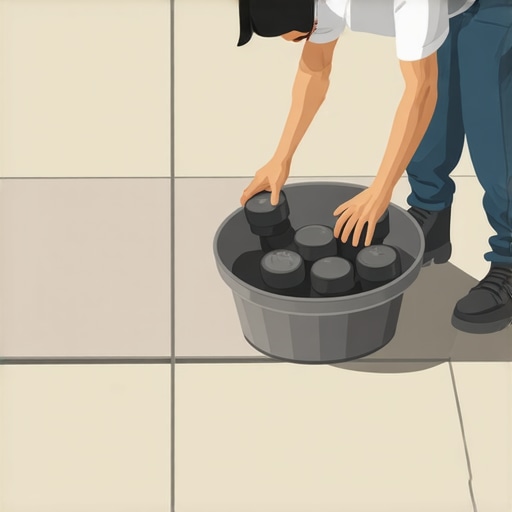
The hidden vulnerability of the raw laminate edge
Applying a silicone bead to the raw edges of kitchen sink cutouts is the only way to prevent moisture from infiltrating the core of laminate or LVP floors. This process creates a hydrophobic barrier that stops capillary action from pulling water into the absorbent material of the plank core. When you make a cut in a plank to fit around a pipe or a cabinet base, you are exposing the vulnerable center. In laminate, this is often High-Density Fiberboard or HDF. In some vinyl products, it is a Wood Plastic Composite or WPC. These materials are thirsty. Even if the surface is waterproof, the interior is not. Water from a sink splash or a dishwasher vent finds these raw edges and begins the process of delamination. Once the core absorbs water, it loses its structural density. The locking mechanisms fail. The floor begins to click and crunch when you walk on it. I have seen guys try to use cheap latex caulk for this. It is a mistake. Latex is water-based and will eventually shrink or crack. You need one hundred percent silicone because it remains flexible and maintains a chemical bond that water cannot break. It is about creating a seal that moves with the house.
“A floor is only as good as the subfloor beneath it; deflection is the enemy of every joint.” – Master Flooring Axiom
The physics of floor leveling and subfloor preparation
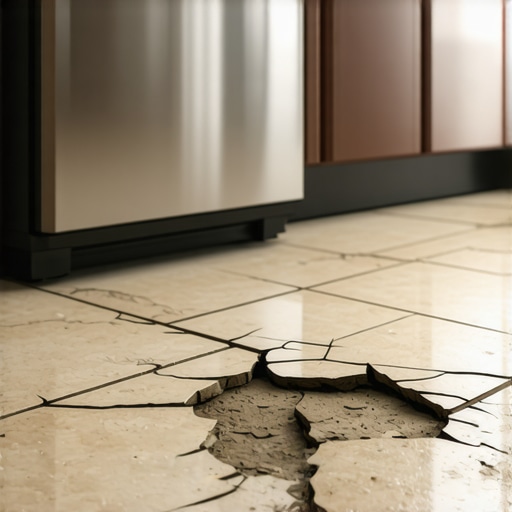
Floor leveling requires a flat surface within three-sixteenths of an inch over a ten-foot radius to ensure the structural integrity of the locking joints. Using a self-leveling underlayment creates a monolithic surface that prevents the vertical movement which leads to joint fatigue and eventual breakage. Most installers think the underlayment will hide the dips in a concrete slab. It will not. It will only cushion the sound while the joint slowly snaps. I spent three days grinding concrete on a job last month just so the floor would not click like a castanet. If the subfloor has a birdbath or a high spot, the floor will bounce. This bounce creates a vacuum effect that can actually pull moisture up from the crawlspace or the slab. When we talk about floor leveling, we are talking about engineering a foundation. You need to check the compressive strength of the leveling compound. It should be at least 3,000 PSI for residential use. If you are going over wood, you need a lath to ensure the compound does not crack when the house settles. It is a messy, dusty process, but skipping it is the fastest way to ruin a twenty-thousand-dollar installation. People want the aesthetic, but they do not want to pay for the prep. I tell them that the prep is the floor. The planks are just the clothes the floor wears.
| Core Material Type | Density (kg/m3) | Water Resistance Rating | Expansion Coefficient |
|---|---|---|---|
| HDF (Laminate) | 850-950 | Low (Unless Sealed) | High |
| WPC (Vinyl) | 500-600 | High | Medium |
| SPC (Stone Composite) | 1900-2100 | Extreme | Low |
| Solid Wood | 600-800 | Minimal | Very High |
The transition from kitchens to showers and wet areas
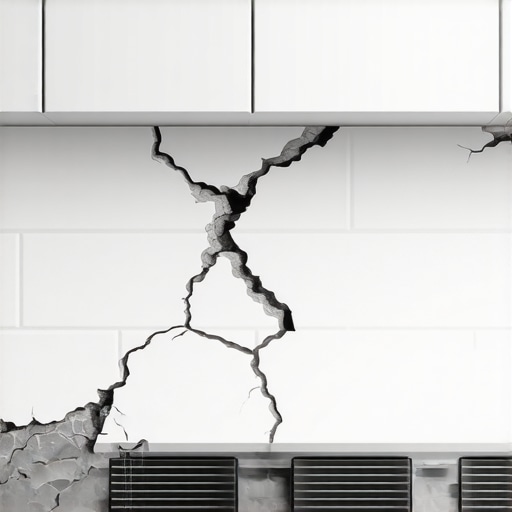
Showers and wet room transitions require integrated waterproofing systems that manage vapor transmission through the subfloor to prevent mold growth and structural rot. The use of an uncoupling membrane is mandatory to prevent the transfer of stress from the subfloor to the tile or grout lines. When a flooring project moves from the kitchen into a bathroom or near showers, the rules change completely. You are no longer just dealing with occasional splashes. You are dealing with vapor pressure. In these areas, the silicone bead rule applies to every single perimeter gap. You cannot leave anything to chance. I have seen beautiful tile jobs in showers fail because the installer did not understand the Tile Council of North America standards for slope and drainage. The water does not just sit on top of the tile. It moves through the grout. If your subfloor is not perfectly level and waterproofed with a liquid membrane or a sheet-bonded system, that water will find the wood underneath. It will rot the joists. I have had to replace entire subfloors because someone thought a bit of thin-set was enough of a barrier. It is not.
Why carpet install logic fails in modern kitchens
Carpet install techniques rely on tension and tack strips which offer zero protection against moisture infiltration or subfloor imperfections. While carpet provides thermal resistance, it acts as a giant sponge that traps contaminants and moisture against the structural wood. I despise seeing carpet anywhere near a kitchen or a bathroom. It is a relic of bad design. The tack strips are usually made of cheap plywood that rots the moment it gets wet. When we do a carpet install in a bedroom, we are looking for a tight stretch to prevent ripples. But in a kitchen, you need a hard surface that can be sanitized. The problem is that many homeowners treat their LVP like it is carpet. They think they can just throw it down and it will be fine. They do not realize that while carpet hides a bad subfloor, LVP highlights it. Every hump in the plywood will show through. Every dip will cause a soft spot. If you want a floor that lasts, you have to move away from the carpet mindset of hiding problems and move toward the architectural mindset of fixing them.
- Check the moisture content of the subfloor using a pin-style meter before starting.
- Apply a generous bead of one hundred percent silicone to all cabinet cutouts.
- Ensure a quarter-inch expansion gap around the entire perimeter of the room.
- Use a tapping block and a dead-blow hammer to seat joints without damaging the tongues.
- Vacuum every square inch of the subfloor to remove debris that causes crunching.
The chemical reality of adhesives and wear layers
Wear layers are measured in mils and determine the lifespan of a floor against abrasive force while the adhesive chemistry determines the bond strength against lateral shifting. A twenty-mil wear layer is the industry standard for high-traffic residential areas to prevent the pattern from wearing through. People get confused by the thickness of the plank. They think a thicker plank is better. That is not always true. I would take a thin SPC with a heavy wear layer over a thick WPC with a weak one any day of the week. The wear layer is a urethane coating, often reinforced with aluminum oxide. It is what stands between your dogs claws and the printed image of the wood. Then there is the adhesive. If you are doing a glue-down install, you need to understand the flash time. If you set the floor too early, the moisture in the glue gets trapped. If you wait too long, the glue skins over and won’t grab. It is a narrow window. Most guys just spread it and start laying. Then a year later, the planks are shifting because they never got a proper bond. You have to watch the humidity in the room. If it is too high, the glue won’t cure. If it is too dry, it cures too fast. You have to be a chemist and an engineer at the same time to get this right.
“Moisture is the silent killer of the built environment; it always finds the path of least resistance.” – TCNA Technical Bulletin
The ghost in the expansion gap
Expansion gaps allow for the natural movement of the home and the flooring material during seasonal humidity shifts without causing peaked joints or buckling. A minimum gap of one-fourth to three-eighths of an inch must be maintained at every vertical obstruction including walls and pipes. I have seen people caulk their expansion gaps shut. They think it looks better. It is a death sentence for the floor. When summer hits and the humidity rises, the floor expands. If it has nowhere to go, it will push against the wall until it has no choice but to pop up in the middle of the room. This is why we use spacers. This is why the silicone bead rule is so specific. The silicone is flexible. It allows the floor to move while still keeping the water out. It is a specialized solution for a specific problem. You have to leave that gap under the baseboards. Do not pin the floor down with heavy transition strips or kitchen islands. A floating floor must be allowed to float. If you lock it down, you are fighting physics. And physics never loses a fight. I have spent my life learning these rules the hard way. I have crawled through enough moldy crawlspaces to know that the only way to build a floor is to build it for the worst-case scenario. That means leveling the subfloor, sealing the cutouts, and respecting the expansion gaps. Anything else is just a temporary decoration.