The ‘Paper Test’ for Finding Hidden High Spots on a Concrete Floor
The paper test for perfection
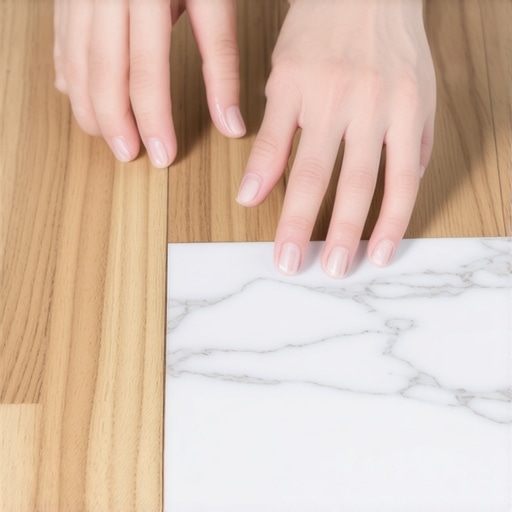
The paper test for finding hidden high spots involves sliding a standard sheet of paper under a ten-foot straightedge to locate subfloor irregularities. This precision diagnostic method identifies high points in concrete that exceed the one-eighth-inch tolerance required for floating floor installations like laminate or luxury vinyl plank.
I spent three days grinding concrete on a job last month just so the floor would not click like a castanet. Most guys skip the leveling compound. They think the underlayment will hide the dip. It won’t. I walked into that job site smelling like WD-40 and oak dust, ready to find the ghost in the machine. The homeowner thought the slab was fine because it looked gray and flat. But concrete is a liar. It curls at the edges and slumps in the middle during the curing process. If you do not find those high spots before the laminate goes down, you are essentially building a bridge that is destined to collapse under the weight of a footfall.
Why your concrete subfloor is lying to you
A concrete subfloor may appear visually level while actually containing sinusoidal waves and heaved aggregates that ruin flooring transitions. These hidden high spots are often the result of poor screeding, uneven curing, or hydrostatic pressure pushing up through the porous slab structure during seasonal humidity shifts.
When we talk about concrete, we are talking about a chemical reaction, not a drying process. As the water leaves the mix, the top of the slab dries faster than the bottom. This causes the edges of the slab to curl upward, creating a bowl effect or localized humps. In my twenty-five years of knee-breaking work, I have seen slabs that looked like the surface of the moon once you put a proper level on them. For a carpet install, you might get away with a few ripples, but for laminate or LVP, those humps are the enemy of the locking mechanism.
“A floor is only as good as the subfloor beneath it; deflection is the enemy of every joint.” – Master Flooring Axiom
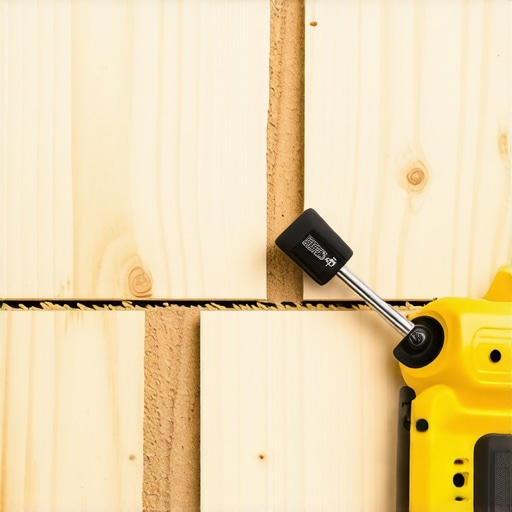
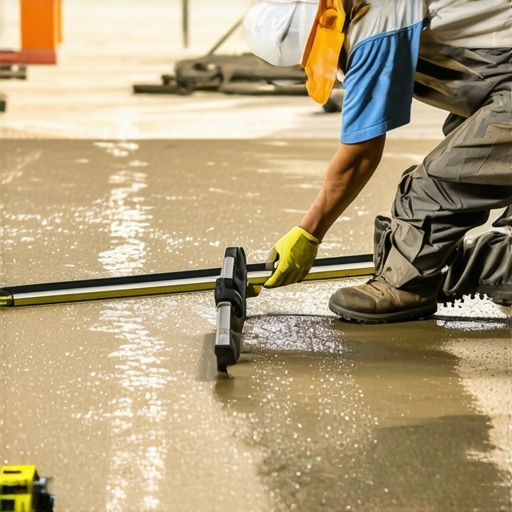
The mechanics of the ten foot straightedge
The ten-foot aluminum straightedge serves as the primary reference plane for detecting vertical deviations in a concrete subfloor. By maintaining a rigid horizontal datum, the installer can identify gaps or high spots that violate the industry standard flatness of three-sixteenths of an inch within ten feet.
You cannot use a four-foot level for this. It is too short to see the big picture. You need a ten-foot screed bar or a dedicated straightedge. Lay it across the room. If the bar teeters on a point like a see-saw, you have found a high spot. If there is air under the bar, you have a dip. The paper test is how you quantify that hump. Take a sheet of printer paper. If you can slide it under the bar in some places but it gets stuck in others, you are looking at the micro-physics of your floor. The pressure of the bar on that high spot is exactly where your laminate will eventually crack or separate.
The chemistry of moisture and concrete adhesion
Concrete moisture vapor emission rates or MVER determine the chemical bond strength of floor leveling compounds and adhesives. High alkalinity levels at the slab surface can cause osmotic blistering or adhesive re-emulsification, leading to flooring failure in wet areas like showers or basement installs.
I always tell my clients that concrete is a sponge. It looks solid, but at a molecular level, it is full of capillaries. When you level a floor, you are not just pouring goop on a rock. You are creating a chemical bond. If that slab is too wet, your self-leveling underlayment will pop right off like a scab. You need to check the moisture. I use a calcium chloride test or a pinless meter. If the moisture is too high, you need a vapor barrier. Never trust a slab that has not been cured for at least twenty-eight days. Even then, the humidity in the room can change the physics of the concrete. In a carpet install, the pad might hide some moisture, but it will eventually smell like a swamp if you do not address the vapor drive.
| Floor Type | Flatness Tolerance (10ft) | Acclimation Time | Moisture Limit |
|---|---|---|---|
| Solid Hardwood | 1/8 inch | 7-14 Days | 4 percent |
| Laminate Flooring | 1/8 inch | 48 Hours | 5 percent |
| LVP (Vinyl) | 3/16 inch | 48 Hours | 8 percent |
| Ceramic Tile | 1/8 inch | None | 10 percent |
The snapping sound of thin vinyl
Luxury vinyl plank or LVP requires a dead-flat subfloor because the locking joints are structurally brittle under point-load pressure. When a plank bridges a high spot, the tongue and groove mechanism undergoes mechanical stress, eventually leading to joint separation and audible clicking sounds.
People love the word waterproof. They think they can throw LVP over anything. They are wrong. While most people want the thickest underlayment, too much cushion actually causes the locking mechanisms on LVP to snap under pressure. That extra padding allows the floor to bounce too much. When that bounce hits a high spot you missed because you were too lazy to do the paper test, the joint snaps. It sounds like a dry twig breaking. Once it snaps, there is no fixing it. You are pulling up the whole floor. That is why floor leveling is not an option; it is a requirement.
“Surface flatness is measured by the change in elevation over a specific distance, typically three-sixteenths of an inch within ten feet.” – NWFA Professional Guidelines
The paper test checklist for installers
- Clean the concrete slab of all debris and drywall mud to ensure the straightedge sits flush.
- Place a 10-foot straightedge in a starburst pattern across the room to cover all angles.
- Attempt to slide a single sheet of paper under the straightedge at one-foot intervals.
- Mark areas where the paper cannot pass with a red crayon to indicate high spots.
- Mark areas where the straightedge can be pushed down more than 1/8 inch as low spots.
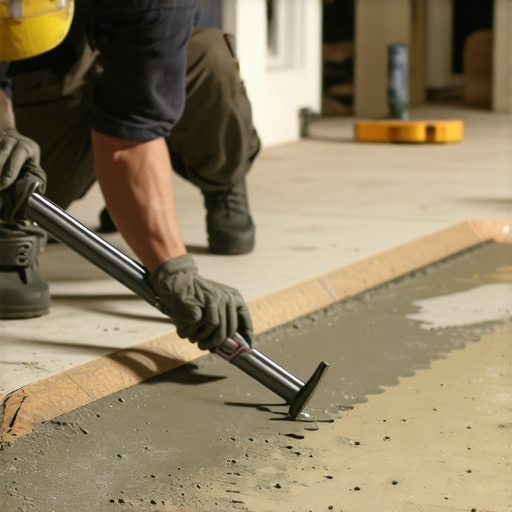
- Use a diamond cup wheel grinder for high spots and polymer-modified leveler for low spots.
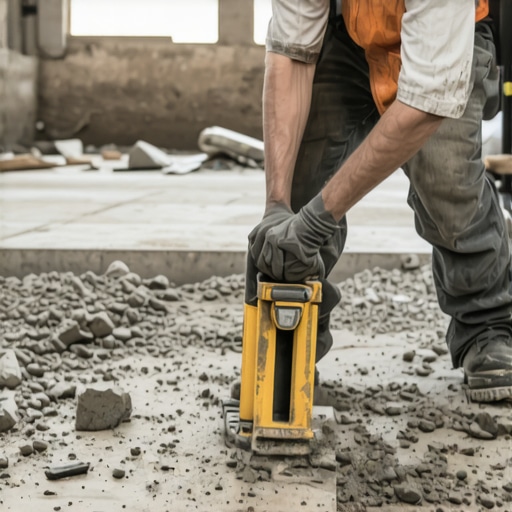
Grinding vs filling the concrete surface
Concrete grinding removes localized high spots using diamond-segmented abrasive wheels, while floor leveling involves cementitious compounds to fill low-lying depressions. A flat subfloor is achieved by balancing these two processes to create a uniform plane for the finished flooring material.
Grinding is a dirty, nasty job. It creates a cloud of silica dust that will coat your lungs if you are not wearing a HEPA-filtered vacuum and a respirator. But it is the only way to handle a hump. You cannot just fill around a high spot and expect it to work out. You have to take the head off the mountain. Once you grind the high spot down, you check it again with the paper test. If the paper slides through with just a tiny bit of resistance, you are in the money. Then you move to the low spots. I prefer a high-flow self-leveling underlayment. It flows like water and finds the horizon. It is physics. You cannot argue with gravity. This is especially true for showers. If your shower pan or floor leveling is off by even a fraction, the water will pool, and you will have mold before the year is out.
The structural impact of unlevel subfloors
An unlevel subfloor creates hollow spots that increase impact noise and reduce the lifespan of the flooring wear layer. For laminate and hardwood, a lack of subfloor integrity leads to deflection, which weakens the adhesive bond or the mechanical fasteners over time.
It is not just about the look. It is about the sound. You ever walk on a floor that sounds hollow? That is the sound of a contractor who did not do his job. That hollow sound is air. Air between your floor and the slab because the slab has a dip. Or, you feel a hard spot under your foot like a rock in your shoe. That is the high spot. Every time you step on it, you are grinding the back of your flooring against the concrete. It is like sandpaper. Eventually, you will wear right through the bottom of the plank. Do the work. Use the paper. Grind the humps. Fill the dips. Your knees and your customers will thank you.