The ‘Shadow Test’ for Finding Uneven Spots in Your Subfloor Prep
The 1/8 inch that ruins everything
Subfloor flatness determines the lifespan of any floor. A flat surface is defined by most manufacturers as having no more than 1/8 inch deviation over a 10-foot radius. Failing to address these micro-dips leads to locking mechanism failure, hollow sounds, and structural fatigue in laminate or LVP materials.
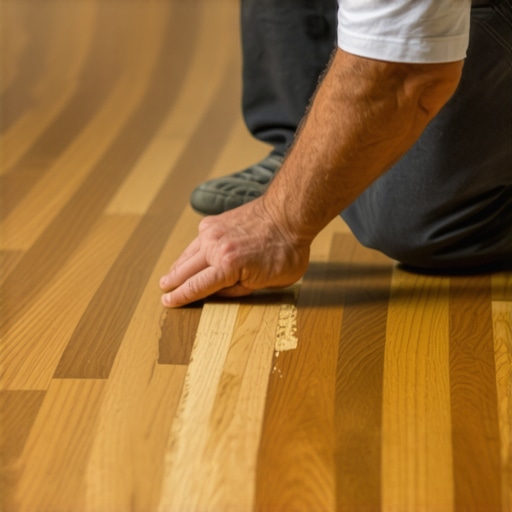
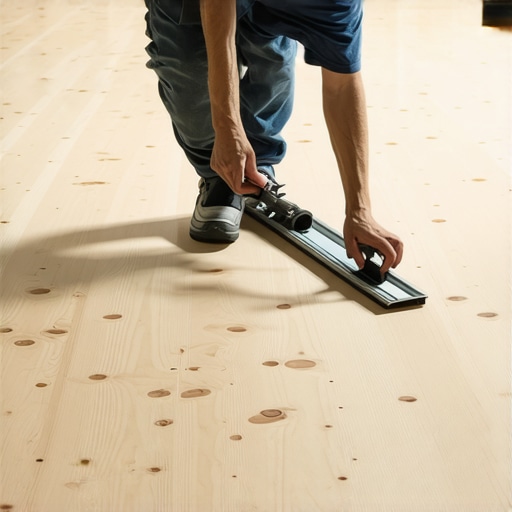
Most guys skip the leveling compound. They think the underlayment will hide the dip. It won’t. I spent three days grinding concrete on a job last month just so the floor wouldn’t click like a castanet. The homeowner had bought a beautiful engineered oak, but the concrete slab looked like the surface of the moon. If I had just laid the boards over those waves, the tongue and groove joints would have snapped within six months. This is the reality of floor leveling. It is not about making it pretty. It is about the physics of load distribution. When you step on a plank that bridges a dip, you are putting hundreds of pounds of pressure on a plastic or wood joint never designed to act as a bridge. It will buckle. It will squeak. It will eventually break. My hands still vibrate from the grinder, but that floor is now a monolithic slab of stability. People focus on the wear layer. They should focus on the sand and cement underneath. [image_placeholder_1]
How the shadow test exposes structural lies
The shadow test involves placing a high-intensity LED light source directly on the subfloor surface to reveal low spots. By casting long shadows across the substrate, installers can identify deflections and peaks that are invisible to the naked eye under standard overhead lighting. This method is the industry standard for pre-installation inspections.
You cannot trust your eyes when you are standing up. Ambient light from windows or overhead cans washes out the subtle variations in a subfloor. To perform the shadow test correctly, you need a powerful flashlight, preferably one with a flat side so it stays still on the floor. Turn off all the house lights. Close the blinds. Place the light on the ground and let the beam skim the surface. Any bump in the plywood or concrete will cast a long, dark shadow behind it. Any dip will look like a dark pool where the light cannot reach. I use a pencil to circle these areas immediately. This is where the floor leveling compound needs to go. I have seen slabs that looked perfectly fine until the light went down. Suddenly, you see the ridges left by a bad trowel job or the way the house has settled toward the center beam. This test is the only way to ensure your laminate or hardwood does not bounce when walked upon.
“A floor is only as good as the subfloor beneath it; deflection is the enemy of every joint.” – Master Flooring Axiom
The chemical bond of modern leveling compounds
Self-leveling underlayment utilizes Portland cement and polymer modifiers to create a high-flow material. These compounds require a specific water-to-powder ratio to maintain structural integrity and compressive strength. Proper priming of the substrate ensures a chemical bond that prevents the leveler from delaminating under dynamic loads.
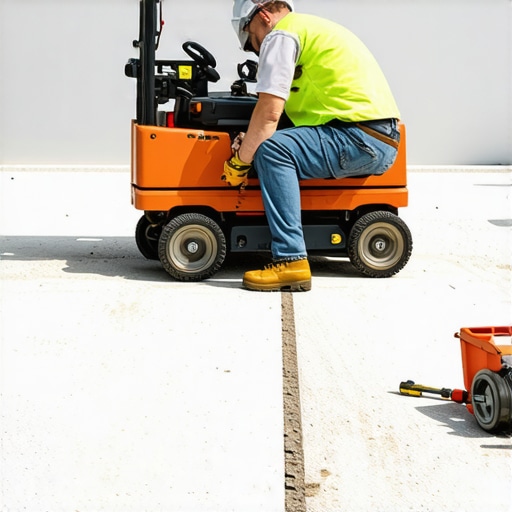
You cannot just pour some wet cement into a hole and call it a day. The chemistry of a high-end leveler is complex. If you add too much water, the polymers separate and rise to the top, leaving a brittle, chalky surface that will crumble under the weight of a refrigerator. If you do not use the right primer, the dry concrete subfloor will suck the moisture out of the leveler before it can bond. This creates a cold joint. Eventually, that patch will break loose and start clicking. I prefer a high-flow, calcium aluminate based product for its rapid strength gain. It shrinks less than standard Portland mixes. When I am working on floor leveling, I am looking at the surface tension of the liquid. It needs to flow like thick cream, finding its own level while maintaining enough body to fill the deepest voids. This is the difference between a floor that lasts forty years and one that fails in four.
| Metric | Laminate Requirement | Solid Hardwood | LVP/SPC Vinyl |
|---|---|---|---|
| Flatness Tolerance | 1/8 inch per 10 feet | 3/16 inch per 10 feet | 3/16 inch per 10 feet |
| Moisture Content | < 12% MC | 6% to 9% MC | < 75% RH (Slab) |
| Expansion Gap | 3/8 inch | 3/4 inch | 1/4 inch |
| Subfloor Type | Plywood/Concrete | Wood Only | Any Flat Surface |
Why carpet install logic fails for hard surfaces
A carpet install relies on thick padding to mask minor subfloor imperfections through compression. Unlike hardwood or laminate, carpet is a flexible textile that does not require absolute flatness for structural survival. However, severe dips will still cause premature wear and puckering in the backing material over time.
I have seen many homeowners transition from carpet to laminate and get a nasty surprise. They think because the carpet felt fine, the floor was flat. Carpet is a liar. It hides the sins of the builder. When you pull up that tan shag, you are going to find transitions between plywood sheets that are offset by a quarter inch. You will find staples, drywall mud, and dips that would snap a laminate locking system in a heartbeat. You cannot rely on a foam underlayment to fix this. Foam compresses. If the subfloor is not flat, the foam just follows the contour of the dip. I tell people all the time that the floor leveling stage is the most expensive part of the labor because it is the most vital. If you are doing a carpet install, sure, you can get away with a lot. But the moment you move to a hard surface, every bump becomes a mountain and every dip becomes a valley.
Showers and the geometry of drainage
Shower installations require a subfloor slope of 1/4 inch per foot toward the drain to ensure hydrostatic pressure does not build up. This geometry is achieved through pre-sloped mortar beds or integrated foam trays. Without precise floor leveling and pitching, standing water leads to mold growth and waterproofing failure.
When we move into the bathroom, the rules change from flat to pitched. But the precision is the same. I have fixed dozens of showers where the tile looked great but the water pooled in the back corner. The installer didn’t understand the geometry of the pan. You need a consistent slope. In the world of showers, floor leveling means creating a perfect cone toward the drain. We use a mud bed, a mix of sand and Portland cement that is barely damp. We pack it down to create a rock-hard substrate. This is where the chemistry of thin-set matters. If the substrate is dusty or uneven, the tile will not bond. The shadow test even works here. You can see the humps in the mud bed that will cause a tile to lippage. Lippage in a shower is a trip hazard and a cleaning nightmare. It is all about the prep.
“Deflection is the silent killer of tile; if the subfloor moves, the grout will crack.” – TCNA Handbook Principle
The moisture meter and the hidden enemy
Subfloor moisture is a gaseous threat that causes wood expansion and adhesive failure. Measuring relative humidity (RH) within a concrete slab or moisture content (MC) in wood joists is mandatory before floor leveling begins. High moisture levels will rot organic materials and emulsify standard flooring glues.
You can have a floor that is flat as a pool table and it still won’t matter if it is wet. I never start a job without my Tramex or Delmhorst meter. I check the plywood. I check the concrete. If the slab is over 4 percent moisture, we have a problem. In a basement, that moisture is constantly trying to move upward through the slab. If you put a vapor-impermeable floor like LVP over it without a barrier, you are trapping that water. It will turn into a science project under your feet. It smells like old gym socks. The floor leveling compound can also be affected. Some levelers are not moisture stable and will turn back into mush if the slab gets too damp. You have to understand the site conditions. The dry heat of Phoenix will shrink your baseboards until they show a gap, while the swampy humidity of Houston means solid wood is a death wish. You need engineered cores in those environments. Always check the climate before you check the level.
- Check subfloor for fasteners and debris
- Perform shadow test with high-intensity light
- Measure moisture content in three locations per room
- Grind high spots and fill low spots with leveler
- Apply primer before any cementitious patches
- Vacuum the entire surface to ensure bond strength
Laminate and the click lock catastrophe
Laminate flooring relies on a floating installation where the entire floor move as a single unit. This system requires a flat subfloor to allow for thermal expansion and contraction without binding. Uneven spots create frictional resistance that leads to gap opening and joint separation during seasonal changes.
Laminate is often sold as a DIY product, which is dangerous. People think they can just click it together. But laminate is unforgiving. If there is a hump in the middle of the room, the floor will teeter-totter on it. Every time you walk across the room, you are bending those thin MDF joints. Eventually, they will fatigue and snap. Then you get gaps. Once a gap opens, moisture from a mop can get into the core and the floor will swell like a sponge. It is a chain reaction of failure that starts with a bad subfloor. I always tell clients that I would rather they buy a cheaper floor and spend more on the floor leveling than buy an expensive floor and put it over a mess. The shadow test takes ten minutes. Fixing a failed floor takes ten days. Do the math.