The Blue Primer Rule: How to Stop Floor Leveler from Peeling Like Dried Glue
The subfloor secret that prevents catastrophic bonding failure
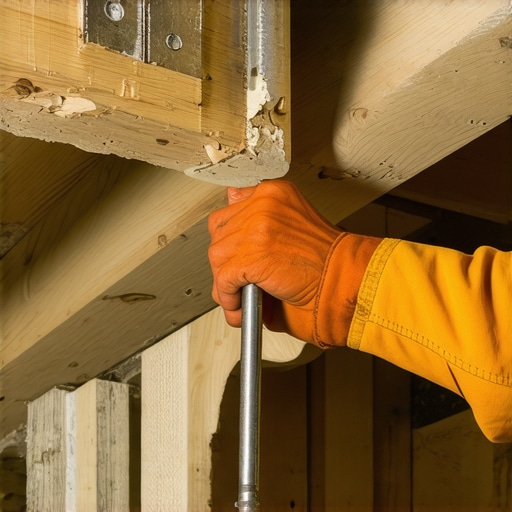
Most floor installers skip the leveling compound or rush the prep work because they think the underlayment or the flooring itself will hide the dip. It won’t. I spent three days grinding concrete on a commercial job last month just so the floor wouldn’t click like a castanet. The previous crew had dumped five bags of self-leveling underlayment over a dusty, unprimed slab. When I arrived, I could slide a putty knife under the leveler and peel up three-foot sheets of it like it was dried craft glue. It was a $4,000 mistake that could have been avoided with a $50 bottle of primer and twenty minutes of patience. The bond between your leveler and the substrate is the single most important mechanical connection in the entire flooring assembly. If that bond fails, the integrity of your laminate, hardwood, or tile is irrelevant. You are building a house on sand.
The physics of a failing bond
Floor leveler fails to bond when the substrate is too porous, too dusty, or contaminated with sealers that prevent mechanical penetration. High-performance leveling compounds require a surface that allows for both mechanical and chemical interlocking. When you pour liquid leveler onto dry concrete, the concrete acts like a sponge, instantly sucking the moisture out of the leveler. This dehydration happens before the chemical resins in the leveler have time to cross-link and form a bond. The result is a brittle, powdery interface that snaps under the slightest deflection. To prevent this, a dedicated primer must be applied to seal the pores of the concrete, ensuring the leveler stays hydrated long enough to cure properly. This is the essence of the Blue Primer Rule. You must treat the subfloor as an active participant in the installation, not just a passive base.
Why your subfloor is lying to you
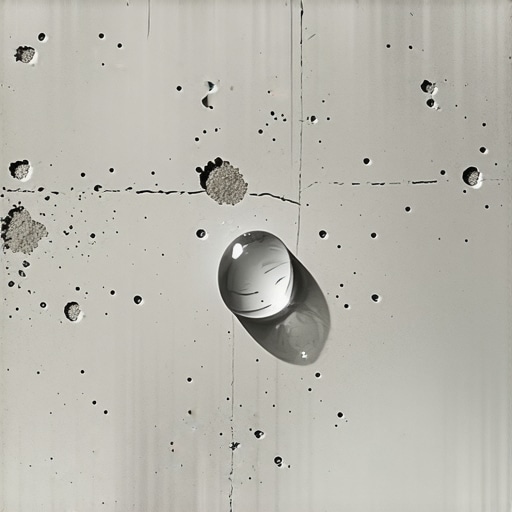
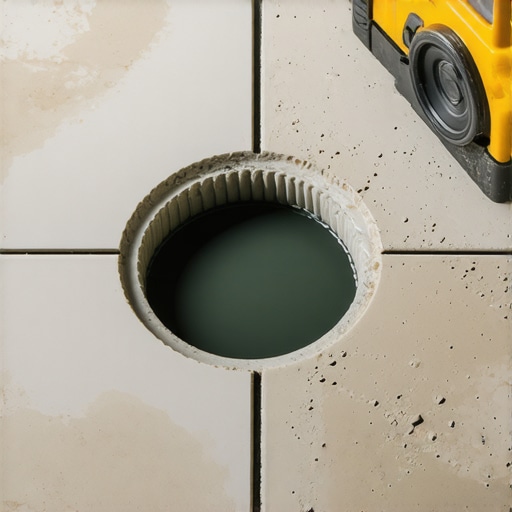
Concrete slabs look solid but they are actually a complex network of microscopic capillaries and pores. These pathways are formed during the hydration process of the concrete pour. If the slab was finished with a hard-trowel technique, it might look shiny and non-porous, but that is a surface illusion called laitance. Laitance is a weak, thin layer of cement and fine aggregates that rises to the surface. If you pour leveler on top of laitance, the leveler will stick to that weak layer, and eventually, the laitance will pull away from the main slab. You have to test the porosity. Drop a few beads of water on the floor. If the water beads up and stays there for ten minutes, your leveler will not stick. If the water disappears into the concrete in thirty seconds, the floor is too thirsty and will ruin your leveler without a double coat of primer.
“A floor is only as good as the subfloor beneath it; deflection is the enemy of every joint.” – Master Flooring Axiom
The blue primer rule and its chemical necessity
The term blue primer refers to the specialized acrylic or polyurethane bonding agents that often carry a tint to show coverage. These primers are not just paint. They are engineered resins designed to penetrate deep into the concrete capillaries. Once they dry, they create a bridge. One side of the resin is locked into the concrete, and the other side provides a tacky, high-surface-area face for the leveler to grab onto. In the world of showers and wet areas, this bond is even more vital. Hydrostatic pressure from beneath the slab can push moisture upward, a phenomenon known as osmotic blistering. Without a high-quality primer to mitigate the absorption rates, the leveler becomes a sacrificial layer that will eventually crumble when exposed to the micro-movements of a residential structure.
The 1/8 inch that ruins everything
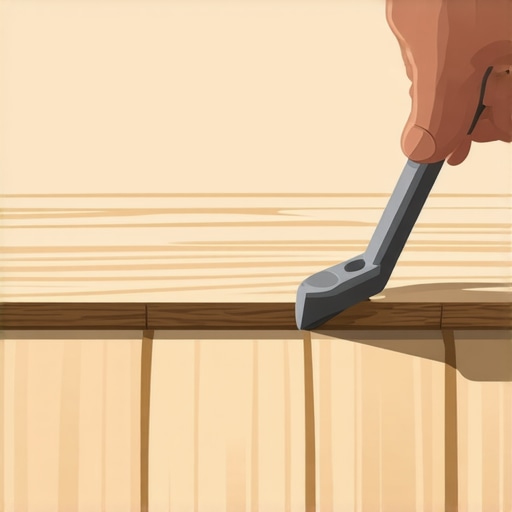
Floor flatness is measured in deviations over a specific span, usually 1/8 inch over ten feet. While that sounds like a tiny margin, it is the difference between a floor that lasts thirty years and one that fails in three. When you install a click-lock laminate floor over a dip, every time you step on that spot, the tongue and groove joint flexes. These joints are made of high-density fiberboard, which has a finite fatigue life. Eventually, the joint will snap. People blame the laminate quality, but the fault lies in the subfloor prep. Leveling compound is not an option; it is a structural requirement. You must use a straight edge to find these dips and fill them until the floor is dead flat. Relying on thick foam underlayment to fill a 1/4 inch hole is a recipe for a bouncy, noisy floor that will eventually separate.
Preparation comparison for various subfloors
| Subfloor Type | Surface Prep Required | Primer Type | Drying Time |
|---|---|---|---|
| New Concrete | Grind laitance, vacuum | Acrylic High-Bond | 2 to 4 Hours |
| Plywood/OSB | Screw every 6 inches, sand | Latex-based Primer | 1 to 2 Hours |
| Old Tile | Diamond grind, degloss | Epoxy-based Sand-cast | 12 Hours |
| Radiant Heat | Thermal expansion gap | Heat-stable Acrylic | 4 Hours |
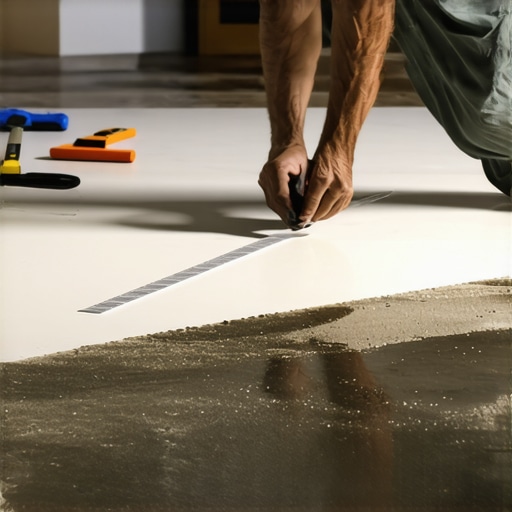
The moisture test that saves your profit
You cannot eyeball moisture. I have seen slabs that looked bone dry but registered 95 percent relative humidity with an in-situ probe. The National Wood Flooring Association is very clear on this. You need to know the moisture vapor emission rate. If you pour leveler over a wet slab without a moisture vapor barrier, the leveler will trap that moisture. The alkaline salts in the concrete will then attack the leveler through a process called saponification if there are any adhesives involved, or simply cause the leveler to lose its structural integrity. Always use a calcium chloride test or a pinless moisture meter before you even think about opening a bag of leveler. If the moisture is too high, you need a specialized epoxy primer that acts as a vapor retarder.
“The integrity of the finished surface depends entirely on the mechanical bond achieved at the substrate level.” – NWFA Technical Guidelines
The checklist for a perfect leveling pour
- Remove all drywall mud, paint, and oil stains with a mechanical grinder.
- Vacuum the floor twice with a HEPA filter to remove micro-dust.
- Check the floor for cracks and seal them with an epoxy crack filler.
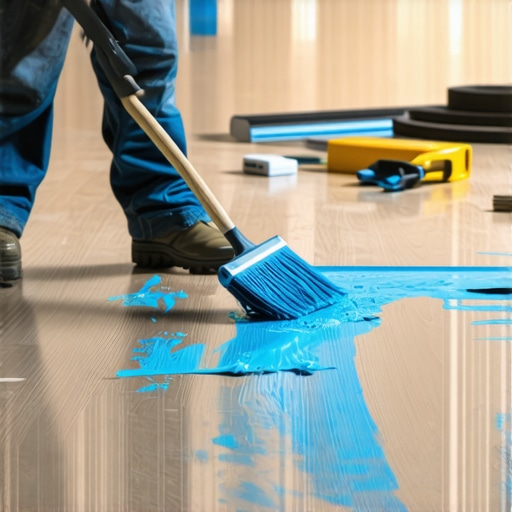
- Apply the primer using a 3/8 inch nap roller, ensuring no puddles.
- Wait for the primer to turn from a milky blue to a clear, tacky film.
- Mix the leveler with a high-torque drill and a non-entraining paddle.
- Use a gauge rake to set the depth and a spiked roller to release air bubbles.
- Keep the room at a constant temperature to prevent flash drying.
Carpet install and the hidden humps
Even though carpet is a flexible material, it is not an excuse for a bad subfloor. If you have a significant hump in the middle of a room, the carpet will wear unevenly at that peak. Over time, the backing of the carpet will delaminate because of the localized pressure. In high-end carpet installs, we level the floor just as meticulously as we would for tile. A flat floor allows the pad to distribute weight evenly, which extends the life of the fibers. If you feel a dip under your feet through a thick carpet and pad, it means the installer was lazy. A bag of leveler costs very little compared to the price of premium wool carpet. Do the work before the tack strips go down.
Chemical reactions in the bucket
Mixing leveler is a science, not a suggestion. If the bag calls for 5.5 quarts of water, do not add 6. Too much water causes the polymers to separate from the sand and cement. You will end up with a layer of white dust on top of your leveler once it dries. This is called carbonation, and it is a sign that the mix is structurally weak. Use a dedicated measuring bucket and a timer. You need to mix for exactly the duration specified by the manufacturer, usually two to three minutes. This ensures the dry resins are fully hydrated. If you see bubbles in the mix, you are mixing too fast and introducing air, which will lead to pinholes in your finished floor. A spiked roller is your best friend here, as it breaks the surface tension and allows the air to escape while the material is still fluid.
Showers and the slope of doom
In wet areas, the leveling process is even more technical. You aren’t just looking for flat; you are looking for a precise slope toward the drain. This is where the chemistry of modified thin-sets and waterproofing membranes comes into play. If your subfloor is not level before you start building your shower pan, the entire geometry of the tile will be off. I have seen showers where the water pools in the corners because the installer tried to fix a subfloor lean with the tile adhesive. That never works. Use a high-strength, water-resistant leveler to create a perfectly flat starting point. Once that foundation is solid, your waterproofing and tile will fall into place with mathematical precision. The blue primer rule is non-negotiable in bathrooms because of the constant thermal cycling and humidity changes.
The ghost in the expansion gap
Every floor needs to breathe. Even after you have leveled the floor to perfection, you must maintain an expansion gap at the perimeter. If you run your leveler tight against the drywall or the sill plate, you are creating a rigid bridge. When the house settles or the humidity changes, the floor has nowhere to go. It will buckle or crack your leveler. I always use foam expansion strips around the edges before I pour. This creates a soft joint that allows the slab and the leveler to move independently of the wall structure. It is a small detail that prevents the leveler from sounding like a bag of potato chips when the seasons change. The floor is a living system. Treat it with the respect its physics demands and it will stay quiet under your feet for a lifetime.