The ‘String Line’ Method for Finding Huge Humps in Long Hallways
A flat subfloor is the foundation of any successful flooring installation, yet it is the most frequently ignored phase of preparation. When you install floating laminate, luxury vinyl plank, or even stretch-in carpet over an uneven surface, you are setting the stage for structural failure. Over time, the constant deflection of the floor under foot traffic will snap locking joints, tear carpet backing, and create irritating squeaks that no amount of surface treatment can fix.
Understanding how to identify and remediate these subfloor variations before laying your finished material is the hallmark of professional craftsmanship. This guide breaks down the physics of subfloor leveling, details the classic string line diagnostic technique, and provides step-by-step physical solutions for wood and concrete substrates.
The costly mistake of ignoring subfloor preparation
Subfloor flatness determines the lifespan of laminate, luxury vinyl, and carpet installations because modern locking joints cannot withstand vertical deflection. When a floating floor spans a dip or sits atop a hump, the planks flex underfoot, putting immense stress on the thin tongue-and-groove profiles. Within months, these microscopic joints fatigue, crack, and separate, leading to open gaps and irreversible structural damage.
“A floor is only as good as the subfloor beneath it; deflection is the enemy of every joint.” – Master Flooring Axiom
Most guys skip the leveling compound. They think the underlayment will hide the dip. It won’t. I spent three days grinding concrete on a job last month just so the floor wouldn’t click like a castanet. The homeowner had purchased a high-end laminate, believing the marketing material that claimed the thick foam backing would cushion any minor subfloor imperfections. Within hours of walking through the hallway, the hollow tapping sound made it clear that the subfloor was shaped like a roller coaster. We had to pull up the entire installation, stack the planks carefully, and start grinding down three massive high spots that the previous crew ignored. It was an expensive lesson in physics.
When dealing with carpet install projects, installers often assume the thick pad will absorb subfloor humps. While a heavy polyurethane foam pad can mask small imperfections visually, a prominent high spot in a long hallway creates accelerated wear patterns. The carpet fibers directly over the hump receive disproportionate abrasion from foot traffic, leading to premature bald spots and fiber crushing. In wet areas like walk-in showers or adjacent bathroom entries, unlevel subfloors can lead to pooling water, compromised waterproofing membranes, and structural rot.
The physics of long hallways and the string line method
The string line method is the most reliable way to find subfloor humps in long hallways because it uses pure tension to establish a perfectly straight reference plane across vast distances. Unlike short levels that can ride up and down over gradual slopes, a highly tensioned mason line stretched from wall to wall reveals every micro-deviation. This simple physical tool exposes high spots and deep valleys with absolute geometric precision.
To execute this diagnostic test, you must understand the limits of traditional straightedges. A standard six-foot or eight-foot level is excellent for localized checking, but it fails in a twenty-foot hallway. If the hallway has a slow, rising crown that peaks in the middle, a short level will sit flat on that slope, giving you a false reading of levelness. The string line bypasses this limitation. By anchoring a strong nylon string tightly at both ends of the hallway and suspending it exactly one inch off the subfloor using identical spacer blocks, you create an unyielding reference plane. You then measure the gap between the string and the subfloor at regular intervals. Any measurement less than one inch indicates a hump; any measurement greater than one inch indicates a valley.
This method is critical for floating installations like laminate. The industry standard set by the National Wood Flooring Association and most major manufacturers is a tolerance of 3/16 of an inch over a 10-foot radius. If your hallway deviates more than this, your floating floor will bounce. The excessive movement creates a bellows effect, sucking air and microscopic dust up through the joints every time someone walks on the surface.
Step-by-step diagnostic guide using the tensioned line
Executing the string line method requires a high-tensile nylon line, two identical spacer blocks, a tape measure, and a pencil to map the subfloor topography. First, sweep the floor clean of all debris, drywall mud, and grit. Next, secure the string tightly across the longest axis of the hallway, ensuring the line is under extreme tension so there is zero sag in the middle of the run.
Follow this precise checklist to execute the diagnostic phase on your job site:
- Clear the hallway completely of baseboards, tack strips, and protruding fasteners.
- Select two identical wooden blocks exactly 1.00 inch thick to act as your end spacers.
- Secure the nylon mason line to heavy screws driven into the subfloor at the extreme ends of the hallway, keeping the line positioned over your path of travel.
- Place the spacer blocks under the line at each anchor screw, tensioning the string until it is as tight as a guitar string.
- Slide a third matching spacer block, or a digital caliper, under the line along the entire length of the hallway.
- Mark the locations where the block cannot pass under the line, these are your humps.
- Mark the locations where the gap between the subfloor and the string exceeds 1.00 inch plus the manufacturer tolerance, these are your valleys.
Once you have identified the problem areas, write the exact measurements directly on the subfloor with a black marker. Circle the boundary of each hump so you know exactly where to apply physical remediation. This visual map prevents you from wasting expensive self-leveling underlayment or grinding down areas that are already flat.
Comparing subfloor tolerances and remediation techniques
Different finished floor coverings require specific subfloor tolerances and physical preparation methods to ensure long-term structural integrity. While carpet is somewhat forgiving of minor gradual slopes, rigid floating floors like laminate require a highly controlled substrate. The table below outlines the specific requirements for common materials.
| Flooring Material | Maximum Allowable Tolerance | Primary Risk of Failure | Best Remediation Method |
|---|---|---|---|
| Laminate Flooring | 3/16 inch over 10 feet | Broken locking joints, hollow sounds | Sanding high spots, self-leveler in dips |
| Luxury Vinyl Plank (LVP) | 3/16 inch over 10 feet | Joint separation, telegraphing prep marks | Full-coverage self-leveler, grinding |
| Solid Hardwood (Nail-down) | 1/4 inch over 10 feet | Squeaks, loose fasteners, floor cupping | Plywood shims under joists, planing |
| Ceramic / Porcelain Tile | 1/8 inch over 10 feet | Cracked tiles, failed grout lines | Cementitious self-leveling underlayment |
| Stretch-in Carpet | 1/4 inch over 10 feet | Accelerated wear, backing delamination | Plywood patching compound, sanding |
Understanding these thresholds allows you to allocate your labor and materials efficiently. For example, a minor 1/8 inch dip over ten feet does not need intervention if you are installing a plush carpet with a thick pad. However, if you are installing a high-gloss laminate, that same 1/8 inch dip will cause a noticeable, irritating bounce every time it is stepped on.
Sanding and grinding down the high spots
To eliminate humps in wood subfloors, use a heavy-duty rotary sander equipped with 16-grit paper; for concrete, use a hand-held angle grinder with a premium diamond cup wheel. Physical abrasion is the only permanent solution for structural humps caused by crowned joists, swollen plywood seams, or uneven concrete pours. Always wear a high-efficiency particulate respirator and use active dust extraction during this process.
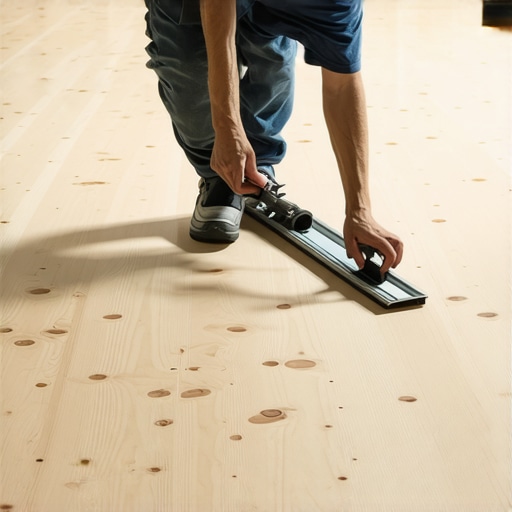
For wood subfloors, humps are typically caused by joists that have crowned upward or subfloor panels that have swollen along the seams due to moisture exposure during construction. Set your rotary sander to its lowest speed and work across the grain of the plywood or OSB. Never sand deeply in one spot; instead, use broad, sweeping motions to feather the high spot out into the surrounding flat areas. Check your progress frequently using your straightedge or the tensioned string line to ensure you do not create a valley where the hump once was.
“Never rely on underlayment to bridge a physical void; direct structural support is the only defense against gravity.” – Master Flooring Axiom
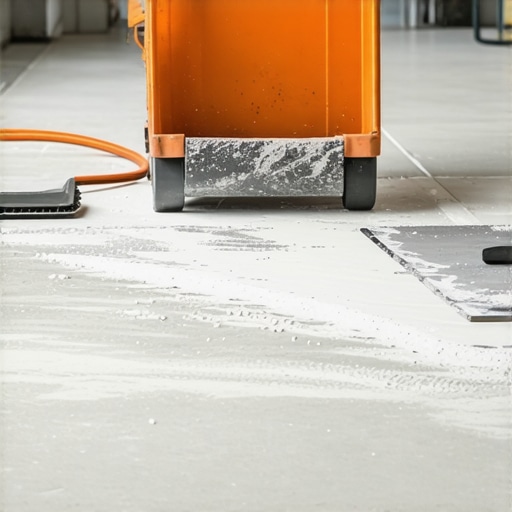
If you are working on a concrete slab, the physical challenge increases. Concrete humps are often found near expansion joints or interior columns where the wet concrete was pulled high during the finishing process. Attach a dust shroud to your angle grinder and connect it to a certified HEPA vacuum. Hold the diamond cup wheel flat against the concrete surface and apply moderate, even pressure. Sweep the grinder in circular patterns over the marked hump area. Concrete dust is highly abrasive and contains crystalline silica, which is a major health hazard, so never attempt dry grinding without a professional dust-containment system.
Filling the valleys with self-leveling compounds
Correcting low spots requires a high-strength, polymer-modified cementitious self-leveling compound designed to bond aggressively to your specific substrate. Simply pouring a runny cement mixture into a dip will result in cracking, powdering, and eventual bonding failure under traffic loads. You must prime the surface properly and mix the compound to the exact manufacturer specifications to ensure a flat, monolithic surface.
The chemical hydration process of self-leveling underlayment relies on a precise water-to-powder ratio. Adding too much water to make the product flow easier will weaken the crystalline matrix of the cured cement, leading to a brittle surface that will crumble under the flexing of a floating laminate floor. Use a measuring bucket to verify water volume to the exact ounce. Mix the compound with a heavy-duty, low-speed drill and a specialized mixing paddle to avoid entraining air bubbles into the wet slurry.
Before pouring, seal the perimeter of your hallway with foam expansion strips. Self-leveling compound has a very low viscosity and will rapidly escape through any small gaps around heating vents, wall plates, or subfloor seams. Apply a high-solids acrylic primer to the subfloor using a paint roller. The primer prevents the porous wood or concrete substrate from sucking water out of the wet leveling compound too quickly, ensuring the cement has enough moisture to complete its chemical hydration process and achieve its maximum compressive strength.
The danger of over-cushioning underlayments
While most people want the thickest underlayment, too much cushion actually causes the locking mechanisms on laminate and LVP to snap under pressure. A soft, spongy pad allows the finished floor to sink too far when stepped on. This excessive vertical movement puts high shear stress on the thin vinyl or fiberboard tongues, causing them to fracture. You should choose a dense, high-compression underlayment with a low thickness, typically between 1.5mm and 3mm, to support the joints while providing necessary thermal and acoustic properties.
When preparing your subfloor, aim for structural stability rather than relying on soft layers to hide installer laziness. A flat, solid subfloor with a thin, dense underlayment will always sound quieter, feel more stable, and last significantly longer than a bumpy floor masked by thick, cheap foam. Take the time to execute the string line method, grind down the high spots, fill the valleys, and construct a performance surface that will stand the test of time.