The ‘Sanding Hack’ for Fixing High Spots in Concrete Floor Leveler
The Truth About Sanding High Spots in Concrete Floor Leveler
Most guys skip the leveling compound. They think the underlayment will hide the dip. It won’t. I spent three days grinding concrete on a job last month just so the floor wouldn’t click like a castanet. I have seen countless $20,000 hardwood installations ruined because an installer thought a sixteenth of an inch did not matter. It does. When you are standing on a finished floor, that tiny hump in the subfloor acts like a fulcrum. Every time you step on it, the tongue and groove joint flexes. Eventually, that joint will snap, and you will be left with a floor that squeaks, moves, and eventually fails. This guide focuses on the grit, the dust, and the exact mechanics of fixing the mistakes made during the pour of self leveling compounds.
The physics of the high spot
Fixing high spots in concrete floor leveler requires a diamond cup wheel or heavy grit sandpaper to remove excess material until the surface meets the 1/8 inch per 10 feet flatness requirement. This process is critical for laminate and LVP installations where locking mechanisms are sensitive to subfloor deflection and irregularities. You cannot simply hope the foam underlayment will absorb a hump. Concrete is uncompromising. If your leveler puddled or cured too quickly, creating a ridge, you must address it mechanically. The goal is to achieve a surface where a ten foot straight edge has no gaps larger than the thickness of a nickel anywhere along its length. When we talk about the physics of a floor, we are talking about load distribution. A high spot creates a point of concentrated stress. For materials like ceramic tile or natural stone, this leads to cracked grout lines or fractured tiles. For floating floors, it leads to the dreaded hollow sound and eventual separation of the planks. You are not just sanding; you are re-engineering the foundation of the room.
“A floor is only as good as the subfloor beneath it; deflection is the enemy of every joint.” – Master Flooring Axiom
The 1/8 inch that ruins everything
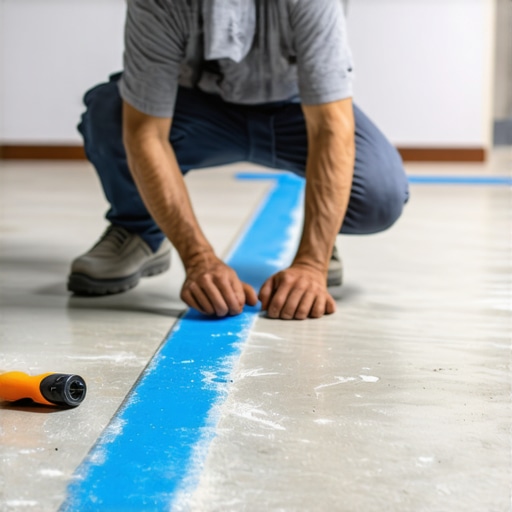
Subfloor flatness is the most overlooked variable in residential construction today, yet it dictates the longevity of every flooring material. When a floor is out of spec, the locking joints of laminate undergo extreme tension. Manufacturers specify a tolerance of 3/16 inch over 10 feet or 1/8 inch over 6 feet. If you ignore this, you void the warranty instantly. I have seen guys try to use extra layers of underlayment to bridge a gap. That is a recipe for disaster. The extra cushion allows the floor to bounce, which acts like a lever on the plastic locking click system. Eventually, the plastic fatigues and breaks. Then you have a floating floor that actually floats away from its neighbor. Sanding down the high spots is the only way to ensure the long term structural integrity of the installation. You need to identify these spots using a long level or a laser. Mark the perimeter of the hump with a carpenter pencil. This creates a topography map on your floor so you know exactly where the grinder needs to bite. Do not trust your eyes. The lighting in a construction zone is often poor, and shadows can hide a massive hump that will haunt you once the baseboards are on.
The ghost in the expansion gap
Expansion gaps are the lungs of a floor, allowing for the contraction and expansion caused by seasonal humidity. If a high spot exists near a wall, it can pinch the flooring material against the subfloor, effectively locking it in place. This prevents the floor from moving as a single unit. When the humidity rises in the summer, the floor has nowhere to go. It will buckle or crown in the center of the room. I once walked into a job where the laminate was rising three inches off the subfloor like a localized earthquake. The culprit was a single high spot of leveler near the doorway that had pinned the planks. Sanding that spot down would have cost twenty minutes of work but instead cost the homeowner a full replacement. You must understand that even waterproof vinyl expands and contracts. It is not about the water; it is about the thermal properties of the core. If you do not sand your leveler flat, you are building a trap for your floor. Use a 40 grit silicon carbide paper on a buffer for minor ridges, but for the heavy lifting, you need a diamond shroud system.
| Leveler Type | Sanding Difficulty | Recommended Grit | Cure Time Before Sanding |
|---|---|---|---|
| Portland Cement Based | Moderate | 40-60 Grit | 24 Hours |
| Calcium Aluminate | High | Diamond Cup | 12-18 Hours |
| Gypsum Based | Low | 80 Grit | 4-6 Hours |
| Modified High Flow | Moderate | 60 Grit | 24 Hours |
Why your subfloor is lying to you
Concrete slabs often look flat to the naked eye, but they are full of undulations, pockmarks, and heaves. Even after applying a self leveling compound, the surface can be deceptive. These compounds are rarely truly self leveling; they are more like self smoothing. If the mix was too thick, it did not flow properly. If it was too thin, the solids settled to the bottom while the water rose, creating a weak, chalky surface. This is why you must sand. You are looking for the structural meat of the leveler. Sanding removes the laitance, which is that thin, fragile layer of cement paste that rises to the top. If you try to glue hardwood or tile to laitance, the bond will fail. The glue will stick to the dust, and the dust will peel away from the slab. By sanding the high spots, you are also opening the pores of the concrete. This is a chemical necessity. Adhesives need a porous surface to create a mechanical bond. Think of it like velcro at a microscopic level. If the surface is too smooth or covered in a film, the adhesive has nothing to grab onto.
The chemistry of the bond
Adhesive performance depends entirely on the surface profile and porosity of the subfloor. When you sand down a high spot, you are changing the CSP (Concrete Surface Profile). Most flooring adhesives require a CSP of 1 to 3. If you leave the leveler as it was poured, it might be a CSP 0, which is too smooth for many high performance urethanes. Furthermore, if you are installing in an area prone to moisture, like a basement, the chemistry of the leveler matters. Some levelers are moisture stable while others will re-emulsify if they get wet. If you sand too deep and hit the old slab, you must re-prime. Priming is not optional. The primer acts as a bridge between the old, thirsty concrete and the new material. It prevents the concrete from sucking the moisture out of your adhesive or your leveler too quickly. This is especially true for showers or wet areas where thin-set is used. If the subfloor is not flat, the tile will lippage, and in a shower, that means standing water and mold. Sanding is the first step in water management.
“Flatness is not levelness; a floor can be perfectly flat while tilted, but it can never be functional while wavy.” – Flooring Wisdom
- Check for Flatness: Use a 10 foot straight edge to find humps.
- Mark the Area: Use a pencil to circle the high spots clearly.
- Safety First: Wear a P100 respirator to avoid silica dust.
- Vacuum Constantly: Use a HEPA vacuum to keep the pores of the concrete open.
- Grind Slowly: Do not stay in one spot too long or you will create a divot.
- Verify: Re-check with the straight edge after every few passes.
The 60 grit solution for high spots
Silicon carbide sanding discs are the workhorse of the flooring professional when dealing with cured leveler. If the high spot is less than an eighth of an inch, a floor buffer with a 16 inch 40 or 60 grit disc will usually do the trick. You want to move the buffer in a sweeping motion, allowing the weight of the machine to do the work. Do not push down. The friction creates heat, and heat can soften some polymer modified levelers, causing the sandpaper to clog instantly. If you see the leveler starting to gum up the paper, stop. You need to let it cure longer or switch to a diamond abrasive. For those massive ridges where the leveler met a doorway or where the pour stopped, you need an angle grinder. A 7 inch grinder with a dust shroud and a segmented diamond cup wheel is the nuclear option. It will eat through the leveler in seconds. This is where the skill comes in. You must keep the grinder moving. If you tilt it even slightly, you will gouge a hole into the subfloor that you will then have to fill again. It is a delicate dance of power and precision.
Managing the silica nightmare
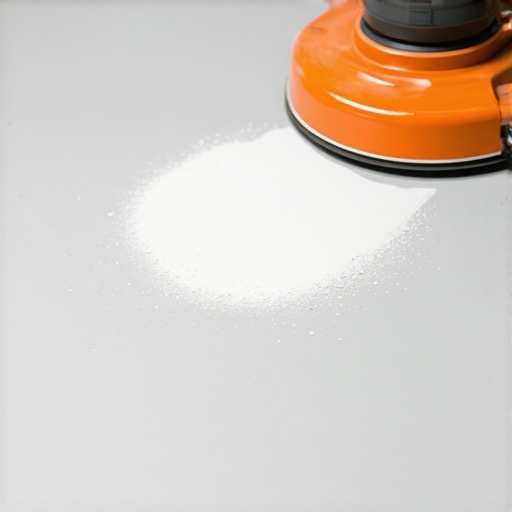
Silica dust is a major health hazard during concrete sanding and requires HEPA filtration and OSHA compliant dust collection. When you grind concrete leveler, you are releasing microscopic shards of crystalline silica into the air. If you breathe this in, it stays in your lungs forever. Professional installers use a shroud that attaches to the grinder and connects to a high CFM vacuum. This is not just for health; it is for the quality of the job. If the floor is covered in dust, you cannot see your pencil marks. You cannot see if you have reached the desired flatness. After sanding, you must vacuum the floor multiple times. Do not sweep. Sweeping just kicks the finest, most dangerous particles back into the air. A clean floor is a prerequisite for a good bond. If I see an installer walking on a dusty subfloor and then trying to lay carpet install or laminate, I know the job is going to fail. The dust acts like a lubricant, allowing the underlayment to slide around and potentially bunch up under the floor.
Regional climate and subfloor stability
The ambient humidity in regions like the Pacific Northwest or the South drastically affects how concrete leveler cures and sands. In a high humidity environment, the leveler stays soft for a longer period. If you try to sand it too early, you will simply smear the material instead of abrading it. Conversely, in a dry climate like Arizona, the leveler can lose its moisture too fast, leading to surface cracking or shrinking. This shrinkage can actually pull the leveler away from the slab, creating a hollow spot. You must check for these hollow spots by tapping the floor with a hammer or a heavy chain. If it sounds like a drum, the leveler has delaminated. Sanding will not fix this. You have to break out the loose material and pour again. A floor is a living thing in a way. It reacts to the air around it. Professional installers know that the subfloor is the most volatile part of the building. We treat it with respect, which means we spend the time on our knees with the grinder making it right.
The final verification process
Quality control is the final stage of subfloor preparation before the finished floor is installed. Once you believe the high spots are gone, you must perform the flashlight test. Lay a high powered flashlight flat on the floor and shine it across the surface. The shadows will reveal every tiny ripple and bump that you missed with the straight edge. It is a humbling experience. You might think you have it perfect, only to see a long shadow indicating a ridge you missed. Sand those down. Once the floor is truly flat, do one final pass with a fine grit to smooth out any heavy scratches from the diamond wheel. This ensures that the scratches do not telegraph through thin materials like luxury vinyl plank. A flat subfloor is the hallmark of a master. It is the difference between a floor that lasts thirty years and one that fails in three. Take the time to sand. Do the hard work now so you do not have to do the expensive work of a callback later. There are no shortcuts in flooring. There is only the leveler, the grinder, and the truth of the straight edge. “, “image”: {“imagePrompt”: “A close-up shot of a professional floor installer using a 7-inch angle grinder with a dust shroud to sand down a high spot on a gray concrete self-leveling compound. Dust is being sucked into a vacuum hose. A 10-foot metal straight edge lies nearby on the floor. Realistic, gritty, construction site lighting.”, “imageTitle”: “Sanding Concrete Floor Leveler”, “imageAlt”: “Professional installer grinding a high spot on concrete floor leveler with a dust-shrouded grinder.”}, “categoryId”: 7, “postTime”: “2023-10-27T10:00:00Z”}