How to Fix a Spongy Spot in Your Plywood Subfloor Fast
Most guys skip the leveling compound. They think the underlayment will hide the dip. It won’t. I spent three days grinding concrete on a job last month just so the floor wouldn’t click like a castanet because the homeowner thought a thick pad would fix a quarter-inch valley. It did not. My knees have been on every variety of subfloor from high-end marine grade plywood to that garbage pressboard used in the eighties and the story is always the same. If the base moves, the floor fails. When you feel that soft, sinking sensation under your work boots, you are not just feeling a cosmetic issue. You are feeling the mechanical failure of the cross-laminated veneers or the structural deflection of a joist that has reached its limit. A spongy floor is a warning sign that the bond between the wood fibers and the resin has disintegrated, usually because of moisture or repetitive stress beyond the L/360 deflection standard set by the building codes. You cannot just cover it up with new laminate and hope for the best. You have to get underneath the problem and address the physics of the span. I have seen fifteen thousand dollar walnut floors ruined because an installer was too lazy to check the crawlspace humidity or the fastener schedule. We are going to talk about the molecular reality of these wood panels and how to stop the bounce for good.
The structural lie of a soft floor
Fixing a spongy spot in a plywood subfloor requires identifying if the issue is a failed adhesive bond between plywood layers or a structural joist problem. You must reinforce the area with blocking or sistering joists and then secure new subflooring with construction adhesive and deck screws to eliminate movement. Plywood is an engineered product made by gluing thin layers of wood veneer together with the grain of each layer running perpendicular to the next. This cross-grain construction is what gives the sheet its strength. However, when moisture enters the equation, particularly near showers or leaky windows, the glue lines fail. This is known as delamination. Once the layers separate, the board loses its structural integrity and begins to flex under the weight of a person. In my twenty five years of fixing these messes, the most common culprit is a lack of support between the joists. If your house was built with joists spaced twenty four inches on center instead of the standard sixteen, the plywood has a much longer distance to bridge. Over time, that bridge sags. You might think you can just throw some floor leveling compound over the top and call it a day, but if the subfloor is still moving, that leveler will just crack into a thousand pieces within a month. Movement is the enemy of every flooring material, especially click-lock systems that rely on fragile plastic tongues.
“A floor is only as good as the subfloor beneath it; deflection is the enemy of every joint.” – Master Flooring Axiom
Why your subfloor is lying to you
Subfloor movement often masks deeper structural issues like dry rot or termite damage that require immediate attention before any new surface material is installed. You should perform a moisture test using a pin-style meter to ensure the wood is within two percent of its target equilibrium moisture content. When you step on a spot and it gives way, the wood is telling you a story. If there is a squeak, it means a nail has pulled loose and is rubbing against the wood. If there is a silent sink, the wood fibers themselves have softened. In carpet install projects, many people ignore these soft spots because the padding provides a temporary cushion. This is a mistake. Eventually, the subfloor will sag so much that the carpet will develop a permanent wrinkle that cannot be stretched out. I have seen guys try to screw through the carpet to hit a joist, but that is a hack move. You have to pull the carpet back and look at the actual wood. Use a circular saw to cut a small inspection hole if you cannot get into the crawlspace. You need to see if the plywood is three quarters of an inch thick or if the builder cheated you with five eighths. The difference in stiffness is massive. Plywood thickness is measured in thirty-seconds of an inch, and even a small reduction in thickness leads to a geometric increase in deflection. If you have five eighths inch ply on a twenty four inch span, you are going to have a bouncy house. No amount of screws will fix a thin board that is simply too weak for the distance it has to travel.
The 1/8 inch that ruins everything
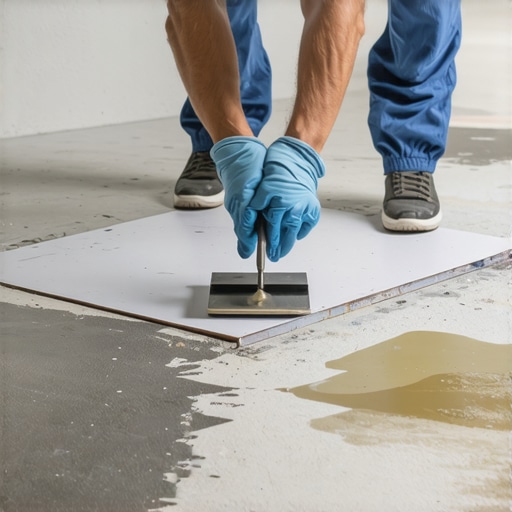
Precision leveling within one eighth of an inch over a ten foot radius is the industry standard for most modern flooring installations including vinyl and hardwood. Failure to meet this tolerance results in joint separation and premature wear of the wear layer due to constant vertical movement. Most people think a floor just needs to be flat, but it actually needs to be level and rigid. If you are preparing for a laminate installation, that 1/8 inch gap is your limit. If you have a dip larger than that, the locking mechanism of the laminate will be under constant stress. Every time someone walks over that spot, the tongue and groove rub against each other. Eventually, they will snap. Once those joints break, the floor will start to separate, leaving gaps that collect dirt and moisture. This is why I insist on using a ten foot straight edge. I do not care if the floor looks flat to the eye. The eye is a liar. The straight edge tells the truth. If you find a dip, you must use a high-quality, polymer-modified self-leveling underlayment. But before you pour that liquid, you must ensure the subfloor is rock solid. If the subfloor moves, the leveler will fail. It is a chemical bond that requires a static substrate. I always use a primer before pouring leveler to ensure the wood does not suck the moisture out of the compound too quickly, which would cause it to become brittle and powdery.
| Subfloor Type | Recommended Span (Inches) | Deflection Limit | Best Fix Method |
|---|---|---|---|
| 3/4 Plywood | 16 on Center | L/360 | Sistering Joists |
| 5/8 Plywood | 12 on Center | L/480 | Blocking and Overlay |
| OSB (Advantech) | 16 to 24 | L/360 | Support Blocking |
| Particle Board | None | Fails | Total Replacement |
Moisture ruins more than just your mood
Excessive humidity in the crawlspace or subfloor causes wood fibers to swell and lose their structural memory which leads to permanent sagging and sponginess. A vapor barrier of at least six mil polyethylene must be installed on the ground of the crawlspace to prevent upward moisture migration. I have walked into homes where the subfloor was so damp it felt like walking on a sponge. This is usually because the crawlspace is a swamp. Wood is a hygroscopic material. It breathes. It absorbs water from the air. When the bottom of the plywood is wet and the top is dry because of the air conditioning, the board will cup. The edges curl up and the middle sinks. This creates those classic spongy spots. If you fix the wood but do not fix the moisture, the new wood will rot just as fast as the old stuff. You need to check the plumbing around showers and sinks. A tiny pinhole leak in a copper pipe can mist a subfloor for years without ever showing a puddle on the surface. By the time you feel the soft spot, the wood is already gone. I use a moisture meter on every single job. If that reading is over twelve percent, I am not laying a single board. You have to dry the structure out first. This might mean running a dehumidifier for a week or more. It is boring work, but it is the difference between a floor that lasts fifty years and one that lasts five.
The physics of the joist gap
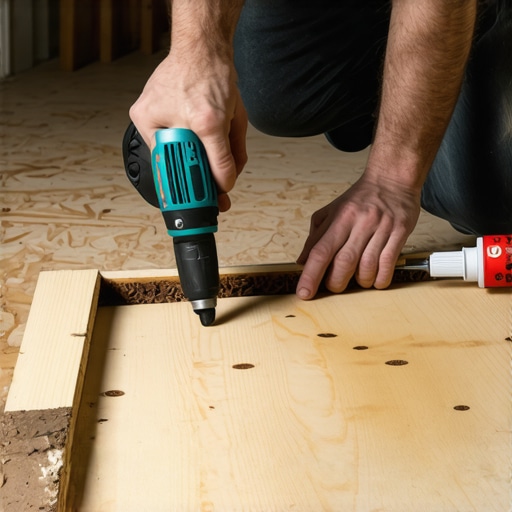
Joist deflection is a mechanical failure where the structural member bends under load because it is undersized for the span or has been compromised by improper plumbing notches. Sistering a new joist to the existing one with construction adhesive and bolts is the only permanent solution. Sometimes the plywood is fine, but the joist underneath is the problem. Maybe a plumber cut a huge hole in it to run a drain line for one of the showers upstairs. Maybe the wood has a massive knot in the center that finally gave way. When the joist deflects, the whole floor system goes with it. The fix here is more involved. You cannot just put a screw in it. You have to sister the joist. This involves taking a second piece of lumber, usually the same size as the existing joist, and sandwiching it against the failed member. I use a heavy bead of subfloor adhesive, something with a high Shore A hardness, and then I bolt them together every twelve inches in a staggered pattern. This transfers the load from the weak joist to the strong one. If you cannot get a full-length joist in there, you can use blocking. This means cutting short pieces of lumber to fit perpendicular between the joists. This prevents the joists from twisting and helps distribute the weight across the entire floor system. It is like turning your floor into a grid rather than a series of individual ribbons.
- Inspect the area from below to check for rot or insect damage.
- Measure the moisture content of the wood with a professional meter.
- Remove any existing floor covering to expose the raw plywood.
- Cut out the damaged section if delamination is present.
- Add solid blocking between joists using 2×8 or 2×10 lumber.
- Apply a high-strength polyurethane adhesive to the top of the joists.
- Install new 3/4 inch tongue and groove plywood.
- Fasten with #8 deck screws every six inches on the perimeter.
Why carpet install shortcuts fail
Soft subfloors beneath carpet lead to accelerated wear of the backing and eventual tearing of the primary fibers due to excessive vertical stretching. You must ensure the subfloor is rigid before the tack strips are installed to prevent the carpet from pulling loose under tension. In the world of carpet install, speed is usually the priority. Installers want to kick the carpet in and get out. But a spongy spot under carpet is a trap. When you walk on it, the carpet stretches more than it was designed to. This breaks down the latex bond that holds the yarn to the backing. Within a year, you will see a bald spot or a hole where the subfloor is moving. I always tell my clients that if they can feel a dip through the pad, they need to fix it now. It is much cheaper to fix a subfloor when the carpet is already up than it is to pull everything back later. You also have to watch out for the subfloor fasteners. Old houses often use nails that have worked their way up. These will eventually poke through the carpet and the pad, which is a great way to end up with a punctured foot. I replace all old nails with screws. Screws have threads. They don’t back out. A nail is just a smooth piece of metal that relies on friction, and once that wood dries out, the friction is gone.
Laminate is the canary in the coal mine
Laminate flooring requires a substrate with no more than three sixteenths of an inch of deviation over ten feet to prevent the locking mechanisms from failing. Spongy subfloors cause the planks to bounce, which creates an audible clicking sound and eventually leads to the boards uncoupling. If you have a spongy subfloor and you put laminate over it, you are going to hear it every time you walk. It sounds like a drum. That air gap between the subfloor and the laminate is a resonance chamber. More importantly, the vertical movement will destroy the floor. Laminate is made of high-density fiberboard, which is basically compressed sawdust and resin. It is stiff but brittle. It does not like to bend. If the subfloor sags, the laminate tries to bridge the gap. But unlike plywood, it does not have the internal structure to hold up under that stress. The joints will eventually shear off. I have seen entire rooms of laminate that had to be thrown in the trash because the installer didn’t want to spend two hours fixing a soft spot near the doorway. You have to be meticulous. If you find a soft spot, you cut it out and you replace it with a patch that is perfectly flush. I don’t use wood filler for this. Wood filler is for nail holes, not for structural gaps. I use a sandable floor patch or more plywood.
Floor leveling is a science not a hobby
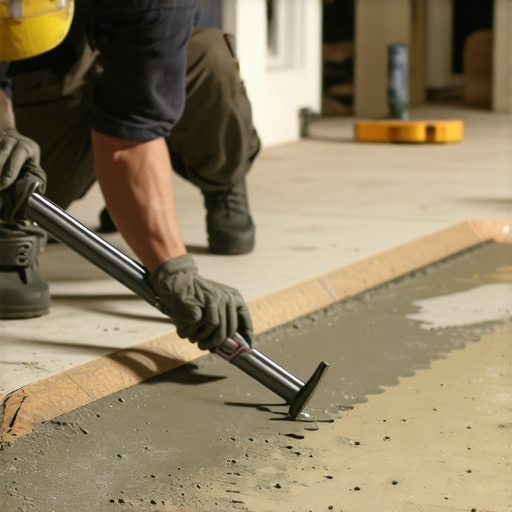
Self-leveling compounds must be mixed with the exact ratio of water specified by the manufacturer to achieve the proper compressive strength of at least 3,000 PSI. Adding too much water to make the product flow easier will result in a chalky surface that will not hold an adhesive bond. When people talk about floor leveling, they usually think of it as a way to fix a slope. But in subfloor repair, we use it to fix the small imperfections that remain after the structural work is done. Once you have reinforced your joists and replaced your plywood, you might still have a tiny transition where the old wood meets the new wood. This is where the leveling compound comes in. You need to use a product that is rated for use over wood. Some levelers are meant for concrete only and will crack if the wood moves even a microscopic amount. You also need to screw down the subfloor every four inches where you plan to pour leveler. This extra fastening ensures that the wood and the leveler move as a single unit. If the wood flexes and the leveler doesn’t, the bond will break. It is a chemical and mechanical marriage that requires absolute stability. I have spent more time with a mixing paddle and a five-gallon bucket than I care to admit, but it is the only way to get a floor that feels like solid stone under your feet.