How to Fix a Leaky Shower Niche Without Tearing Out the Tile
I spent three days grinding concrete on a job last month just so the floor wouldn’t click like a castanet, and that same obsession with the hidden structural reality is what saves a shower from total destruction. Most guys skip the leveling compound on a floor because they think the underlayment will hide the dip. It won’t. In the same vein, most installers think a little bit of grout will stop water from penetrating a shower niche. They are wrong. When a niche leaks, it is rarely the tile that failed. It is the architectural integrity of the waterproofing layer beneath the ceramic or stone. If you are seeing water spots on the backside of the wall or feeling a soft spot in the floor leveling near the drain, the niche is a prime suspect. Fixing this without a sledgehammer requires a surgical understanding of hydrostatic pressure and the chemical bond of topical sealants.
The physics of the failing seal
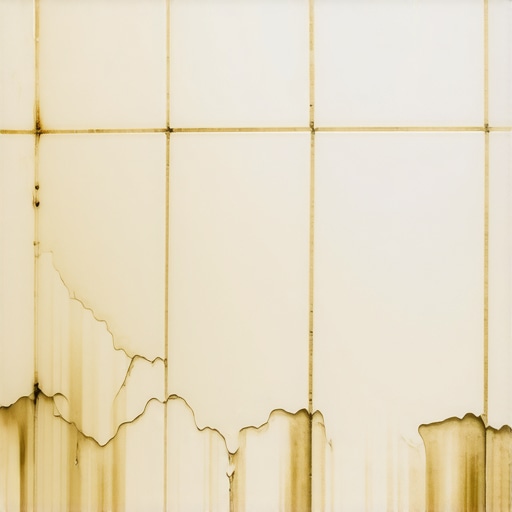
A leaky shower niche occurs when water penetrates the grout joints and finds an unsealed path into the wall cavity. This happens because tile and grout are not waterproof. They are water-resistant. ANSI A118.10 standards define the requirements for load-bearing, bonded, waterproof membranes, and if your installer skipped this step, you are fighting a losing battle against gravity and capillary action. The moisture migrates through the cementitious mortar, hits the wood studs, and begins the process of rot. To fix this without a total tear-out, we have to establish a new, monolithic barrier on the surface of the existing tile, effectively turning the niche into a waterproof vessel that sheds water back toward the drain rather than letting it soak into the framing.
“A floor is only as good as the subfloor beneath it; deflection is the enemy of every joint.” – Master Flooring Axiom
Why capillary action ruins your drywall
Capillary action is the ability of a liquid to flow in narrow spaces without the assistance of external forces. In a shower, this means water can actually travel uphill through the tiny pores of your grout. If the niche sill was not installed with a positive slope, water sits in the corners. Static water is a solvent. Over time, it breaks down the bond of the thin-set. This is the same reason why we insist on a perfectly flat surface during a carpet install or laminate project; any movement or moisture pocket eventually creates a mechanical failure. In a shower, that failure is biological. Mold grows behind the tile before you ever see a drip on the floor. To stop this, the niche sill must be retrofitted with a slight pitch of at least one-eighth of an inch per foot toward the shower pan.
The surgical approach to topical waterproofing
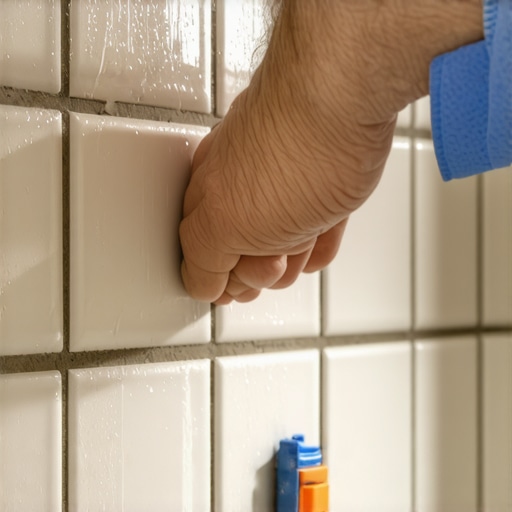
Topical waterproofing involves applying a specialized liquid membrane or epoxy sealant directly over the existing tile surface. This method is the only way to avoid the catastrophic cost of a full demolition. You must first ensure the tile is structurally sound. If the tile is loose, the subfloor or wall structure has already failed, and no topical fix will save it. However, if the tiles are firm but the grout is cracked, you can strip the grout using a diamond-blade oscillating tool. Be careful not to nick the surrounding tiles. Once the grout is removed, you are essentially creating a new waterproof envelope within the niche. This is similar to how we treat a concrete slab for floor leveling; the surface must be clean, dry, and free of any soap scum or oils that would inhibit the bond of the new materials.
[image_placeholder_1]
Chemical bonds that actually hold
Polymer-modified epoxies and high-solids sealants provide the necessary chemical resistance to prevent future leaks in a shower niche. Standard silicone caulk is a temporary fix that will fail within eighteen months under constant saturation. You need a material that can withstand the alkaline environment of a shower. Using an epoxy grout system like those meeting ANSI A118.3 ensures that the joints themselves are impervious to water. Unlike cement-based grout, epoxy does not have pores. It is a solid plastic bond. When applying this to a niche, you are essentially creating a tanking system. You must pack the joints tightly and ensure the transition between the niche and the main wall is fully encased. This is technical work. It requires a steady hand and a deep understanding of pot life and curing temperatures.
Waterproofing performance comparison
| Material Type | ANSI Standard | Water Permeability | Durability Level |
|---|---|---|---|
| Cementitious Grout | A118.6 | High | Low |
| Liquid Membrane | A118.10 | Zero | High |
| Epoxy Grout | A118.3 | Zero | Extreme |
| Standard Silicone | N/A | Low | Medium |
The mistake of caulking over the problem
Caulking over cracked grout is a cosmetic band-aid that traps moisture inside the wall. When you apply a bead of silicone over a wet joint, you seal the water in. This accelerates the rot. It is the same mistake people make during a carpet install when they ignore a damp basement floor. The moisture has to go somewhere. If it cannot evaporate, it will destroy the nearest organic material, which is usually your 2×4 studs or the paper backing on your drywall. A real fix involves drying the area completely. I often tell people to put a space heater in the shower for forty-eight hours before attempting a repair. If the substrate is wet, the new sealant will never bond. You will get a skin of silicone that peels off like a sunburned shoulder within a month.
“The integrity of the waterproofing membrane must be continuous; any break in the plane is a gateway for structural decay.” – TCNA Handbook Guidelines
The niche rescue kit checklist
- Diamond-blade oscillating tool for precise grout removal
- Industrial-grade heat gun or space heater for substrate drying
- High-solids epoxy grout or liquid-applied waterproof membrane
- Two-part epoxy adhesive for loose tile re-bonding
- Digital moisture meter to verify the wall is dry before sealing
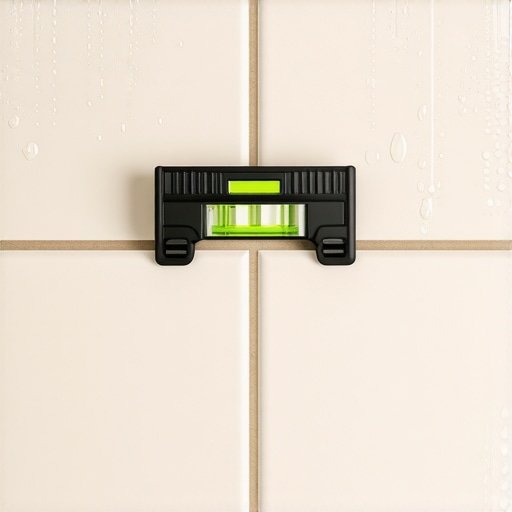
- Small level to check for positive pitch on the niche sill
Why floor leveling logic applies to vertical surfaces
Gravity behaves the same way on a shower wall as it does on a concrete slab. When I am prepping a floor for laminate, I am looking for the lowest point because that is where the stress will accumulate. In a shower niche, the lowest point is the corner where the sill meets the back wall. If that corner is not perfectly sealed, gravity will pull every drop of water into that tiny crack. You must treat the niche like a miniature subfloor. The prep work is ninety percent of the job. You have to grind out the old, failed material until you have a clean, mechanical bond site. If you skip the prep, the most expensive sealant in the world will fail. This is the gritty, dusty reality of professional repair work. It is not about making it look pretty; it is about making it function as a drainage system.
The ghost in the expansion gap
Thermal expansion causes different materials to expand and contract at different rates, leading to cracks in the niche corners. Your house is a living thing. It moves with the seasons. The wood studs behind your tile swell in the summer and shrink in the winter. If your niche is tiled tight without any allowance for movement, the grout will crack. This is why we use 100 percent silicone or flexible epoxy in the