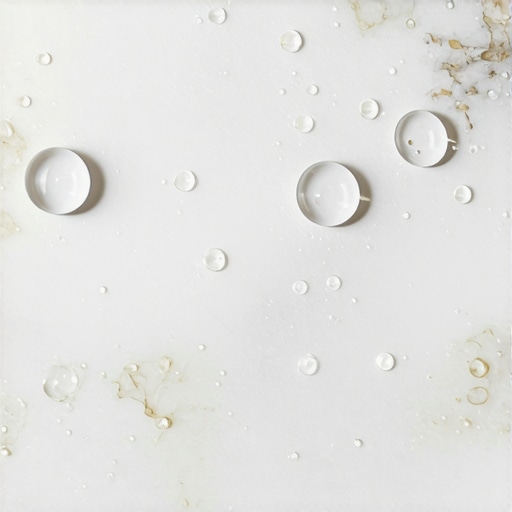
The ‘Water Drop’ Check for Verifying Your Tile Sealer
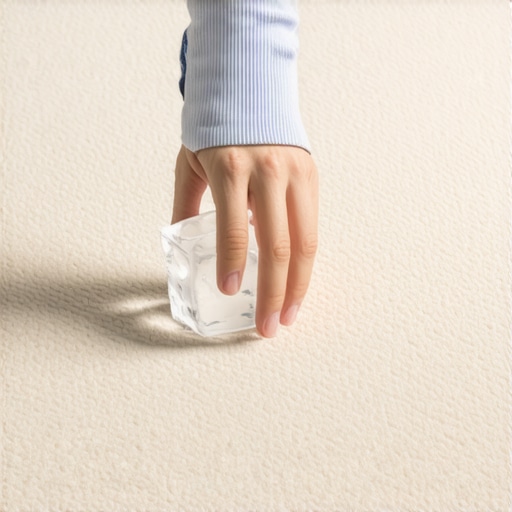
Testing the integrity of your tile sealer is a fundamental maintenance step that prevents long-term moisture damage and structural decay. The water drop test involves placing several beads of water on both the tile surface and the grout lines to observe their absorption rate over a five minute interval. This simple hydrophobic check determines if your penetrating sealer or topical coating still provides an effective moisture barrier against daily wear.
The simple test that saves your grout
Surface tension is the primary indicator of a healthy floor sealer because it demonstrates that the chemical bond is still intact. When you drop water on a sealed surface, it should form a spherical bead rather than spreading out or darkening the grout. If the water soaks in within sixty seconds, your porous stone or cementitious grout is wide open to staining, mold growth, and efflorescence. Most homeowners ignore this until they see mildew in their showers, but by then, the moisture has already begun to migrate into the cement board behind the wall.
Why your subfloor is lying to you
I once walked into a job where a client thought their floor leveling was perfect because the surface looked flat to the naked eye. Most guys skip the leveling compound and think the underlayment will hide the dip. It won’t. I spent three days grinding concrete on a job last month just so the floor wouldn’t click like a castanet. This structural integrity is just as important for tile as it is for a carpet install. If the concrete slab has a high moisture vapor emission rate, even the best tile sealer will fail from the bottom up. You cannot expect a sealer to perform if the subfloor is pushing alkaline salts through the grout joints. I have seen laminate floors buckle for less, but with tile, the failure is microscopic until the bond finally snaps.
“A floor is only as good as the subfloor beneath it, deflection is the enemy of every joint.” – Master Flooring Axiom
The science of surface tension on stone
Hydrophobic molecules in modern penetrating sealers work by lowering the surface energy of the natural stone or grout. This molecular zooming reveals that the sealer does not actually plug the pores but rather lines them with nanoscopic spikes that repel polar liquids like water. This allows the stone to breathe, meaning water vapor can escape while liquid water is kept out. If you are dealing with travertine, slate, or marble, the mineral composition is inherently capillary. Without a functional sealer, these capillaries act like straws, pulling contaminants deep into the matrix where they cannot be cleaned by standard detergents.
Why showers demand more than just a quick spray
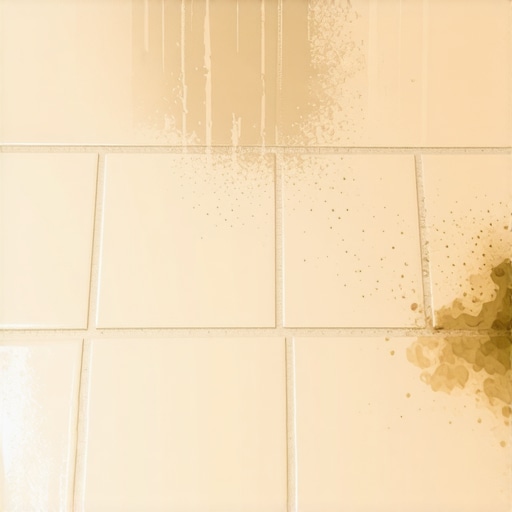
High moisture environments like walk-in showers require a sealer with a higher solids content to withstand constant hydrostatic pressure. In a shower, the grout is subjected to hot water, which expands the pore structure, and surfactants from shampoos, which lower surface tension. This is why the water drop check must be performed with cold water and soapy water separately. If plain water beads but soapy water sinks, your sealer is chemical-resistant but not oil-repellent. This molecular failure leads to the yellowing often seen in shower corners where body oils and soap scum accumulate and penetrate the grout line.
| Sealer Type | Chemical Base | Durability (Years) | Best Use Case |
|---|---|---|---|
| Penetrating | Fluoropolymers | 3 to 5 | Natural Stone |
| Topical | Acrylic | 1 to 2 | Slate and Saltillo |
| Solvent-Based | Silane/Siloxane | 5 to 10 | Exterior Patios |
| Water-Based | Polymers | 1 to 3 | Interior Floors |
The 1/8 inch that ruins everything
Grout joint width determines the structural stability of the tile assembly and the volume of sealer required. A tight joint of one eighth of an inch requires a thin viscosity sealer that can wick into the crevices. If the installer used sanded grout in a thin joint, the aggregate might be too dense for the sealer to penetrate deeply. I always tell my apprentices that a sealer is not a coat of paint. It is a saturation process. If you see cracks in the grout, no amount of sealer will fix it. That is a subfloor deflection issue that should have been addressed during floor leveling before the first tile was ever set.
“Cementitious grout is naturally porous and requires a sealer to meet the performance standards of water-resistant assemblies.” – TCNA Handbook Extract
Practical checklist for a perfect seal
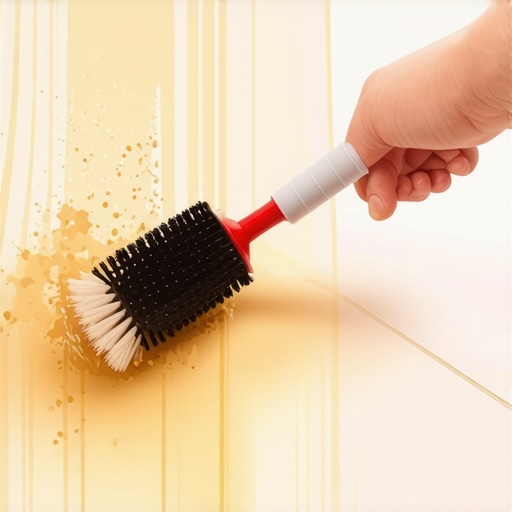
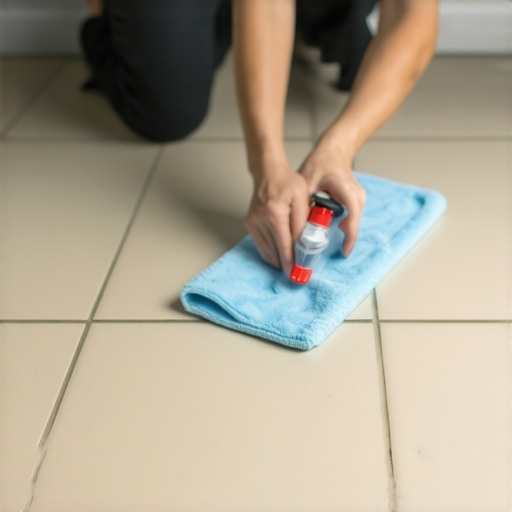
- Clean the surface with a pH-neutral cleaner to remove dust and oils.
- Dry the floor for at least twenty-four hours to ensure no trapped moisture is in the pores.
- Apply the sealer using a lambswool applicator or microfiber pad for even distribution.
- Wipe away excess after ten minutes to prevent a sticky residue from forming on the tile face.
- Perform the water drop check after forty-eight hours of cure time.
Moving beyond the water drop for total protection
Long term maintenance involves more than just periodic testing, it requires an understanding of chemistry. Many homeowners use vinegar or harsh acids to clean their tile, which strip the sealer faster than foot traffic ever could. This acidic erosion creates micro-pitting on the surface of the stone. When you perform your water drop check, look for ghosting, which is a faint ring left behind after the water evaporates. If you see ghosting, it means the surface is becoming etched and the sealer is no longer protecting the calcium carbonate in the stone. While most people want the thickest underlayment for soundproofing, too much cushion actually causes the locking mechanisms on laminate or LVP to snap, and similarly, too much topical sealer on tile will peel and flake under the pressure of standard walking. Balance is mandatory in flooring physics.