How to Stop Your Laminate From Clicking Every Time You Walk
The ghost in the subfloor
Laminate floor clicking is usually caused by subfloor irregularities, lack of expansion gaps, or improper underlayment density that allows the locking mechanisms to rub together. To fix the noise, you must address the flatness of the base, ensure a 1/4 inch perimeter gap, and use a high-density underlayment that prevents vertical deflection.
Most guys skip the leveling compound. They think the underlayment will hide the dip. It won’t. I spent three days grinding concrete on a job last month just so the floor wouldn’t click like a castanet. The homeowner thought I was crazy for spending forty hours on prep for a floor that only took ten hours to click together. Three weeks later, they called me. Not because of a problem, but because their neighbor’s floor, installed by a ‘budget’ crew, sounded like a bowl of Rice Krispies every time someone walked to the kitchen. My job was silent. That silence isn’t magic. It is the result of aggressive, uncompromising attention to the substrate. Most people treat laminate like a rug. It is not a rug. It is a floating structural diaphragm. If that diaphragm has any room to move vertically, the friction between the tongue and the groove will create a high-pitched click. It is the sound of your floor slowly eating itself. Each click is the microscopic shaving of the HDF core. Eventually, the locking joint fails. Then you aren’t just dealing with noise. You are dealing with gapping and board separation.
Why your subfloor is lying to you
Subfloor flatness is the single most important factor in preventing laminate noise, requiring a deviation of no more than 3/16 of an inch over a 10-foot radius. If the subfloor has a valley or a hump, the laminate planks will bridge over the gap, creating a spring effect that causes clicking when stepped on.
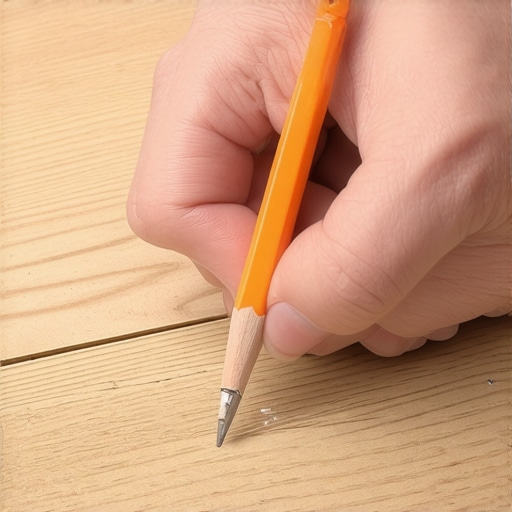
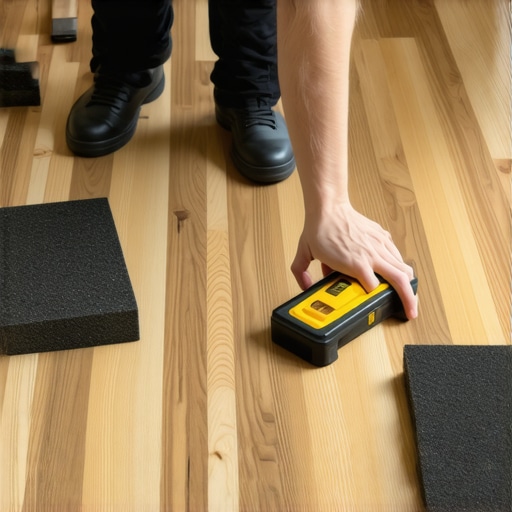
You need to understand the difference between level and flat. A floor can be slanted like a mountain and still be flat enough for laminate. But if it has a dip the size of a dinner plate, you are in trouble. When you step on a plank that is bridging a dip, you are forcing the tongue into the groove at an angle it was never designed to handle. This creates friction. That friction is the click. I use a 10-foot magnesium straightedge to find these lies. I mark the floor with a wax pencil, circling every low spot. I don’t use the cheap, sand-filled levelers from the big box stores. I want a high-flow, fiber-reinforced self-leveling underlayment. You want something with a high compressive strength, usually over 4,000 PSI. If the leveling compound is too soft, it will crumble under the weight of the furniture, and your clicking will return in six months. For wooden subfloors, I look for loose plywood sheets. A single loose nail in the subfloor can vibrate against the laminate and sound like a clicking joint. I screw everything down with 2-inch subfloor screws before the first piece of foam ever touches the ground.
“A floor is only as good as the subfloor beneath it; deflection is the enemy of every joint.” – Master Flooring Axiom
The physics of the click
Laminate clicking sounds originate from the friction of the HDF locking joints rubbing against one another under load. This occurs when the vertical deflection of the floor exceeds the tolerances of the click-lock system, which is typically engineered to remain silent only when supported by a rigid base.
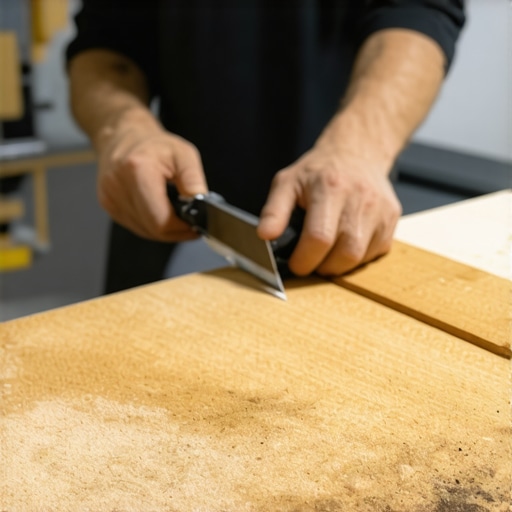
Laminate is made of High-Density Fiberboard. It is essentially compressed sawdust and resin. The locking system is a precision-milled geometry. When the floor is installed over a dip, the joint acts as a hinge. But it is a hinge that doesn’t want to move. When you force it to move by walking on it, the wax or paraffin coating on the joint rubs. If the manufacturer didn’t use enough wax, or if the HDF core is low density, you get a sharp, plastic-on-plastic sound. Sometimes the click is caused by debris. I keep a shop vac running the entire time I am installing. A single grain of sand trapped in the groove will prevent the tongue from seating fully. It might look closed, but that grain of sand acts as a fulcrum. Every time you step, the board rocks on that sand grain. It is a tiny, annoying teeter-totter in your living room. You have to be surgical. I wipe every tongue and every groove with a microfiber cloth before I snap them together. It sounds obsessive. It is. But my floors don’t click.
| Underlayment Type | Density (lb/ft³) | Sound Rating (IIC) | Best For |
|---|---|---|---|
| Standard Foam | 1.5 – 2.0 | 50-55 | Budget rentals |
| High-Density EVA | 3.5 – 5.0 | 65-72 | High traffic areas |
| Cork Underlayment | 10.0 – 12.0 | 60-70 | Natural sound dampening |
| Rubberized Silicone | 6.0 – 8.0 | 70+ | Premium installations |
The trampoline effect of thick underlayment
Underlayment thickness should never exceed 3mm for standard laminate, as excessive cushion causes the floor to bounce and the locking joints to rub. Using a high-density underlayment with a high compression strength is the only way to support the joints and eliminate clicking noises.
Homeowners always think thicker is better. They buy the 6mm thick soft foam thinking it will feel like walking on a cloud. It feels like walking on a failure. When the underlayment is too soft, the entire floor system becomes unstable. The weight of a human foot compresses the foam, and the joint is forced to bend. Most laminate locking systems are only designed to handle a few millimeters of deflection. Once you go past that, the joint starts to scream. You want an underlayment that feels firm. If you can pinch it between your thumb and forefinger and it squishes easily to half its thickness, it is garbage. I prefer a 2mm or 3mm high-density cross-linked polyolefin foam. It provides a moisture barrier and sound deadening without the bounce. If you are installing over concrete, you also need to worry about the Moisture Vapor Transmission Rate. If moisture gets into that HDF core, the wood fibers swell. Swollen fibers change the shape of the locking joint. A joint that has changed shape will click, gap, and eventually break. Always use a 6-mil poly film moisture barrier. It is cheap insurance against a $5,000 mistake.
“Deflection in a floating floor is the precursor to structural joint failure and acoustic resonance.” – NWFA Technical Guidelines
The 1/8 inch that ruins everything
Expansion gaps at the perimeter must be at least 1/4 to 3/8 of an inch to prevent the laminate from binding against walls or door frames. If the floor is tight against a wall, it cannot move during humidity changes, causing internal tension that manifests as clicking or popping.
Laminate is a living thing. It grows when the humidity goes up and shrinks when the air gets dry. If you run your floor tight against the baseboards or the drywall, it has nowhere to go. It starts to build up internal pressure. Think of it like a tectonic plate. When the pressure gets too high, something has to give. The floor will slightly lift off the subfloor in the middle of the room. This is called crowning. When you walk on a crowned floor, you are pushing it back down against that tension. That is where the loud pops and clicks come from. I use spacers every 12 inches during the install. I never trust my eyes. I want to see a clear gap. And don’t forget the door jambs. You have to undercut the jambs so the floor can slide under them freely. If you pin the floor under a door casing, you’ve created a fixed point. A floating floor with a fixed point is a floor that will eventually fail. I’ve seen floors buckle four inches off the ground because some guy didn’t leave a gap at the sliding glass door. The clicking was just the warning sign they ignored.
- Check subfloor flatness with a 10-foot straightedge
- Ensure the concrete moisture content is below 4 percent
- Vacuum every groove before clicking boards together
- Maintain a consistent 1/4 inch expansion gap at all vertical surfaces
- Avoid double-stacking underlayment to prevent excessive deflection
- Acclimate the planks in the room for at least 48 hours
Fixing the noise without a total tear out
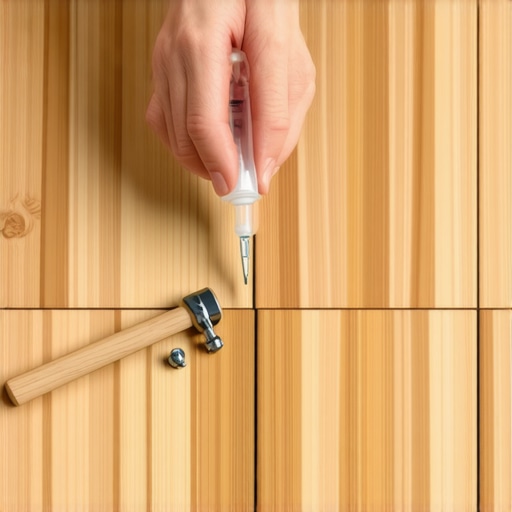
Repairing a clicking floor can often be done by injecting specialized floor lubricants or adhesives into the joints to reduce friction. If the noise is caused by a hollow spot, injecting a low-expansion pressure-sensitive foam can provide the necessary support to stop the movement.
If you already have the floor down and it is clicking, you have two choices. You can tear it up and fix the subfloor, which is what I would do, or you can try a surgical strike. There are floor lubricants specifically made for this. They are usually a dry Teflon or silicone base. You puff the powder into the clicking joint and walk on it to work it in. Sometimes it works. Sometimes it’s just a temporary fix. For hollow spots, I have used a very thin drill bit to create a tiny hole in the groove. I then inject a specialized, non-expanding floor adhesive. This fills the void between the laminate and the subfloor. Once it cures, the floor has a solid base and the clicking stops. You then fill the tiny hole with a matching floor putty. It is a delicate process. If you use the wrong glue, you will pin the floor to the subfloor and cause it to crack when the seasons change. It is a last resort. The best way to stop a floor from clicking is to install it right the first time. No shortcuts. No ‘good enough.’ Just physics and precision.