Why Your Shower Tiles Are Popping Off the Wall Near the Base
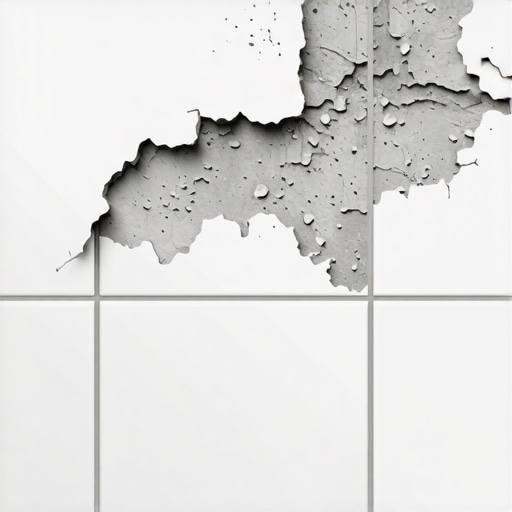
I spent three days grinding concrete on a job last month just so the floor wouldn’t click like a castanet. But that was a walk in the park compared to the call I got last Tuesday. I walked into a master bathroom where the bottom row of $45 per square foot handmade subway tile was literally bowing away from the wall. The homeowner was terrified. They thought the house was sinking. I knelt down, pulled my moisture meter from my belt, and saw the truth. It was not a foundation failure. It was a failure of physics and a total disregard for the 1/8 inch gap. The installer had grouted the tile tight against the shower pan. When the house settled and the wood framing expanded with the summer humidity, the tile had nowhere to go but out. It popped.
The anatomy of a failed wet wall
Shower tiles pop off the wall near the base because of hydrostatic pressure, lack of expansion joints, or moisture wicking through a porous substrate. When water penetrates the grout line or the change of plane at the floor, it saturates the mud bed or backer board. This leads to the swelling of the underlying structure or the degradation of the thin-set adhesive bond through constant saturation. This is a structural engineering failure masquerading as a cosmetic nuisance.
I have seen it a thousand times. A guy thinks he is being helpful by filling the corner where the wall meets the floor with grout. He wants it to look solid. But grout is rigid. It is basically a thin ribbon of concrete. Houses are living things. They breathe. They shift. They expand and contract based on the barometric pressure and the humidity levels in the crawlspace or the concrete slab. When you lock the wall tile into the floor tile with a rigid joint, you are creating a pressure cooker. The moment the framing moves even a fraction of a millimeter, that force has to be released. If the bond of the thin-set is weaker than the force of the movement, the tile will shear right off the wall.
The physics of capillary action and wicking
Moisture wicking occurs when water travels upward through porous materials like cement backer board or non-modified thin-set. This process, driven by surface tension, allows water to climb several inches above the actual water line in a shower pan. If the waterproofing membrane does not extend high enough or if the bottom edge of the backer board is sitting directly in the mortar bed, the entire base of the wall becomes a sponge. This constant moisture softens the adhesive and leads to bond failure.
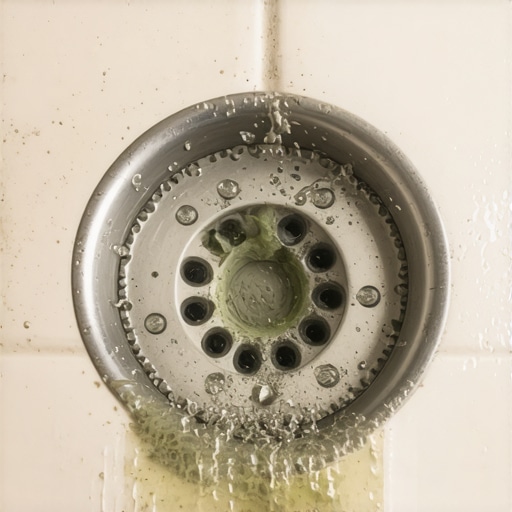
Most people do not realize that grout is not waterproof. It is water-resistant at best. Water passes through grout. It passes through the microscopic fissures that form as the grout cures. Once that water gets behind the tile, it looks for the path of least resistance. If the installer did not use a high-quality liquid waterproofing membrane or a bonded sheet membrane like those specified by the TCNA, that water is going into the wall. I have pulled back popping tiles to find the thin-set has turned back into a mushy paste because it was sitting in a puddle for three years. You cannot fight the chemistry of water. You have to manage it.
“A floor is only as good as the subfloor beneath it; deflection is the enemy of every joint.” – Master Flooring Axiom
The betrayal of the rigid corner joint
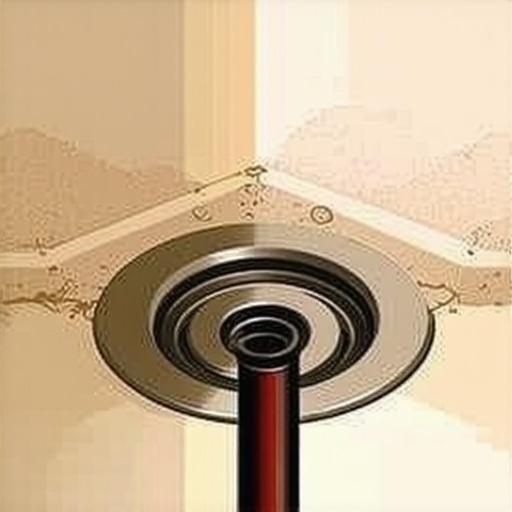
A rigid corner joint fails because it cannot accommodate the differential movement between the vertical wall and the horizontal floor. This intersection is known as a change of plane. According to industry standards, every change of plane must be treated as an expansion joint and filled with a flexible sealant, such as 100 percent silicone caulk, rather than hard grout. Without this flexibility, the tiles at the base are subjected to immense shearing forces that inevitably lead to popping or cracking.
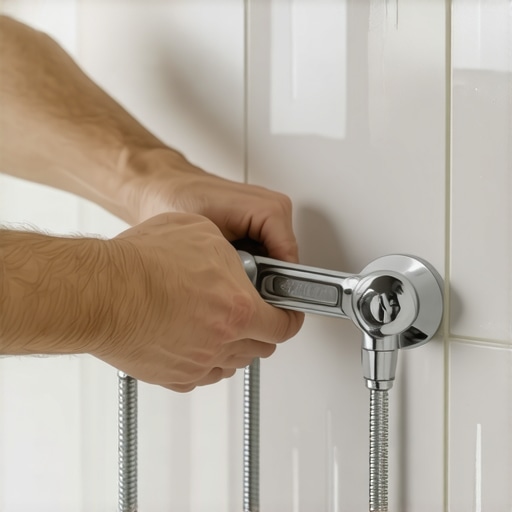
I often see installers skip the silicone because it is harder to tool than grout. Grout is easy. You wipe it with a sponge and walk away. Silicone is a sticky mess if you do not know what you are doing. But that laziness costs the homeowner thousands in the long run. In my shop, we never use grout at the base. We leave a clean 1/8 inch gap and we fill it with a color-matched silicone. This allows the shower pan to flex under the weight of a person without pushing up against the wall tiles. It is a simple mechanical solution to a complex physical problem.
The 1/8 inch rule for structural movement
The 1/8 inch rule dictates that a minimum gap must be maintained at all perimeters and changes of plane to allow for material expansion. This gap acts as a shock absorber for the tile assembly. When wood studs dry out or concrete slabs cure, they move. A 1/8 inch gap filled with flexible sealant ensures that this movement does not translate into pressure on the tile faces, preventing the tiles from buckling or popping off the substrate.
| Material Type | Expansion Rate | Recommended Joint Width | Adhesive Requirement |
|---|---|---|---|
| Porcelain Tile | Low | 1/8 Inch | Modified Thin-set |
| Ceramic Tile | Medium | 3/16 Inch | ANSI A118.4 |
| Natural Stone | High | 1/4 Inch | Large Format Mortar |
| Glass Tile | Extreme | 1/4 Inch | High-Bond Polymer |
Adhesive chemistry and the importance of coverage
Tile adhesion fails when the installer achieves less than the industry-mandated 95 percent coverage in wet areas. Thin-set must be applied using the directional troweling method to collapse the ridges and remove air pockets. If air is trapped behind the tile, it creates a void where water can collect. Over time, the minerals in the water calcify and expand, physically pushing the tile away from the wall in a process known as efflorescence-driven shearing.
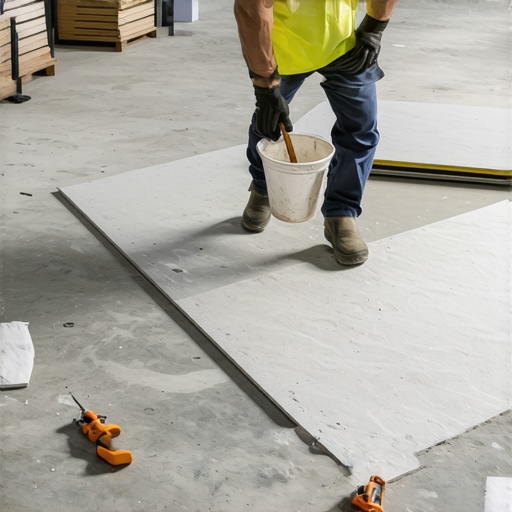
I see guys use the “spot-bond” or “five-dot” method all the time. They put a glob of thin-set in each corner and one in the middle. It is a crime against the trade. It leaves huge hollow spots behind the tile. In a shower, those hollow spots are basically tiny caves for water to live in. Once that water gets in there, it stays. It never dries out. You get mold, you get structural rot, and eventually, you get tiles popping off the wall like they were held on with chewing gum. You need a full, flat bed of mortar. No exceptions. No excuses.
“Proper troweling technique is the difference between a lifetime installation and a five-year failure.” – TCNA Installation Standards
Subfloor leveling and its impact on wall stability
Subfloor leveling is the foundation of a successful shower wall because an unlevel floor creates uneven pressure on the wall tiles. If the floor is dipping or crowning, the first row of wall tiles will be set on a skewed plane. This creates a geometric misalignment that compounds as you move up the wall. Eventually, the tension in the tile grid becomes so great that the bottom row, which bears the most weight and stress, will pop out to relieve the pressure.
- Check the floor for levelness using a 6-foot straight edge before starting the pan.
- Use self-leveling underlayment to correct any dips greater than 1/8 inch over 10 feet.
- Ensure the subfloor meets the L/360 deflection standard for ceramic and L/720 for stone.
- Install a proper vapor barrier if the shower is over a crawlspace or basement.
- Back-butter every tile to ensure 100 percent bond coverage at the base.
The regional impact of humidity on tile adhesion
If you are building a shower in the swampy humidity of Houston or the coastal dampness of Florida, your challenges are different than in the high desert of Phoenix. In high-humidity regions, the wood framing behind your backer board is always holding more moisture. This means the wood is thicker. If you tile it in the summer and then turn on the air conditioning in the winter, the wood will shrink significantly. This rapid change in the substrate’s dimensions is a leading cause of tile failure.
In drier climates, the opposite happens. The wood is bone dry during the build. The moment the homeowners start taking hot, steamy showers, the moisture levels spike and the wood expands. This is why acclimation is not just for hardwood floors. Your backer board and even your tiles should be stored in the house for at least 48 hours before installation. You want the materials to reach an equilibrium with the environment they will live in. Otherwise, you are just building a ticking time bomb. I tell my clients that the climate inside their bathroom is a micro-ecosystem, and we have to build to survive that ecosystem’s most extreme days.