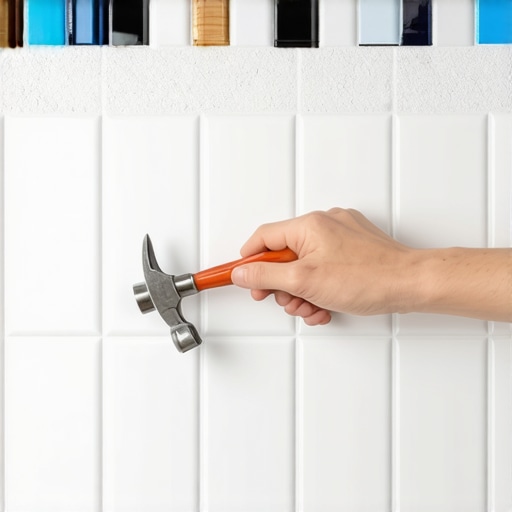
Why your shower tile sounds hollow when you tap it
I spent three days grinding concrete on a job last month just so the floor wouldn’t click like a castanet. That is the reality of professional installation that most people never see. They see the shiny finish, the clean grout lines, and the elegant patterns. They do not see the dust, the sweat, and the absolute necessity of a perfectly flat substrate. When I walk into a bathroom and hear that telltale ‘clack’ or a hollow ‘thud’ when my boots hit the tile, I know exactly what happened before I even pull a single tool out of my bag. Someone took a shortcut. Someone thought they could cheat the physics of a bond. In my twenty five years of handling everything from high end showers to commercial carpet install projects, I have learned that the subfloor is the only thing that matters. If the foundation is a lie, the finish is a failure. Last summer, I was called to a remodel where the homeowner complained their brand new porcelain floor sounded like a drum. I took a rubber mallet to the surface and every second tile echoed. I pulled one up with a suction cup and found ‘dot spotting’ underneath. The installer had just put five globs of mortar on the back and pressed it down. It was a disaster. There was no mechanical bond, no coverage, and zero structural integrity. This is why floor leveling is not an option, it is a requirement. Whether you are laying laminate or heavy stone, the rules of contact and adhesion do not change for anyone.
The phantom sound in the shower wall
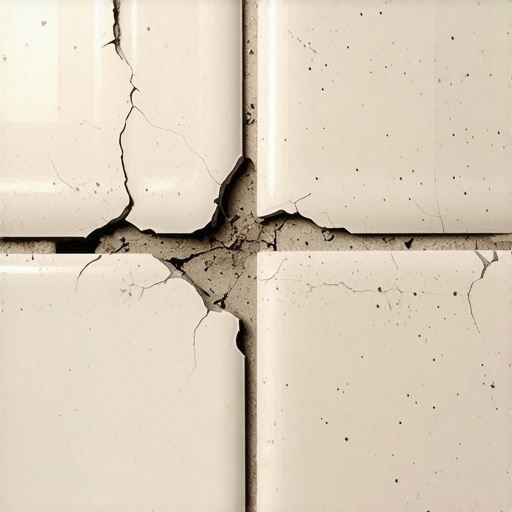
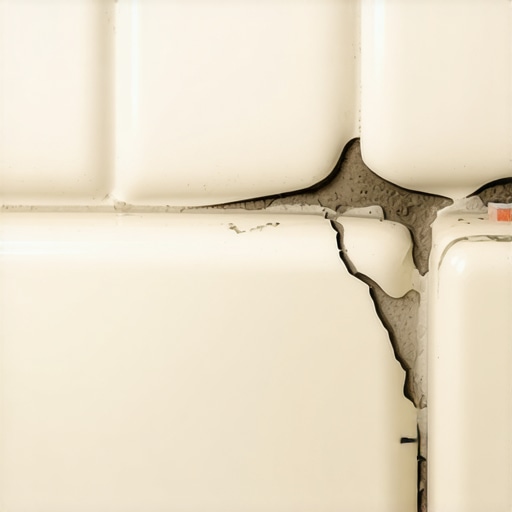
A hollow sound in shower tile indicates a significant void in the thin-set mortar or a complete debonding of the tile from the substrate. This resonance occurs because air pockets between the tile and the backer board act as an echo chamber, signaling that the tile is not fully supported or integrated into the wall structure. It is a failure of coverage. When you tap a tile and it rings hollow, you are hearing the lack of a mechanical bond. This often happens because the installer failed to use the proper trowel size or neglected to collapse the ridges of the mortar. In a wet environment like a shower, these voids are more than just an acoustic annoyance. They are a liability. Water vapor can migrate through grout lines and collect in these pockets, leading to mold growth or the eventual disintegration of the adhesive bond. You cannot simply ignore it. A hollow tile is a loose tile, and a loose tile will eventually crack under the pressure of thermal expansion or structural movement.
“A floor is only as good as the subfloor beneath it; deflection is the enemy of every joint.” – Master Flooring Axiom
The anatomy of a bond failure
Bond failure in ceramic tile is caused by insufficient mortar coverage, substrate contamination, or improper hydration during the curing process. Achieving a TCNA compliant installation requires at least 95 percent coverage in wet areas, which ensures that there are no significant air gaps for moisture to occupy. The chemistry of thin-set is a delicate balance of Portland cement, graded sand, and water retention agents. If the substrate is too porous and has not been treated with a primer, it will suck the moisture out of the mortar before the cement can properly hydrate. This results in a ‘soft’ cure where the mortar looks correct but has the structural strength of chalk. I have seen this a thousand times on jobs where guys skip the floor leveling stage on concrete. They think they can ‘build up’ the floor with thin-set to hide the dips. It does not work. Thin-set is an adhesive, not a filler. When it is applied too thick, it shrinks as the water evaporates, pulling away from the tile and leaving that dreaded hollow space. You must understand the molecular reality of the bond. The polymers in modified thin-set need to form a crystalline structure that interlocks with the microscopic pores of the tile. If you break that chain by moving the tile after it has begun to set, or if the mortar is ‘skinned over’ because it sat too long in the bucket, you have lost the war before it even started.
The 1/8 inch that ruins everything
Floor flatness tolerances require no more than 1/8 inch deviation over 10 feet for large format tiles to prevent lippage and hollow spots. If your subfloor has a dip, the tile will bridge that gap like a tiny architectural beam. Without support in the center, the tile is under constant tension. When you step on it, or when the house shifts slightly, that tension is released as a crack or a debonding event. This is why I am a stickler for the NWFA standards even when I am doing tile. The principles of deflection remain the same. If your joists are bouncing, your grout will crumble. I have seen laminate floors fail for the same reason. People think a floating floor is forgiving. It isn’t. If the subfloor is uneven, the locking mechanisms on that laminate will flex every time you walk across the room. Eventually, the plastic tongues will snap, and you will be left with gaps that no amount of tapping will fix. I always tell my apprentices that the prep is 80 percent of the job. If you spend three days with a grinder and a level, the actual tile installation is a vacation. If you rush the prep, you will spend the rest of the week fighting the floor.
| Characteristic | Modified Thin-set | Unmodified Thin-set |
|---|---|---|
| Polymer Content | High | None |
| Flexibility | Excellent | Low |
| Water Retention | High | Low |
| Substrate Compatibility | Plywood, Concrete, Backer | Concrete only |
Why your subfloor is lying to you
Subfloor prep for flooring involves checking for moisture vapor transmission and surface planarity to ensure long term adhesive performance. You might look at a concrete slab and think it is flat, but it is actually a landscape of hills and valleys. In my years of carpet install and tile work, I have never seen a perfect slab from a builder. They pour it fast and move on. You have to be the one to fix it. I use a 10 foot straight edge on every single job. I look for the daylight under the bar. If I see a gap larger than a nickel, out comes the self-leveling compound. But you can’t just pour it and pray. You have to use the matching primer. Without primer, the thirsty concrete will steal the water from the leveler, causing it to crack and peel. It is a chain reaction of chemistry. If the leveler fails, the bond fails. If the bond fails, the tile sounds hollow. It is all connected. You also have to consider the moisture. Concrete is a sponge. It holds water for decades. If you trap that moisture under a non-porous tile or a vapor barrier for laminate, it will build up pressure. This is called osmotic blistering in some trades, but in the flooring world, it just means your adhesive is going to turn back into mush.
Diagnostic checklist for hollow tiles
- Tap the center and corners of the tile with a plastic mallet or the handle of a screwdriver.
- Listen for a high pitched ring versus a low, dull thud.
- Check the grout lines for hairline cracks which indicate movement.
- Observe if any water seeps out of the grout when you press down on a hollow tile.
- Use a moisture meter to check the surrounding wall area for leaks.
The ghost in the expansion gap
Expansion gaps in tile are mandatory per TCNA EJ171 standards to accommodate the thermal expansion and contraction of the building materials. A floor is a living thing. It grows when it is hot and shrinks when it is cold. If you butt your tile tight against the wall or a tub, it has nowhere to go. It will ‘tent’ or pop up. This creates a massive hollow space underneath the tile because it is literally being lifted off the floor by its own internal pressure. I always leave a 1/4 inch gap at the perimeter. People complain it looks ugly, but that is what baseboards and shoe molding are for. You have to give the floor room to breathe. The same goes for laminate. If you lock it tight, it will buckle. I have seen carpet install jobs where the tack strips were placed so poorly that the tension of the carpet actually pulled the transitions loose. Everything needs its space. When you hear that hollow sound, check the edges. If the tile is jammed against a stone threshold or a cabinet base, you have found your culprit. You are hearing the sound of a floor under extreme stress.
“90 percent of all flooring failures are the result of poor subfloor preparation or moisture issues.” – TCNA Industry Standard
The permanence of a proper bond
Achieving a permanent tile bond requires the back-buttering technique and directional troweling to eliminate air pockets. You apply a thin layer of mortar to the back of the tile with the flat side of the trowel. This fills the ‘pores’ of the tile and ensures 100 percent contact. Then you comb the mortar on the substrate in straight lines. Never use swirls. Swirls trap air. Straight lines allow the air to escape as you set the tile. You then shift the tile back and forth a fraction of an inch to collapse the ridges. This is the only way to guarantee that when you tap that tile in ten years, it sounds like solid stone. It is about pride in the craft. It is about knowing that the work beneath the surface is just as good as the work on top. I don’t care if it’s a carpet install, a laminate plank, or a marble mosaic. If you treat the floor as a structural engineering challenge, it will last a lifetime. If you treat it as a cosmetic sticker, you will be calling me back in six months to fix the hollow spots. And trust me, grinding out old mortar is a lot more expensive than doing it right the first time.