The ‘Sanding’ trick for smoothing out leveler ridges
The 1/8 inch that ruins everything
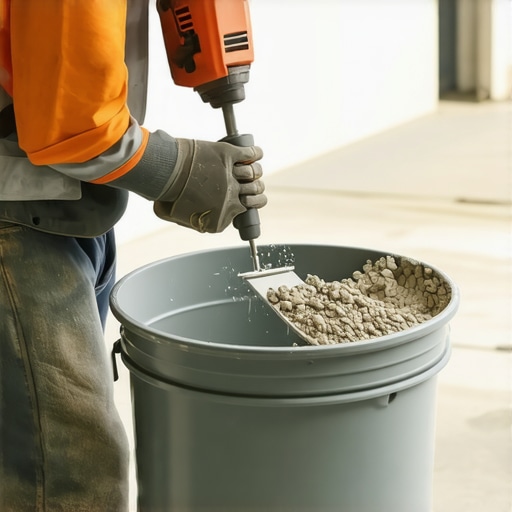
Self-leveling underlayment acts as a liquid shim for laminate and carpet install projects. It creates a flat plane by filling low spots or birdbaths in the concrete. However, if you do not handle the ridges left by the spiked roller or trowel, the floor fails. Laminate flooring requires a substrate that does not deviate more than 1/8 inch over a 10-foot radius. Ridges create high points that act as fulcrums. When you walk on the floor, the locking mechanisms bend over these ridges. They snap. It happens slowly. You hear a click. Then a pop. Then you are pulling up thousands of dollars in material because you were too lazy to sand. Most guys skip the leveling compound. They think the underlayment will hide the dip. It won’t. I spent three days grinding concrete on a job last month just so the floor wouldn’t click like a castanet. The homeowner thought I was overcharging. Then he saw the straightedge. The gap was big enough to slide a deck of cards through. We fixed it with the sanding trick. This is the difference between a floor that lasts forty years and a floor that fails in four months. I smell like oak dust and WD-40 because I do this the right way.
Why your subfloor is lying to you
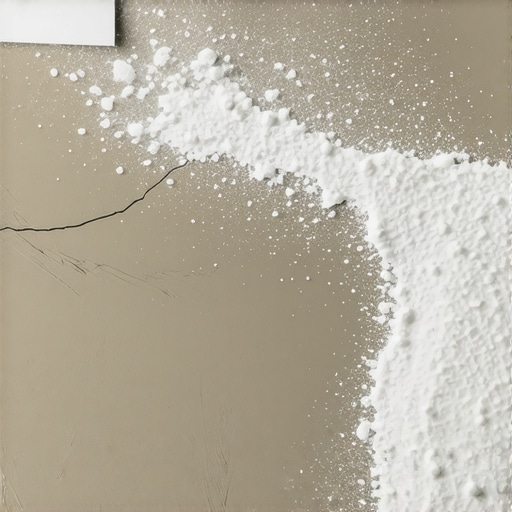
Floor leveling is a game of physics and chemistry that most installers lose before they even open a bag of mix. You look at a concrete slab and think it is flat. It isn’t. It has waves. It has heaves. It has pits. When you pour a self-leveling underlayment, or SLU, the material follows the laws of gravity. It seeks the lowest point. But it has surface tension. As it cures, it can leave behind small ridges or lap marks where one pour met the next. These ridges are often only 1/16 of an inch high. To an amateur, that looks fine. To a pro, that is a mountain. If you are doing showers, those ridges prevent proper drainage and cause pooling under the tile. In a living room, they create a hollow sound. You must identify these ridges before they harden into stone.
“A floor is only as good as the subfloor beneath it; deflection is the enemy of every joint.” – Master Flooring Axiom
The mechanics of the sanding trick
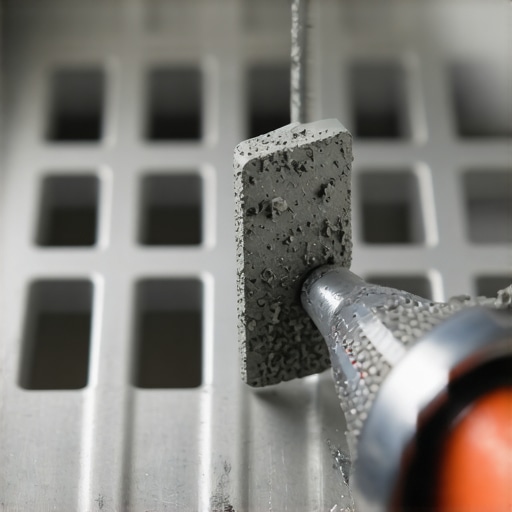
Sanding self-leveling compound requires timing and the right abrasive grit to be effective without destroying the surface integrity. You do not wait until the compound is fully cured to a 5,000 PSI rock. You hit it in the green zone. This is usually three to six hours after the pour, depending on the ambient humidity and the specific polymer load of the mix. If you wait twenty-four hours, you will need a diamond grinder. If you hit it too early, you will gouge the surface. I use a 60-grit sanding screen on a low-speed floor buffer. I move in a slow, sweeping motion. The goal is not to remove the material, but to knock down the peaks. You are looking for the ghosts of the ridges to disappear. If you see the color change from a dark grey to a light dusty grey, you are winning.
Technical specifications for underlayment preparation
| Leveler Type | Polymer Content | Cure Time | Sanding Window |
|---|---|---|---|
| Portland Based | High | 24 Hours | 4 to 6 Hours |
| Gypsum Based | Medium | 12 Hours | 2 to 4 Hours |
| Rapid Set | Ultra High | 3 Hours | 45 Minutes |
The ghost in the expansion gap
Perimeter expansion gaps are the most ignored part of a carpet install or laminate project. When you use a leveler, you must install foam expansion strips around the walls. If the leveler touches the drywall or the baseplates, it creates a rigid bridge. When the house settles or the humidity shifts, that bridge cracks. I have seen entire slabs of leveler pop off the floor because the installer didn’t leave a gap. The sanding trick also applies to these edges. You need to ensure the leveler tapers off perfectly as it reaches the wall. Any hump at the edge will make your baseboards look crooked. It will make your laminate planks kick up. It is a sloppy look that screams amateur hour. I don’t tolerate it.
Specific tools for a flat finish
- A 10-foot magnesium straightedge for identifying high spots
- A low-speed 175 RPM floor buffer for controlled sanding
- 60-grit silicon carbide sanding screens
- A HEPA-certified vacuum for dust containment
- A pinless moisture meter to check the slab before and after
Chemistry of the bond and the moisture trap
Moisture vapor emission is the silent killer of floors in humid regions like Houston or the Florida coast. When you pour leveler, you are adding gallons of water to your house. That water has to go somewhere. If you seal the floor with laminate too fast, that moisture gets trapped. It turns into a vapor that attacks the adhesive or the underside of the plank. This causes the edges to curl. You must use a moisture meter. Do not trust your eyes. The sanding trick helps here too. By opening up the pores of the leveler with a light sand, you allow the moisture to escape faster. It is about breathability. If the slab cannot breathe, the floor will choke.
“The substrate must be flat to within 1/8 inch in 10 feet or 3/16 inch in 10 feet depending on the finish material.” – NWFA Technical Guidelines
Why the thickest underlayment is a lie
Underlayment cushion is often sold as a fix for a bad subfloor. Retailers tell you that a 6mm pad will hide the bumps. They are lying to you. A thick pad actually makes the problem worse. It provides too much compression. When you step on a laminate plank over a ridge, the thick pad allows the plank to sink on both sides of the ridge. This puts massive stress on the tongue and groove. It snaps the locking mechanism. You want a high-density, thin underlayment. But you only get to use that if your floor is flat. The sanding trick is the only way to get there. It is manual labor. It is dirty. It is loud. But it is the only way to ensure the floor doesn’t move when you walk on it.
The physics of the shower slope
Showers require even more precision than a bedroom floor. You are dealing with water migration and gravity. If your leveler has a ridge in a walk-in shower, the water will find it. It will sit there. It will grow mold. It will eventually find a way through the waterproofing membrane. When I do a shower pan, I sand the leveler until it is as smooth as glass. I want that water to have a clear path to the drain. No obstacles. No ridges. No excuses. If you can’t roll a marble from the corner to the drain without it hopping, your floor is a failure.
Leveling the terrain for the final walk
Subfloor preparation is the foundation of my reputation. I don’t care how expensive your wood is. I don’t care if your carpet is hand-woven silk. If the ground underneath it is junk, the whole project is junk. Take the time to pour the leveler. Wait for the green zone. Grab the buffer. Run the 60-grit screen. Check it with the straightedge. Do it again. This is the path to a professional finish. It is not about the aesthetic. It is about the structural integrity of the walking surface. Stop looking for shortcuts. Stop buying cheap leveler. Buy the good stuff with the high polymer count and learn how to sand it. Your knees, your back, and your clients will thank you.