The ‘Soap’ trick for finding a leak in a shower valve
The soap trick for finding a leak in a shower valve and fixing subfloors
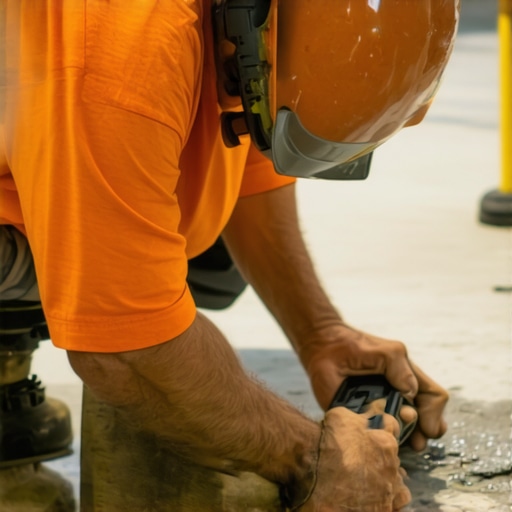
I spent three days grinding concrete on a job last month just so the floor wouldn’t click like a castanet. Most guys skip the leveling compound. They think the underlayment will hide the dip. It won’t. I once walked into a house where a 15,000 dollar wide-plank walnut floor was cupping so bad it looked like a potato chip because the installer didn’t check the crawlspace humidity or the shower valve in the adjacent room. A shower leak is a silent killer of a good floor. I have spent twenty five years with my hands in thin-set and my eyes on moisture meters. I smell like wood dust and floor wax. If you think a floor is just a pretty surface, you are wrong. It is a structural engineering challenge that starts at the subfloor and ends at the valve. This guide explains how to identify leaks using basic surfactant physics and how to prep your subfloor to avoid total failure.
The bubble test for pressurized water lines
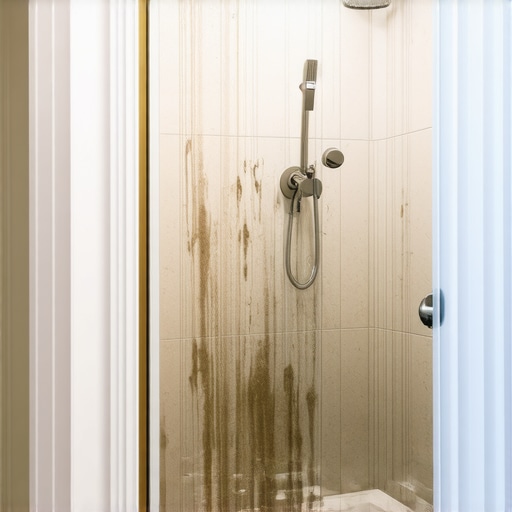
To find a leak in a shower valve with soap, apply a concentrated mixture of dish soap and water to all threaded joints and solder points while the system is under pressure. Bubbles will immediately form at the site of any air or water escape. This surfactant method is extremely effective for finding microscopic pinholes in solder joints or loose packing nuts. The science of this is simple. Surface tension creates a film over the metal. When high-pressure air or water pushes through a crack, it displaces the film into a visible dome. If you are doing a rough-in inspection, you likely have the lines pressurized with air at 60 to 100 PSI. This is the best time to use the soap trick. A tiny leak that barely drips can rot out a subfloor over five years, leading to mold growth that destroys your laminate or carpet install in the adjacent hallway. You must be methodical. Use a small brush to coat the entire circumference of the valve body and the shower head neck. If you see even the smallest shimmer of a bubble, you have a failure. Fix it now. Do not wait until the tile is up.
Why subfloor prep determines shower longevity
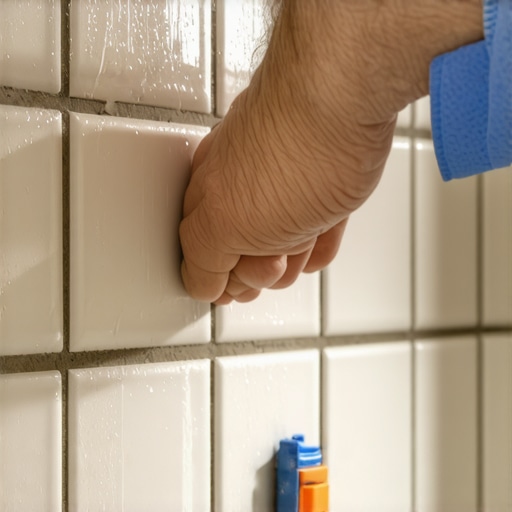
Subfloor leveling is the foundation of every successful shower and floor installation because it prevents the mechanical stress that leads to grout cracks and waterproofing failure. A floor that is not flat within one eighth inch over ten feet is a floor that will fail. I have seen guys try to level a floor with extra thin-set. That is a crime. Thin-set is an adhesive, not a filler. When it dries, it shrinks. If you have a dip in the floor, the tile will bridge that gap. The first time someone walks on it, the tile deflects. That deflection breaks the bond. In a shower, that deflection breaks the waterproof membrane. Now you have water sitting under your tile, rotting your plywood or soaking into your slab. This is why grinding high spots and filling low spots with calcium aluminate based self-leveling underlayment is required. You need a surface that is like glass before you even think about opening a box of tile. The physics of weight distribution require a flat plane to prevent point-load failures.
“A floor is only as good as the subfloor beneath it; deflection is the enemy of every joint.” – Master Flooring Axiom
The one eighth inch that ruins everything
A deviation of more than one eighth of an inch in your subfloor flatness will cause click-lock laminate joints to snap and ceramic tile grout to turn into dust. High spots create pivot points that act like a see-saw for your flooring planks. When a homeowner complains that their laminate floor is making a clicking sound, I already know the answer. The installer didn’t use a straight edge. They just rolled out the foam underlayment and started clicking. The foam compresses. The joint stresses. Eventually, the tongue and groove system shear off. In a bathroom, this is even more dangerous. If your floor is not level, the shower pan won’t sit right. A shower pan that flexes will eventually crack the drain seal. Now you have a leak that the soap trick won’t find because it is on the waste side, not the supply side. You must use a ten-foot straight edge to find the valleys in your concrete slab. Fill them. Sand them. Be perfect. There is no middle ground here.
Material stability comparison for wet zones
Selecting the right material for areas near a shower is a decision rooted in the moisture vapor transmission rate of the substrate. You cannot put standard laminate next to a shower and expect it to survive. The high density fiberboard core is essentially compressed sawdust and glue. It is a sponge. Even a small leak from a valve will cause the edges to swell. Once laminate swells, it is over. You cannot sand it back down. For these areas, I always recommend LVP with a stone plastic composite core or traditional porcelain tile. The table below compares how different materials handle the moisture that inevitably escapes a shower door or a leaky valve.
| Material | Water Resistance | Expansion Rate | Janka Hardness |
|---|---|---|---|
| Solid White Oak | Low | High | 1360 |
| Porcelain Tile | Extreme | Negligible | N/A |
| LVP (SPC Core) | High | Low | N/A |
| Laminate (HDF) | Very Low | Extreme | N/A |
The chemistry of modern waterproofing membranes
Modern liquid applied membranes and sheet membranes work by creating a hydrophobic barrier that prevents water from reaching the porous subfloor or wall studs. These polymers must be applied to a specific mil thickness to be effective against hydrostatic pressure. I prefer sheet membranes like those from Schluter or Laticrete because they offer a consistent thickness. When you use a liquid membrane, you are at the mercy of the roller. If you go too thin, you have a weak spot. If you go too thick, it might not cure correctly. The chemistry here involves cross-linking polymers that stay flexible. This flexibility is vital because houses move. Wood shrinks. Concrete settles. A rigid waterproofing would just crack. You need a membrane that can bridge a small gap while still holding back the water from a leaky valve. If you used the soap trick and found no leaks, the membrane is your second line of defense. It keeps the accidental splashes and the steam from turning your floor joists into mush.
“Substrate preparation is the most critical step in any tile installation; deviations must not exceed 1/4 inch in 10 feet.” – Tile Council of North America
Carpet and laminate proximity to shower zones
Installing carpet or laminate directly against a shower threshold is a recipe for mold and structural rot because these materials trap moisture against the subfloor. A transition zone of tile or luxury vinyl is necessary to protect the organic components of the flooring. I have pulled up carpet in bedrooms adjacent to master baths that was black with mold. The homeowners didn’t even know. They had a small leak in the shower valve behind the wall. The water followed the pipe down, hit the subfloor, and wicked into the carpet pad. Carpet padding is like a giant wick. It will pull water from ten feet away. If you must have carpet near a bath, you need to ensure the transition is elevated and the subfloor is sealed with a primer. But honestly, just don’t do it. Use a hard surface for the first three feet outside any wet area. It is the only way to be safe. My reputation is built on floors that last thirty years, not floors that look good for three months until the mold starts smelling.
Critical installation checklist
- Check shower valve supply lines with the soap bubble surfactant test before closing walls.
- Verify subfloor flatness using a 10 foot straight edge to ensure no more than 1/8 inch deviation.
- Measure concrete slab moisture with a calcium chloride test or RH probe.
- Apply a high quality primer before using self-leveling compounds to ensure a strong bond.
- Leave a 1/4 inch expansion gap at the perimeter of all hard surface floors to prevent buckling.
- Seal all grout lines with a penetrating sealer to reduce capillary action and water absorption.
- Inspect the shower valve packing nut for tightness if you see any moisture on the valve body.
The physics of flooring do not care about your budget or your timeline. If you rush the subfloor, the floor will fail. If you ignore a tiny leak in the valve, the floor will fail. I have spent my life fixing the mistakes of people who thought they could skip these steps. Take the time to apply the soap trick. Take the time to grind that concrete. Your floor is the only part of your house you are in constant contact with. Make sure it is solid. Make sure it is dry. That is the mark of a master installer.