How to hide a carpet burn without calling a pro
The scar on your living room floor
The ghost of a cigarette or iron mark is solvable without a contractor if you have the original scraps or a hidden closet corner. Carpet repair requires precision cutting and a bonding agent that mimics the original factory latex. You are essentially performing a transplant of synthetic fibers to restore the visual and structural integrity of the pile. Most guys skip the leveling compound. They think the underlayment will hide the dip. It won’t. I spent three days grinding concrete on a job last month just so the floor wouldn’t click like a castanet. That same philosophy applies to carpet. If you think you can just smear some glue on a burn and call it a day, you are building a trip hazard and an eyesore. I have spent twenty five years on my knees with a moisture meter and a level. I have seen fifteen thousand dollar wide plank walnut floors cup like potato chips because the installer ignored the crawlspace humidity. A carpet burn is a smaller tragedy, but it follows the same laws of physics and chemistry. You cannot ignore the subfloor or the fiber structure and expect a professional result.
The anatomy of a melted fiber
A burn is not just a color change but a structural failure of the polymer chains within the carpet yarn. Synthetic carpets like nylon and polyester have specific melting points where the fibers fuse into a hard plastic mass. Once this fusion occurs, the texture is lost forever, making the area reflect light differently than the surrounding pile. This is why you cannot simply wash a burn away. You are dealing with the molecular degradation of the carpet. Most modern residential carpets are made of Nylon 6 or Nylon 6,6. These fibers are engineered for resiliency, but they cannot withstand the five hundred degree heat of a fallen iron. When the heat hits, the fiber reaches its glass transition temperature and then collapses. The resulting black crust is a mixture of carbonized soil and melted resin. To fix this, you must understand the pile height and the direction of the nap. If you install a patch with the nap facing the wrong way, it will look like a different color even if it came from the exact same roll.
“A floor is only as good as the subfloor beneath it; deflection is the enemy of every joint.” – Master Flooring Axiom
The chemistry of synthetic polymers
Understanding the difference between polypropylene and nylon is essential for selecting the right adhesive for your repair. Polypropylene is a low energy surface, meaning many standard glues will not bond to it effectively over time. If you use a cheap craft glue, the patch will eventually delaminate and become a vacuuming hazard. Professional carpet installers use hot melt tapes or specialized latex adhesives that create a chemical bond with the primary and secondary backing of the carpet. The primary backing is usually a woven polypropylene fabric, while the secondary backing provides the dimensional stability. When you cut out a burn, you are breaching both layers. You need a bonding agent that can bridge the gap between the subfloor and the new piece of carpet without creating a hard spot that you can feel underfoot. Too much glue creates a ridge. Too little glue creates a loose patch. It is a delicate balance of chemical application.
| Fiber Type | Melting Point | Repair Difficulty | Adhesive Recommendation |
|---|---|---|---|
| Nylon 6,6 | 500 F | Moderate | Latex Seam Sealer |
| Polyester | 480 F | High | Pressure Sensitive Adhesive |
| Polypropylene | 320 F | Very High | Hot Melt Tape |
| Wool | Charring Only | Low | Cyanoacrylate (Small Burns) |
The donor site strategy
Every successful carpet transplant requires a donor site that has not been subjected to heavy foot traffic or UV degradation. The best place to find matching carpet is inside a closet or underneath a heavy piece of furniture that has never been moved. You must take a piece that matches the wear level of the damaged area or the patch will stand out like a sore thumb. I often tell homeowners to check their attic for remnants from the original carpet install. If you do not have remnants, you have to perform a surgical extraction from the back of a closet. This involves cutting a square out of the corner and replacing that corner with a piece of similar, though not necessarily matching, carpet. Since the closet floor is rarely seen, the mismatch there is acceptable. The goal is to save the main floor. When you extract the donor piece, you must be careful not to damage the subfloor or the padding underneath. The padding provides the loft that makes the carpet feel comfortable. If you crush the padding during the repair, the patch will sit lower than the rest of the floor.
The 1/8 inch that ruins everything
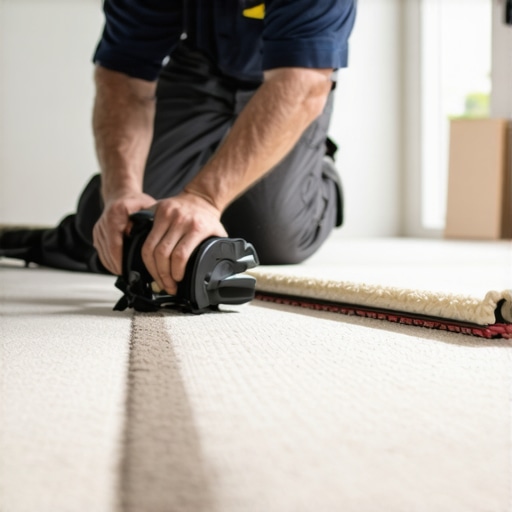
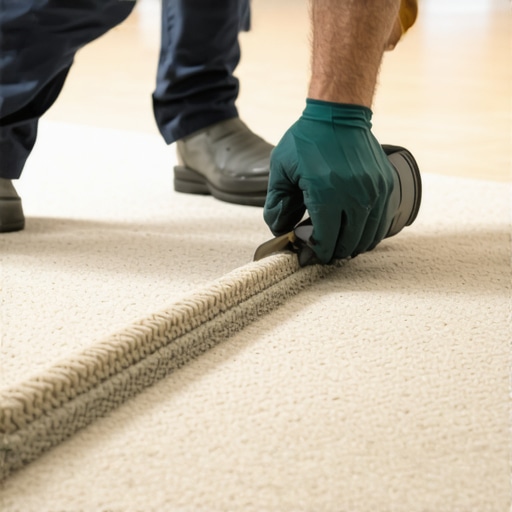
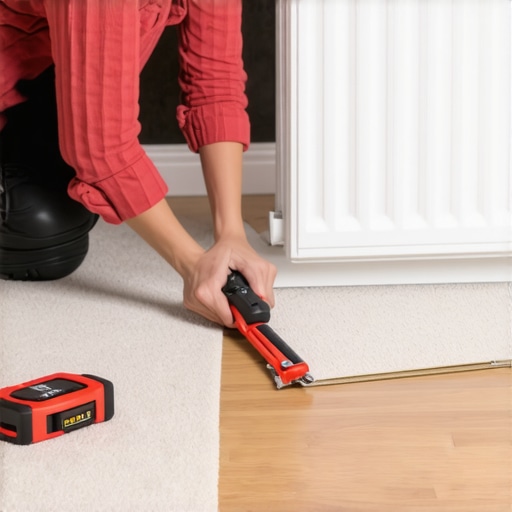
Precision is the difference between a repair that lasts a decade and one that fails in a week. A gap of even one eighth of an inch between the patch and the original carpet will create a visible line that attracts dirt. This is known as a telegraphing seam. To avoid this, you should use a carpet transition tool or a sharp row separator to find the exact line between the tufts of yarn. You never want to cut through the yarn itself if you can avoid it. You want to cut between the rows. This allows the fibers of the new piece to blend with the fibers of the old piece, masking the cut line. This is the same principle we use in a professional carpet install when we are seaming two large rooms together. We use a seam tractor to press the fibers together and ensure the adhesive is distributed evenly. At home, you can use a star roller or even the edge of a blunt spoon to blend the fibers after the glue has set. Do not rush this process. The alignment of the backing is more important than the look of the fibers in the first five minutes.
“Moisture is the silent killer of all flooring installations; ignore the slab at your own peril.” – Master Flooring Axiom
The surgical procedure for minor burns
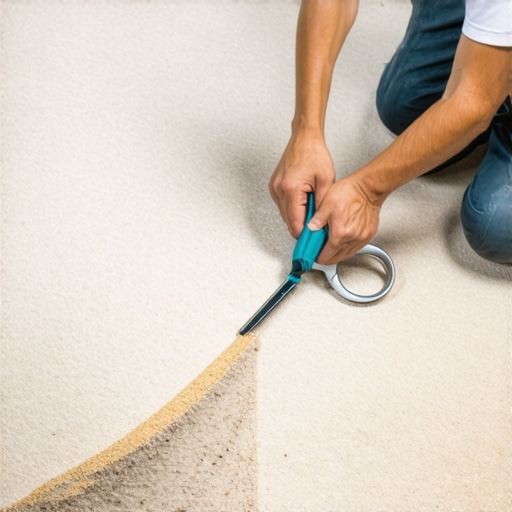
For small burns the size of a cigarette cherry, you do not always need a full patch. You can often perform a fiber transplant by snipping healthy fibers from a hidden area and gluing them into the charred crater. First, use a pair of fine embroidery scissors to snip away the hard, melted crust. Be careful not to cut into the backing. Once the charred material is gone, apply a tiny drop of clear-drying waterproof adhesive to the base of the crater. Then, take your donor fibers and press them into the glue using tweezers. You are essentially re-tufting the carpet by hand. This method is tedious but highly effective for small spots. It maintains the integrity of the original backing and prevents you from having to cut a large hole in your floor. If the burn is larger than a quarter, however, this method will not work. You will need to move to the cookie cutter method.
- Identify the fiber type and nap direction before cutting.
- Vacuum the area thoroughly to remove loose soot and debris.
- Use a fresh surgical blade for every single cut to ensure clean edges.
- Test your adhesive on a scrap piece to check for color bleeding.
- Weight the patch down with a heavy book for at least twenty four hours.
- Avoid walking on the repair until the adhesive has fully cured.
Why your subfloor is lying to you
People think carpet hides a bad subfloor, but the reality is that the subfloor determines how the carpet wears over time. If your subfloor has a dip or a peak, the carpet fibers will wear unevenly and the patch you just installed will eventually delaminate. When I am doing a laminate or shower tile job, I spend half my time on floor leveling. With carpet, you have a bit more forgiveness, but not much. If you are patching a burn over a concrete slab, you must ensure the slab is dry. Concrete is a sponge. It holds moisture and releases it slowly. If that moisture gets trapped under your carpet patch, it will break down the adhesive. This is why I always carry a moisture meter. In high humidity regions like Houston, solid wood is a death wish and carpet adhesives can stay tacky for days if the HVAC isn’t running. You have to account for the environment. If you are in a dry climate like Phoenix, the adhesive might skin over too fast, preventing a good bond. Always work in a controlled climate.
The ghost in the expansion gap
While carpet does not expand and contract as much as hardwood or laminate, the backing is still subject to dimensional changes based on temperature and humidity. If you glue a carpet patch too tightly to the subfloor without allowing for the natural flex of the surrounding material, the seam will eventually pop. This is why professional installers often use a stretch-in method rather than a full glue-down. For a small patch, you are relying on the bond between the patch edges and the surrounding carpet backing. This is a structural engineering challenge on a micro scale. You are creating a bridge across a void. If the bridge is too rigid, it snaps. If it is too flexible, it sags. You want a glue that remains slightly pliable after it cures. This allows the patch to move with the rest of the floor as people walk on it. Never use super glue. It becomes brittle and will crack when stepped on, leading to a failed repair within weeks.
Finalizing the invisible seam
Once the patch is in place and the glue is cured, the final step is the grooming of the fibers. Use a wide-tooth comb or a carpet brush to blend the donor fibers with the existing pile until the seam disappears. If the donor carpet is slightly taller than the surrounding area, you can use sharp shears to carefully shave the top of the patch. Do this in very small increments. You can always take more off, but you can’t put it back. This is the same logic we use when trimming a door casing for a floor leveling project. Measure twice, cut once. If you have done the job correctly, the repair should be invisible to anyone who doesn’t know it’s there. You have successfully bypassed the need for a professional by following the structural and chemical rules of the trade. You have treated your floor as a performance surface. That is the mark of a master architect.