How to Replace a Single Damaged Laminate Plank in the Middle of the Room
Most guys skip the leveling compound. They think the underlayment will hide the dip. It won’t. I spent three days grinding concrete on a job last month just so the floor wouldn’t click like a castanet. That client thought they could just swap a plank. They couldn’t. The subfloor was a mountain range. My hands still vibrate from the grinder and the smell of pulverized concrete and oak dust hasn’t left my nostrils. You want to fix a single plank in the middle of a room. It sounds like a thirty minute job. It is actually a surgical operation that requires you to understand the physics of interlocking joints and the chemistry of the adhesive that will eventually hold your floor together.
The physics of the interlocking joint
Laminate flooring relies on a floating system where each plank is physically locked to its neighbors through a tongue and groove mechanism. When you have a damaged board in the center, you cannot simply pull it out. The geometry of the click lock system prevents vertical removal. You must destroy the damaged plank to save the surrounding floor. This process involves breaking the mechanical bond without compromising the integrity of the neighboring boards. If you nick a groove on a healthy plank, the entire structural integrity of that section is gone. You are dealing with High Density Fiberboard or HDF. This material is essentially wood fibers compressed with melamine resin under immense pressure. It has high compressive strength but zero flexibility in the locking joints.
“A floor is only as good as the subfloor beneath it; deflection is the enemy of every joint.” – Master Flooring Axiom
Why your subfloor is lying to you
Subfloor levelness is the hidden variable that determines if your repair will last more than a week. Most homeowners assume their subfloor is flat because it looks flat. It is not. If there is a dip of more than three sixteenths of an inch over a ten foot span, your new plank will flex every time someone steps on it. This vertical movement is called deflection. In a standard installation, the interlocking joints share this load. In a repair, you are often removing those joints and relying on a bead of glue. If the subfloor is not perfectly level, that glue bond will snap. I have seen it happen a hundred times. You must check the flatness of the area before you even think about opening a new box of laminate. If you find a dip, you are looking at a much larger project involving self leveling compounds or grinding down high spots in the concrete.
The anatomy of a surgical extraction
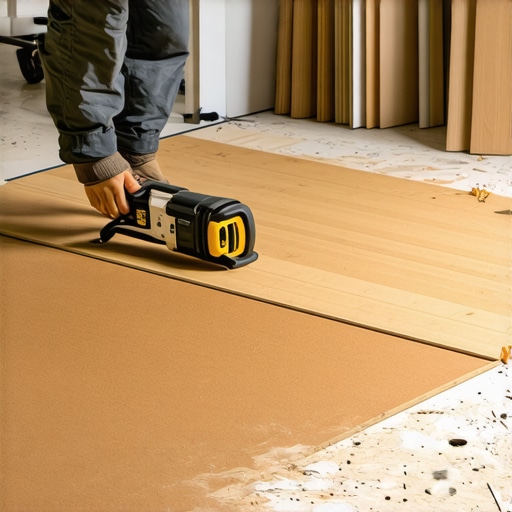
The removal process requires a circular saw and a steady hand to cut through the core of the damaged plank. You start by marking a rectangle inside the damaged board, staying about one inch away from the edges. You set your saw blade depth to the exact thickness of the laminate. Not a hair deeper. If you cut into the underlayment or the subfloor, you are creating a pocket for moisture or air, which leads to noise and premature failure. After the center rectangle is removed, you make relief cuts from the center out to the corners. This allows you to gently pry the remaining strips of the plank away from the neighboring tongues and grooves. You must be careful. The HDF core can splinter and those splinters can jam the grooves of the good planks. I use a vacuum constantly during this phase to keep the channels clear of any debris.
Preparing the donor plank for integration
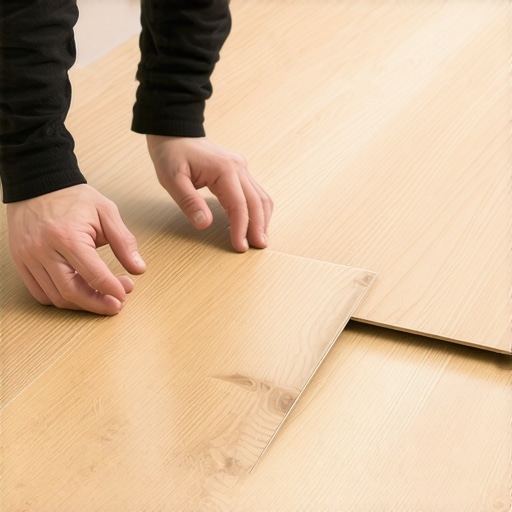
To fit a new plank into a locked system you must remove the bottom lip of the groove on the end and the long side. This turns the mechanical lock into a slip joint. You are essentially lobotomizing the plank so it can drop straight down into the opening. Use a sharp wood chisel or a block plane to shave off the protruding tongue on the new board as well. This is where precision matters. If you shave off too much, you create a gap. If you shave off too little, the plank will not sit flush. This is why I always tell people to buy two extra boxes of flooring. You might ruin the first donor plank just trying to get the tolerances right. The fit should be snug enough that it stays in place without glue, but loose enough that it doesn’t require a hammer to seat.
Adhesive chemistry in floating floors
The bond between the new plank and the existing floor must be strong yet flexible enough to handle thermal expansion. You cannot use standard wood glue. You need a high quality PVA or Polyurethane flooring adhesive specifically designed for HDF. You apply a thin bead of this glue to the top of the tongues on the existing floor and the groove of the new plank. Do not overdo it. If glue squeezes out onto the surface, it can ruin the melamine wear layer. More importantly, if you use too much glue, it can fill the expansion gap inside the joint. This causes the floor to peak when the humidity rises. The glue needs to create a chemical bond that mimics the strength of the original mechanical lock. This is the only way to ensure the plank doesn’t walk out of its spot over time.
Acclimation and environmental variables
New laminate must acclimate to the room for at least forty eight hours to reach a moisture equilibrium. If you take a cold plank from a garage and glue it into a warm living room, it will expand. This expansion will put pressure on your glue joints before they have fully cured. The HDF core is hygroscopic. It absorbs and releases moisture from the air. In high humidity regions like the Gulf Coast, the core will swell significantly. In dry desert climates, it will shrink. If your repair fails, it is usually because you ignored the hygroscopic nature of the material. You should aim for a room humidity between thirty five and fifty five percent. This is the sweet spot for laminate stability.
“Acclimation is not a suggestion; it is a chemical necessity for the stability of the HDF core.” – Master Flooring Axiom
The 1/8 inch that ruins everything
Expansion gaps at the perimeter of the room are what allow the floating floor to move as a single unit. If your floor was installed too tight against the walls, the internal tension is already high. When you cut out a plank in the middle, that tension can cause the surrounding planks to shift slightly. This makes it impossible to get the new plank in. Before you start the repair, check the expansion gaps under the baseboards. If they are packed tight with debris or were never cut correctly, you need to fix that first. A floor with no room to move is a floor that will eventually buckle, regardless of how well you glue a single repair plank. I have seen entire floors tent up because an installer didn’t leave a measly gap at the drywall edge.
| Damage Type | Repair Method | Difficulty Level |
|---|---|---|
| Minor Scratch | Wax Filler Kit | Low |
| Deep Gouge | Acrylic Putty | Medium |
| Edge Chipping | Plank Replacement | High |
| Swelling/Peaking | Subfloor Leveling | Extreme |
- Check subfloor levelness with a straight edge.
- Acclimate the new plank for 48 hours in the room.
- Set saw blade depth to the exact thickness of the board.
- Vacuum all grooves to remove HDF dust.
- Apply a thin bead of PVA adhesive to the tongues.
- Weighted the plank with 20 pounds of pressure for 24 hours.
The ghost in the expansion gap
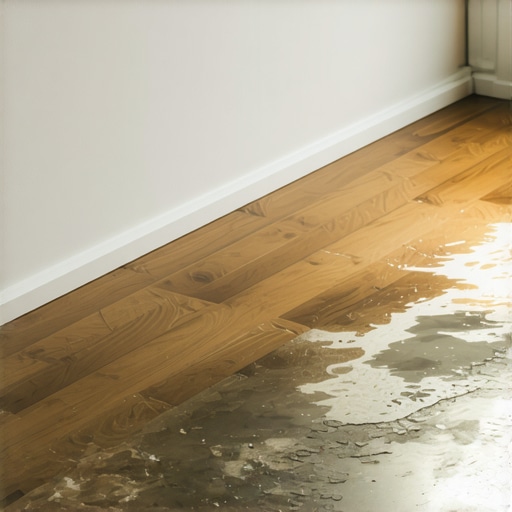
Laminate is not a permanent fixture but a temporary performance surface. It is designed to be replaced, but the click lock system makes localized repairs a nightmare for the unprepared. You must treat the floor like a structural system. If you are working in a bathroom or near showers, forget about it. Laminate has no business being near standing water. The moisture will seep into the HDF core of your new repair and cause the edges to swell within weeks. If you are doing a carpet install elsewhere in the house, you will see how different the mindset is. Carpet hides sins. Laminate exposes them. Every mistake you make with the saw or the glue will be visible under the light of a window. Take your time. Measure twice. Cut once. And for the love of the craft, keep your subfloor flat.