How to Stop Your Kitchen Island from Pinning Down Your Laminate
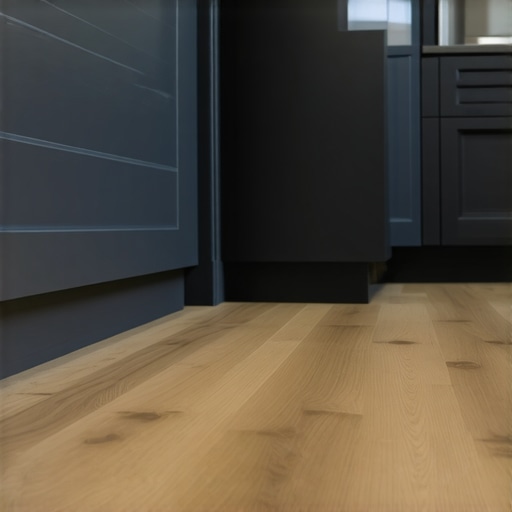
I smell like WD-40 and oak dust most days. It is the scent of a man who has spent twenty five years on his knees fixing mistakes that should never have happened. Last month I walked into a kitchen where a brand new laminate floor looked like a mountain range. The homeowner was devastated. They spent five thousand dollars on the material. They spent another three thousand on a custom kitchen island with a granite top. They thought they were doing everything right. But they made the one mistake that kills a floating floor every single time. They pinned it down. Homeowners always ask why their waterproof vinyl or laminate is buckling. Usually, it is because they locked it under a heavy kitchen island, killing the floor’s ability to breathe and move. A floating floor is a living thing in a sense. It expands. It contracts. It reacts to the humidity in the air. When you drop a five hundred pound island on top of it, you are basically putting a thumb tack through a piece of silk and then pulling on the edges. Something is going to tear or buckle. In this case, it is the locking mechanism that snaps or the planks that rise up in a desperate attempt to find space. This is the reality of flooring physics that big box retailers never tell you when they sell you that click lock box.
The physics of floating floor movement
Floating floor systems require expansion gaps because the HDF core or SPC core reacts to thermal changes and ambient humidity levels. If a kitchen island is installed directly on top of laminate flooring, it creates a static load that prevents the plank movement necessary to avoid buckling and joint failure.
You have to understand the molecular level of what is happening here. Laminate is mostly wood fiber held together by resins. Even the high density stuff absorbs moisture. When the humidity in your house jumps from thirty percent in the winter to sixty percent in the summer, every single plank grows by a tiny fraction of an inch. If you have a thirty foot run of flooring, those tiny fractions add up to a full inch of movement. If the floor is free to slide under the baseboards, you never see it. But if you have an island pinning one side of the floor and a wall on the other side, that expansion has nowhere to go but up. It creates a bubble. I have seen bubbles high enough to trip a grown man. It is not a product defect. It is an installation failure. Most people think laminate is fake wood so it does not move. That is a lie. It moves more than some solids because of the way the fibers are oriented. You are dealing with hydrostatic pressure and mechanical stress. The locking joints are only about two millimeters thick. They are the weakest link in the chain. When the floor tries to move and the island says no, those joints shear off. Once the joint is gone, the floor is junk. You cannot glue it back together. You are looking at a full tear out. This is why the National Wood Flooring Association is so strict about perimeter expansion. They know that physics always wins. You cannot fight the expansion of wood fiber. You can only accommodate it.
“A floor is only as good as the subfloor beneath it; deflection is the enemy of every joint.” – Master Flooring Axiom
The heavy weight of a kitchen island mistake
Kitchen islands often weigh several hundred pounds once the countertop is installed, which exceeds the maximum load capacity for a floating floor. This concentrated weight acts as a permanent anchor, causing the laminate locking system to fail when the floor naturally contracts or expands during seasonal transitions.
Think about the sheer mass of a granite slab. You are looking at eighteen to twenty pounds per square foot. A standard six foot island can easily put seven hundred pounds of pressure on a few square feet of laminate. That laminate is sitting on a foam underlayment. The underlayment compresses. Now your floor is not just pinned, it is pinched. It is stuck in a valley. When the rest of the floor tries to pull away during the dry winter months, it cannot. It pulls against the island. The joints near the island will start to gap. You will see black lines between the boards. That is the first sign of trouble. Then the dust gets in there. Then the moisture from your dishwasher gets in there. The core swells. Now you have peaked edges. It looks terrible and it feels worse underfoot. I have had guys tell me they will just screw the island through the laminate. That is even worse. Now you have a physical bolt through the material. It is like trying to wear a pair of shoes that are nailed to the floor. You are going to trip. You are going to break something. The floor needs to be a continuous, unbroken plane that can shift as the house shifts. If you want a heavy island, you have to build it on the subfloor. No exceptions. No shortcuts. I do not care what the guy at the hardware store said. He is not the one who has to replace your floor in two years.
| Core Material | Expansion Rate | Weight Tolerance | Moisture Resistance |
|---|---|---|---|
| HDF (Standard Laminate) | High | Low | Moderate |
| SPC (Stone Plastic Composite) | Low | Medium | High |
| WPC (Wood Plastic Composite) | Medium | Medium | High |
| Solid Hardwood | Extreme | N/A (Fixed) | Low |
The hole saw solution for permanent fixtures
Installing a kitchen island with laminate flooring requires the island to be mounted directly to the subfloor using a cleat system. By using a hole saw to create expansion diameters around the fasteners, the laminate can move freely while the island remains stable and structural.
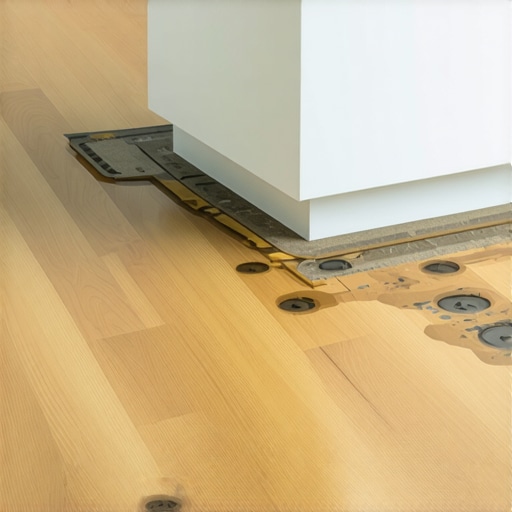
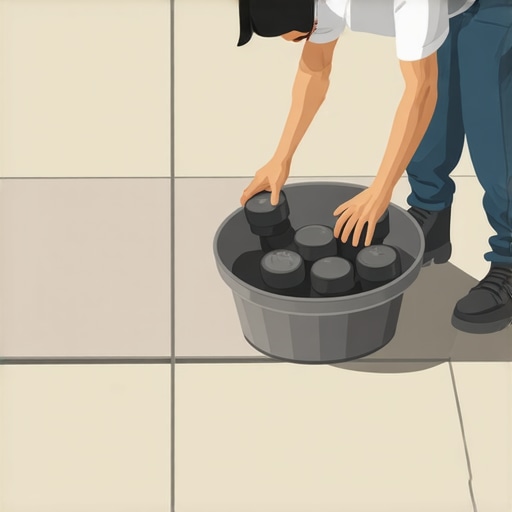
Here is how you actually do it if you want the floor to last. You do not put the island on the floor. You put the floor around the island. Or, if you must put the island in later, you cut the floor. You mark the footprint of your island cabinets. You use a hole saw or a plunge router to remove the laminate where the cabinet feet or the mounting cleats will sit. But you do not just cut the exact size of the leg. You cut it one inch wider. This gives the floor a half inch of space on all sides of the cabinet support. This is the expansion gap. Then you install your island directly to the subfloor. The island is rock solid because it is bolted to the joists or the concrete. The laminate is still floating. You then cover that gap with a piece of decorative molding or base shoe. To the naked eye, the island is sitting on the floor. In reality, the island is sitting in a hole, and the floor is sliding around it like it was meant to. This is the only way to satisfy the warranty. If a manufacturer sees an island sitting on top of a buckled floor, they will deny your claim before you even finish the sentence. They call it an improper installation. And they are right. You are also preventing the subfloor from being hidden. You need to know if that subfloor is level. If you put an island on a dip in the laminate, the weight will eventually crack the laminate core. By mounting to the subfloor, you can shim the island properly without stressing the decorative surface.
Why your subfloor is lying to you
Subfloor flatness is often overlooked but leveling compounds are necessary to ensure a flat surface within 1/8 inch over 10 feet. A deflection in the subfloor combined with the weight of an island will cause the laminate planks to bounce or separate at the tongue and groove joints.
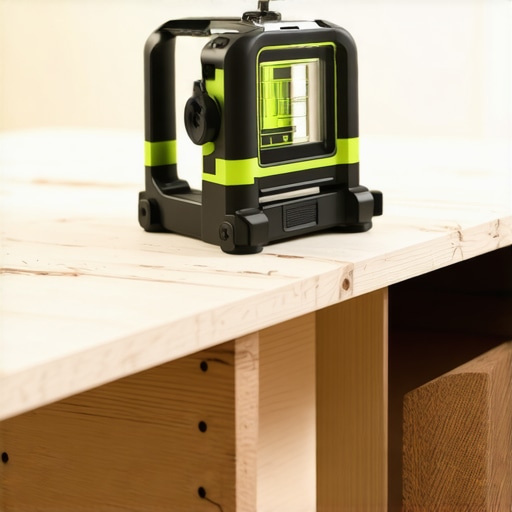
I spent three days grinding concrete on a job last month just so the floor wouldn’t click like a castanet. The homeowner thought it was flat. It looked flat. But when I laid a ten foot straight edge across it, there was a valley a quarter inch deep right where the island was going. If we had laid the laminate over that, the island would have pushed the laminate into that valley. Every time you walked near it, the floor would have moved. That movement is what breaks the click lock system. You need to use a high quality self leveling underlayment. I am talking about the stuff with a high compressive strength, at least 3000 PSI. Do not go cheap here. If the leveler cracks under the weight of the island, your floor is going to fail anyway. And check the moisture. If you are on a concrete slab, you need a vapor barrier that is at least six mil thick. I prefer a moisture mitigated primer followed by a cementitious leveler. This creates a monolithic base. It is about the chemistry of the bond. If the leveler does not bond to the concrete because of latent moisture, the whole thing will delaminate. Then you have a floating island on a floating floor on a floating subfloor. That is a recipe for a disaster. You want a rock. You want the subfloor to be as still as a grave. Only then can the laminate do its job of looking pretty and taking a beating from your kids and pets.
- Check subfloor levelness with a 10-foot straight edge
- Apply a 6-mil poly vapor barrier over concrete
- Cut expansion holes for island legs at least 1/2 inch wider than the leg
- Mount island cleats directly to the subfloor wood or concrete
- Never silicon the floor to the island base
- Use a transition strip if the kitchen run exceeds 30 feet
- Acclimate the laminate in the kitchen for at least 48 hours
“Subfloor flatness is the single most important factor in the longevity of a click-lock installation. A deviation of more than 3/16 of an inch over 10 feet is a failure waiting to happen.” – Master Flooring Axiom
The ghost in the expansion gap
Expansion gaps are the most critical component of a floating floor installation, especially near fixed objects like cabinets and islands. Without a minimum 1/4 inch gap, the hydrostatic pressure of expanding wood fibers will force the floor to peak at its weakest point.
People hate the look of a gap. They want the floor to run tight against the cabinet. I get it. It looks clean. But it is a trap. I call it the ghost in the gap because you do not see the problem until the seasons change. In the summer, that gap disappears as the floor grows. If you started with no gap, the floor hits the cabinet and has nowhere to go. It starts to put pressure on the neighboring planks. This is where the buckling starts. You need to maintain that gap around every single vertical obstruction. This includes pipes, door frames, and islands. Use a jamb saw to undercut your door casings so the floor can slide under them. Do not just cut the laminate around the trim and caulk it. Caulk is a glue. If you caulk that gap, you just pinned the floor again. You need to use a professional grade spacer during installation. Do not trust your eyes. Use the plastic blocks. Set them every twelve inches. When you are done, pull them out. If you did it right, the floor should feel like it is independent of the walls. If you can take your foot and kick the floor and see it shift a tiny bit, you have a perfect install. If it feels solid like a rock against the wall, you are in trouble. It needs to be a separate entity from the structure of the house. That is the whole point of a floating system. It is a technical dance between the rigid subfloor and the moving finish floor. If you break the rhythm, the floor breaks too.
Mechanical stress and adhesive chemistry
Adhesive chemistry in laminate manufacturing determines the internal bond strength of the core board, which must resist the shear forces of expansion. When an island pins the floor, it creates mechanical stress that exceeds the tensile strength of the resins holding the wood fibers together.
Laminate is not just plastic. It is a composite of melamine, paper, and wood fiber. The resins used to bond these layers are incredibly strong, but they are brittle. They do not like shear force. When you pin a floor with an island, you are creating a shear force across the locking joint. The top of the board wants to move, but the bottom is held in place by friction and weight. This twists the joint. Over time, the resin fatigues. You get what we call microscopic fractures. You won’t see them at first. But then you will start to hear a creak. Then a pop. That is the sound of your floor dying. You also have to consider the wear layer. Most high quality laminates use aluminum oxide in the wear layer. It is incredibly hard, which is great for scratches. But it makes the board even more rigid. A rigid board needs more room to move, not less. If you are in a high humidity area like Houston or Florida, this is even more vital. The moisture vapor transmission rate through your slab can be huge. Even if the floor is waterproof, the underside is still absorbing that vapor pressure. You are fighting a battle on two fronts. The weight from the top and the pressure from the bottom. Do not let a heavy island be the thing that tips the scales against you. Buy a good moisture meter. Check your subfloor. Cut your expansion holes. Do the work right the first time so I do not have to come out and charge you double to fix it later. The final word on the matter is simple. Respect the gap. Protect the joints. Let the floor float or it will eventually sink your budget.