The Flashlight Method for Finding Uneven Subfloor Spots
The Hidden Truth of Subfloor Geometry
The hidden truth of subfloor geometry relates to the difference between level and flat. A floor can be sloped but flat, which is acceptable for most floating floors. However, a floor that is level but not flat will have dips and humps that cause structural failure in modern click-lock materials. Most guys skip the leveling compound. They think the underlayment will hide the dip. It won’t. I spent three days grinding concrete on a job last month just so the floor wouldn’t click like a castanet. I can still smell the mix of WD-40 and oak dust in my hair from that site. The homeowners thought I was crazy, kneeling there with a high-intensity beam of light at three in the morning, but they didn’t see the mountain ranges hiding on their slab. If you ignore these deviations, you are effectively building a house on a swamp. The mechanical integrity of your finish floor depends entirely on the compression resistance of the substrate. When you step on a plank that spans a void, you are asking a thin piece of wood or plastic to act as a structural bridge. It is not designed for that. The results are always the same. You get squeaks, cracked tongues, and eventually, a total floor failure that costs five times more to fix than it would have to prep correctly the first time.
Why Your Eyesight Is a Liar
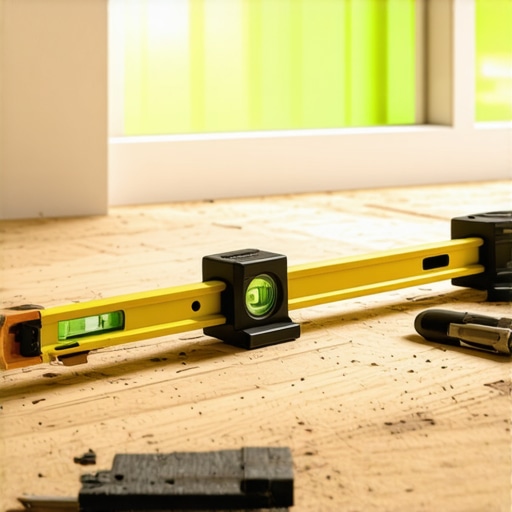
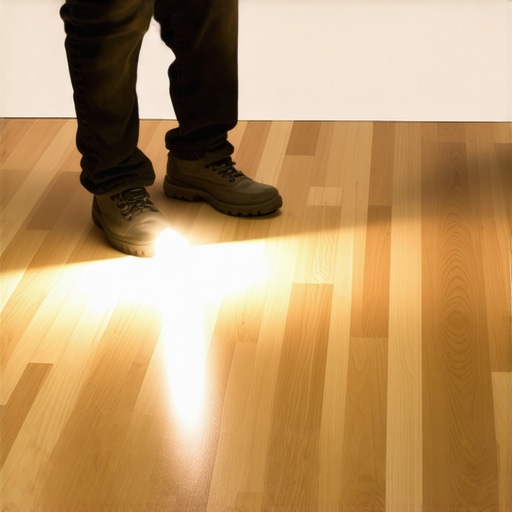
The human eye is notoriously poor at judging flatness over large surface areas due to diffuse lighting. In a typical room, overhead lights scatter photons in every direction, which washes out shadows and hides topographical defects. Using a grazing light source reveals microscopic dips and ridges that are invisible under normal conditions. I have seen guys use a six-foot level and miss a half-inch trough because they didn’t slide the level across the entire radius. Light does not lie. When you place a heavy-duty flashlight directly on the floor, the beam stays parallel to the surface. Any dip in the floor acts like a canyon. The light passes over it, leaving a dark shadow in the depression. Conversely, a hump will catch the light and glow like a beacon. This is the physics of grazing incidence. It is the same principle used by archeologists to find ancient ruins in desert sands. Your subfloor is no different. It has a history of poor pours, settling foundations, and botched previous renovations that you need to uncover before the first plank goes down.
“A floor is only as good as the subfloor beneath it; deflection is the enemy of every joint.” – Master Flooring Axiom
The Mechanical Breakdown of the Flashlight Technique
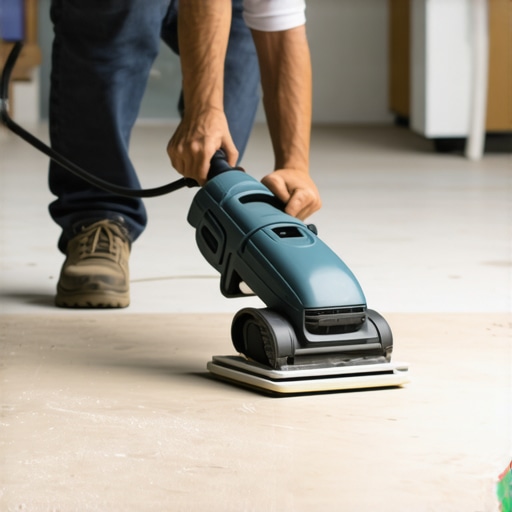
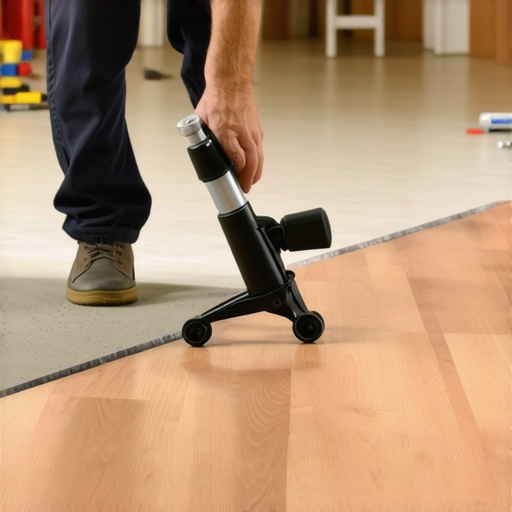
The flashlight technique works by projecting a low-angle beam across the subfloor surface to exaggerate vertical deviations. By placing the light source at floor level, any protrusion or recession creates a visible shadow that identifies the precise boundaries for grinding or filling. You need a high-lumen LED light for this. Do not use your phone light, it is too weak and the spread is too wide. You want a focused beam. Start in one corner and slowly sweep the light in a 180-degree arc. Watch for the ‘black holes’ where the light disappears. Those are your low spots. Take a piece of chalk and circle the perimeter of the shadow. Do not just mark the center. You need to know where the slope begins and ends so you can feather your patch correctly. Once you have marked the dips, look for the ‘bright spots’ where the light hits a wall of concrete or wood. Those are your high spots. These need to be ground down. If you are working on a wooden subfloor, check for protruding nail heads that catch the light. Every one of those is a potential squeak or a puncture point for your underlayment. The process is tedious, but it is the only way to guarantee a surface that meets NWFA standards. We are looking for a tolerance of 3/16 inch over a 10-foot radius. Anything more than that and your floor is on a countdown to destruction.
| Floor Material | Flatness Tolerance (10ft) | Primary Failure Mode |
|---|---|---|
| Solid Hardwood | 3/16 inch | Squeaking and Cupping |
| Laminate | 1/8 inch | Locking System Breakage |
| LVP Click Lock | 3/16 inch | Joint Separation |
| Ceramic Tile | 1/8 inch | Grout Cracking and Lippage |
Laminate Floors and the Clicking Joint Failure
Laminate flooring requires an exceptionally flat surface because its locking mechanisms are milled to extremely tight tolerances. When laminate is installed over a dip, the plank flexes under foot traffic, which stresses the thin fiberboard tongue and groove. Over time, this mechanical stress causes the joints to snap or separate. I have walked into homes where the laminate felt like a trampoline. The installer told them the padding would fix it. That is a lie. Padding is for sound and minor thermal insulation. It has zero structural capacity. In fact, while most people want the thickest underlayment, too much cushion actually causes the locking mechanisms on LVP or laminate to snap under pressure. The extra compression allows the joint to move too far, exceeding the shear strength of the HDF core. You want a high-density, low-compression underlayment. But even the best underlayment cannot save a floor that has a quarter-inch valley running through the middle of the living room. The flashlight method would have shown that valley instantly. You would have seen a shadow six feet long. That is where you pour your self-leveling underlayment. You need a portland-based compound with high polymer content to ensure it bonds to the substrate and doesn’t crack when the house settles.
Carpet Installation and the Myth of Padding
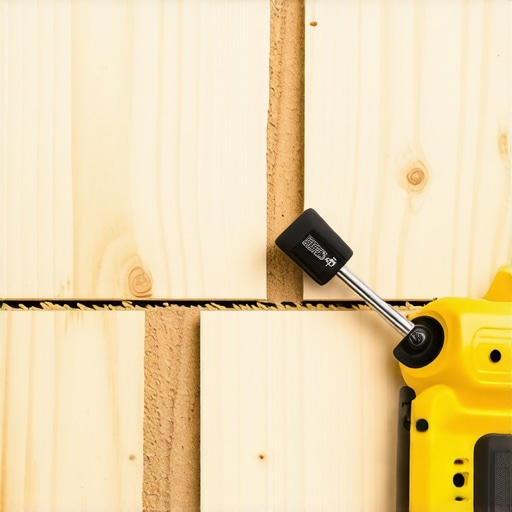
Carpet installation is often mistakenly viewed as a solution for uneven subfloors because the thick pad and fibers can mask visual defects. However, significant dips or ridges in the subfloor lead to accelerated wear patterns and delamination of the carpet backing. If you have a hump in the subfloor, the carpet pile will be crushed faster in that spot as people walk over it. It becomes a high-traffic focal point that wears down to the primary backing in half the time. If there is a dip, the carpet will feel ‘mushy’ and may eventually develop wrinkles because the tension of the stretch is not uniform across the surface. When I prep for carpet, I still use the flashlight. I am looking for subfloor rot or loose plywood sheets. If the light shows a shadow at a seam, that plywood is likely crown-up or loose. I will drive three-inch screws into the joists until that shadow disappears. You want a solid, silent base. The padding is there for comfort, not to act as a structural filler for a neglected subfloor. People think they can save money by skipping floor leveling before carpet, but they pay for it when they have to replace the carpet in five years instead of ten.
Shower Bases and the Peril of Voids
In shower installations, a flat and stable subfloor is imperative to prevent waterproof membrane failure and tile cracking. If a pre-sloped shower pan is installed over an uneven spot identified by the flashlight method, it creates a void that leads to flexing. This flexing eventually ruptures the thin-set bond or the waterproof liner, resulting in leaks. I have seen high-end walk-in showers that cost twenty thousand dollars fail because the guy didn’t level the floor before putting down his foam tray. The flashlight would have shown the humps in the thin-set or the dip in the plywood. When you have a void under a shower base, every time you step in to wash your hair, the entire assembly moves. That movement is micro-mechanical sabotage. It tears at the corners where the wall meets the floor. It stresses the drain assembly. Eventually, the hydrostatic pressure of the water finds that weakness. You end up with mold in the joists and a saturated subfloor. If you are doing a mud bed, you have more leeway, but for modern thin-bed systems, your substrate must be a masterpiece of flatness. Use the light. Mark the highs. Mark the lows. Fix them before the liner goes in.
“Wood flooring will perform best when the subfloor is flat to within 3/16 inch in 10 feet or 1/8 inch in 6 feet.” – National Wood Flooring Association (NWFA) Standards
The Chemistry of Leveling Compounds
Self-leveling underlayments are advanced chemical mixtures typically composed of calcium aluminate cement and synthetic polymers designed for high flowability. These compounds rely on surface tension and gravity to seek a level plane, but they require a properly primed substrate to prevent pinholing and adhesion failure. You cannot just pour this stuff out and walk away. You have to prep the floor like you are painting a car. First, you use the flashlight to find the deep spots. Then you vacuum every speck of dust. If there is dust, the leveler will float on top of it and never bond. I use a high-solids primer that creates a chemical bridge between the old concrete and the new leveler. The polymers in the mix provide tensile strength, allowing the compound to be poured as thin as a feather-edge or as thick as five inches. But remember the physics of water. These compounds are ‘self-leveling,’ but they are not ‘self-spreading.’ You need a gauge rake and a spike roller to release the air bubbles. If you don’t use a spike roller, you will see tiny craters in the surface once it dries. Those craters are weak points. They are the result of outgassing from the subfloor. A flat floor is a dense floor.
Regional Climate Impacts on Subfloor Stability
Regional climate conditions, such as high humidity in the South or extreme dryness in the Southwest, directly influence subfloor expansion and contraction. In humid environments, wood subfloors absorb moisture and can develop crowns at the seams, which are easily detected with low-angle lighting. If you are in a place like Houston, your plywood is a sponge. It is going to move. You need to leave an expansion gap at the perimeter of the room, or the floor will buckle against the drywall. In the dry heat of Phoenix, the opposite happens. The wood shrinks, and your subfloor seams might open up. If you are installing over concrete in a high-humidity area, you must check for moisture vapor emission rates. Concrete looks dry on top, but it can be a reservoir for groundwater. Use a calcium chloride test or an in-situ RH probe. If the moisture is too high, your leveling compound will delaminate, and your hardwood will cup. The flashlight method helps you find the physical dips, but you need a moisture meter to find the invisible ones. Professional installation is a marriage of geometry and chemistry. You cannot have one without the other.
The Final Checklist for a Flat Surface
Before you open a single box of flooring, you must complete a rigorous inspection of the substrate to ensure long-term performance. This checklist serves as the final barrier between a successful installation and a costly failure. Do not rush this. I know the homeowner wants their kitchen back. I know the builder is breathing down your neck. But if you skip these steps, you are the one who will be back on your knees in six months doing a repair for free. Use the flashlight. Trust the shadows. Fix the floor. Below is the essential workflow for every pro-grade job site.
- Conduct a 360-degree flashlight sweep of every room to identify topographical defects.
- Circle all low spots with chalk and mark high spots for mechanical grinding.
- Check moisture levels in at least three locations per 1,000 square feet using a calibrated meter.
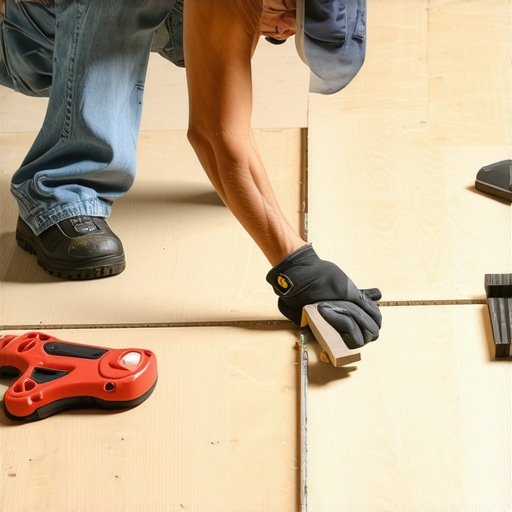
- Secure all loose subfloor panels with structural screws to eliminate vertical deflection and noise.
- Apply a high-quality primer before using any portland-based leveling compounds.
- Verify that the final surface meets the 3/16 inch in 10 feet flatness requirement.
Final Review. Achieving a perfect floor is not about the wood or the tile you choose. It is about the prep work that no one ever sees. The flashlight method is the simplest and most effective tool in your arsenal to ensure that the surface stays flat and the joints stay locked. Keep your eyes on the shadows and your hands on the leveler. That is how you build a floor that lasts a lifetime.