The Proper Way to Prep a Plywood Subfloor for Self-Leveling Compound
The 1/8 inch that ruins everything
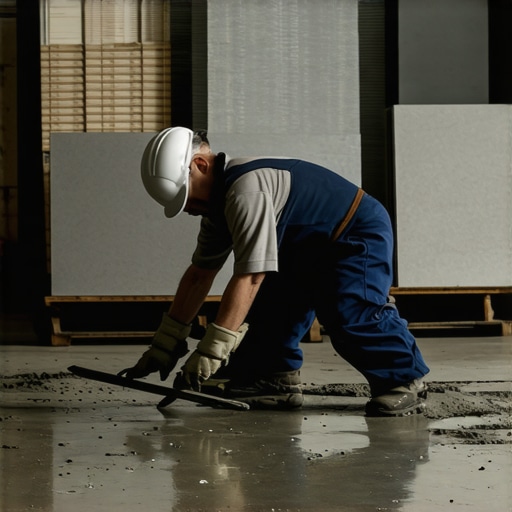
Prepping a plywood subfloor for self-leveling compound requires a rigid structure, a mechanical bond created by sanding, and a chemical bond through specialized primers. Most guys skip the leveling compound. They think the underlayment will hide the dip. It won’t. I spent three days grinding concrete on a job last month just so the floor wouldn’t click like a castanet. That clicking is the sound of a failure. It is the sound of a floor that was built on a lie. When you walk across a floor and hear that hollow tap, you know someone tried to save an hour by ignoring the subfloor prep. Wood moves. It breathes. It expands and contracts with the seasons. If you pour a rigid compound over a moving surface without the right prep, you are just making expensive gravel. I have seen laminate joints snap and carpet install jobs look like rolling waves because the installer was too lazy to pull out a straightedge. You need to respect the physics of the house. You need to understand that a subfloor is the foundation of your reputation. If the subfloor is not dead flat, the finish floor will fail eventually. It might take a week or a year, but it will happen.
Why your subfloor is lying to you
Subfloor flatness is measured by the deflection limit and the surface deviation over a ten foot radius. You might look at a sheet of plywood and think it is flat. It is not. Plywood has crowns, dips, and factory defects. Most plywood subfloors are 3/4 inch tongue and groove, but they are often installed with too few fasteners. I once walked into a house where a $15,000 wide-plank walnut floor was cupping so bad it looked like a potato chip because the installer didn’t check the crawlspace humidity. The subfloor had absorbed moisture from below and expanded, pushing the edges of the planks up. This is why you must verify the moisture content of your plywood before you even think about pouring leveler. Use a pin-type moisture meter. If the wood is above 12 percent moisture, stop. You are asking for a delamination event. You need to find the source of the dampness. Maybe it is a leaky pipe in the crawlspace or a grading issue outside. Fix the water first. The leveler will only bond to dry, stable wood fiber. If the wood is wet, the leveler will sit on top of a layer of rot. It will eventually crack and crumble under the weight of furniture or foot traffic.
“A floor is only as good as the subfloor beneath it; deflection is the enemy of every joint.” – Master Flooring Axiom
The physics of subfloor deflection
Deflection is the amount a floor system bends under a load, calculated as the span divided by a set factor. For most standard installations, you are looking for an L over 360 rating. This means if your joists span 15 feet, the floor should not bend more than a half inch under a full load. If you are prepping for tile or a heavy stone floor leveling project, you need L over 720. That is twice as stiff. You achieve this by adding a second layer of plywood or by reinforcing the joists from below. Do not trust the existing subfloor to be stiff enough. Jump on it. If you feel a bounce, the leveler will crack. Self-leveling compound is cementitious. It is hard and brittle. Plywood is flexible and fibrous. These two materials do not like each other. You are forcing a marriage between a rock and a spring. To make it work, the spring must be made as rigid as possible. This means checking the screw pattern. Every six inches on the edges and every twelve inches in the field. Use subfloor screws, not drywall screws. Drywall screws have no shear strength. They will snap the moment the house settles. I have seen entire floors lift because the installer used the wrong fasteners. It is a rookie mistake that leads to a total tear-out.
The chemistry of the primer bond
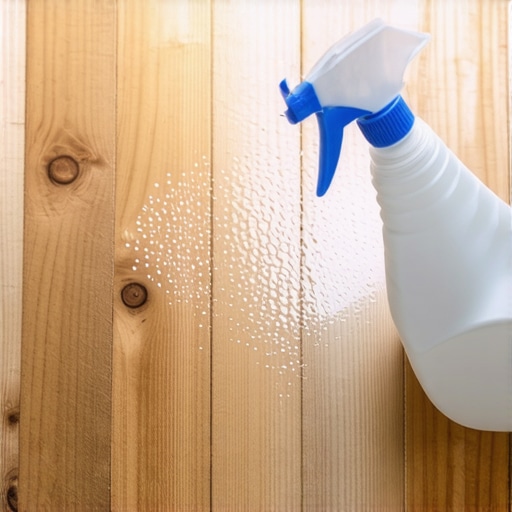
Primer creates a bridge between the porous wood fibers and the dense polymer-modified cement of the self-leveler. You cannot pour leveler directly onto raw plywood. The wood is thirsty. It will suck the water out of the leveler before the cement has a chance to hydrate. This results in a chalky, weak pour that will flake off. You need a high-quality acrylic primer. This primer seals the pores of the wood. It turns a hydrophobic surface into a hydrophilic one that the leveler can grip. Think of it like a molecular glue. I prefer to apply primer with a soft-bristle broom. You want to work it into the grain. Don’t just puddle it. You need a thin, even coat. If you see white spots, you have too much. If you see dry wood, you have too little. In high-humidity areas like Houston or New Orleans, the drying time for primer can double. Do not rush it. If the primer is still tacky when you pour, the leveler will mix with it and ruin the chemistry. You want a clear, dry film. This film acts as a moisture barrier and a bonding agent. It is the most vital part of the process that everyone tries to skip.
| Subfloor Type | Recommended Thickness | Acclimation Time | Janka Rating Link |
|---|---|---|---|
| Plywood (CDX) | 3/4 inch min | 72 Hours | N/A |
| OSB | 23/32 inch min | 48 Hours | N/A |
| Advantech | 3/4 inch | 24 Hours | N/A |
| Underlayment Grade | 1/4 inch cap | 48 Hours | N/A |
Sealing the perimeter against the flood
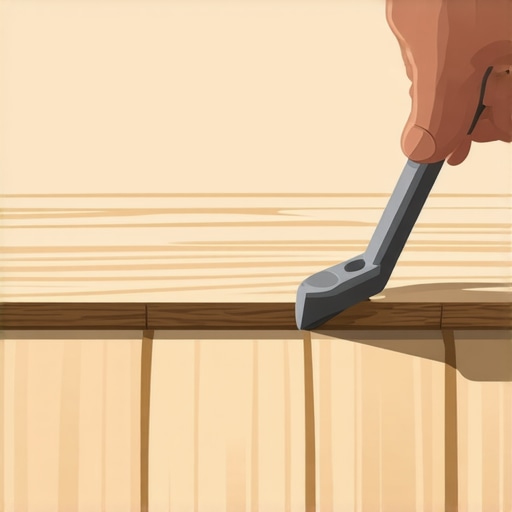
Perimeter sealing prevents the liquid self-leveling compound from escaping into wall cavities or through floor penetrations. Self-leveling compound has the consistency of pancake batter or thick milk. It will find every hole. It will find every gap in your bottom plate. It will flow down into your basement or onto your neighbor’s ceiling if you are in a condo. I use spray foam or silicone caulk to seal every single edge. Use a foam sill sealer or weatherstripping around the perimeter of the room. This creates an expansion gap. Cement expands. Wood expands. If the leveler is poured tight against the studs, it will crack when the house shifts. You need that 1/4 inch of breathing room. Think of it like a dam. You are building a temporary lake of cement. If there is a leak in the dam, you lose the level. You also lose your mind trying to clean up the mess. I once saw a guy lose forty bags of leveler into a crawlspace because he didn’t seal the heat vents. That is a mistake you only make once. It is expensive and embarrassing. Take the time to tape off your registers. Put a bead of caulk around every pipe. It is the difference between a pro and an amateur.
The mechanical bond and the grit factor
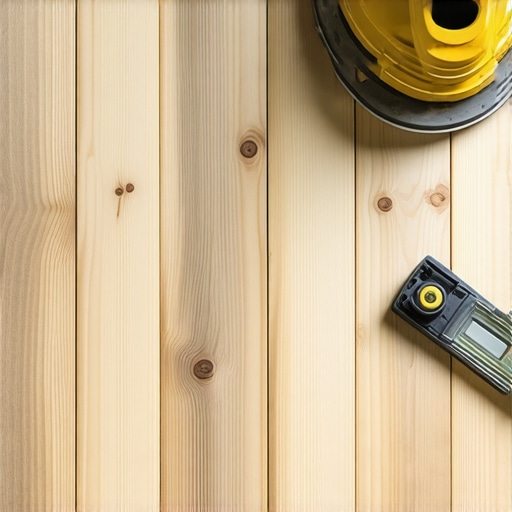
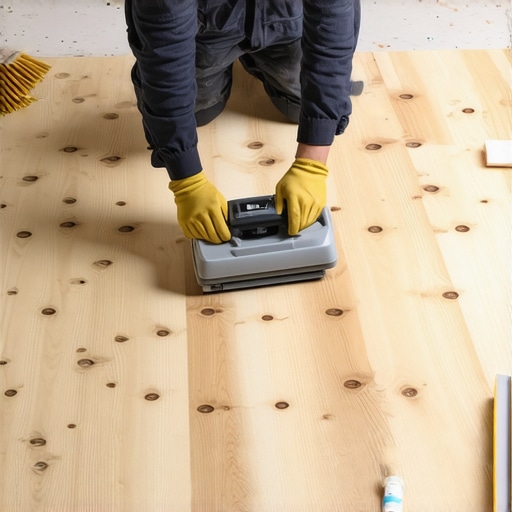
Mechanical bonding is achieved by roughening the surface of the plywood to increase the surface area for the primer. If your plywood is glazed or has a factory coating, the primer will just sit on top. You need to break that surface. I use a floor buffer with a 40-grit sandpaper disk. You aren’t trying to make it pretty. You are trying to make it toothy. You want the wood to feel like a cat’s tongue. This gives the acrylic primer something to bite into. After sanding, vacuum the floor three times. Dust is the enemy of adhesion. If there is a layer of sawdust between the wood and the leveler, the floor will fail. I have seen 1,000 square feet of leveler pop off like a scab because the installer didn’t vacuum properly. It is a sickening sound. You can hear the hollow spots when you walk on it. Use a HEPA vacuum. Don’t use a broom. Brooms just kick the dust back into the air. It settles back down once you start pouring. You want that plywood clinical-clean. Smelling like oak dust and sweat is part of the job. If you aren’t covered in gray powder by the end of the day, you didn’t do the prep right.
- Check for floor squeaks and add screws to joists.
- Sand all high spots and factory stamps.
- Vacuum the entire surface with a shop vac.
- Apply primer with a soft brush or broom.
- Dam all doorways and floor vents.
- Verify moisture content is below 12 percent.
- Mix leveler with a high-torque drill and paddle.
“The Tile Council of North America requires a clean, sound, and dimensionally stable substrate for any cementitious application.” – TCNA Handbook
Mixing ratios and the physics of flow
The water to powder ratio of self-leveling compound is a precise chemical requirement that dictates the final compressive strength. People think they can eyeball the water. They are wrong. If you add too much water, the polymers will float to the top. The surface will be soft and dusty. If you add too little water, the compound won’t flow. It will clump. You will end up with a floor that is even more uneven than when you started. Use a measuring bucket. Every bag gets the exact same amount of water. In dry climates like Phoenix, the water evaporates faster. You might think you need more, but you don’t. You just need to work faster. Use cool water. Hot water makes the leveler set up in the bucket. I have seen guys lose a whole batch because they used a hose that had been sitting in the sun. The water was 100 degrees. The leveler turned into a rock in three minutes. You need a helper. One guy mixes, one guy pours. It has to be a continuous flow. You want to maintain a wet edge. If the first pour starts to set before the second pour hits it, you will get a ridge. That ridge will show through your laminate or your thin carpet install. It will be a permanent reminder of your failure.
The hidden cost of rushing the dry time
Cure time is different from dry time, as the chemical reaction within the cement continues long after the surface feels hard. Most bags say you can walk on it in four hours. That does not mean you can install flooring. The leveler is still full of moisture. If you trap that moisture under a waterproof LVP or a thick carpet install, it will rot. It will cause the adhesive to fail in showers or bathrooms. You need to wait. Use a moisture meter on the leveler. It should give you a reading that matches the manufacturer’s spec for the finish flooring. Usually, this means waiting 24 to 48 hours. If you are in a basement or a humid area, it might take a week. I know the homeowner is screaming to get their kitchen back. I don’t care. I tell them they can have a fast floor or a good floor. They can’t have both. If I install over wet leveler, I am the one who has to pay for the replacement. I don’t work for free. Patience is a tool just like a hammer or a level. Use it. Let the floor breathe. Let the chemistry finish its work. When it is done, you will have a surface that is as flat as a pool table. That is the goal. That is why we do this. A perfect floor starts in the dirt and the dust of the subfloor. It ends with a surface that lasts for fifty years. Anything less is just a waste of time and money.