The Blue Chalk Mistake That Bleeds Through Your Laminate Seams
The Blue Chalk Mistake That Bleeds Through Your Laminate Seams
Most guys skip the leveling compound. They think the underlayment will hide the dip. It won’t. I spent three days grinding concrete on a job last month just so the floor wouldn’t click like a castanet. It was a brutal reminder that the invisible parts of an installation are the only parts that actually matter. When you are on your knees for ten hours a day, you learn that shortcuts are just long-term debts that you will eventually have to pay with your reputation. This is especially true when we talk about layout marks and subfloor prep. The industry is full of installers who treat a floor like a cosmetic skin. I treat it like a structural assembly. If you do not respect the physics of the subfloor, the chemistry of the material will eventually betray you.
The permanent shadow of blue carpenter chalk
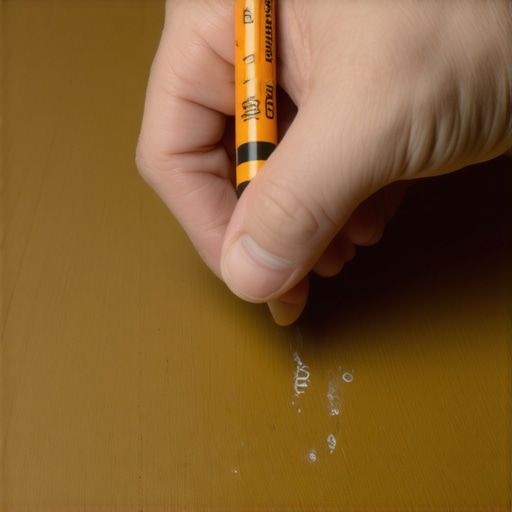
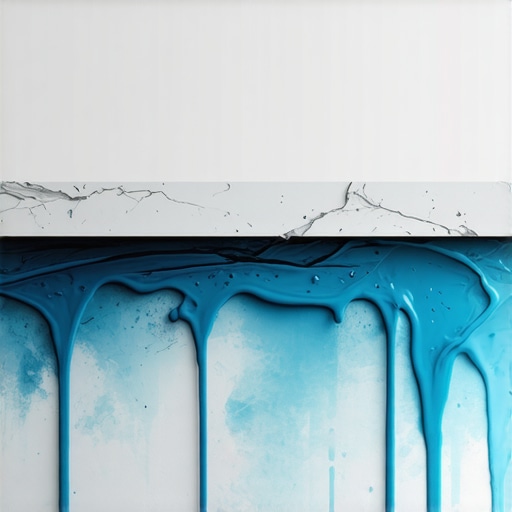
Blue carpenter chalk is formulated with permanent pigments like ultramarine blue or cobalt derivatives that do not dissolve or disappear over time. When an installer snaps a layout line directly onto a concrete slab or plywood subfloor and then covers it with a floating laminate floor, they are setting a trap. Moisture vapor naturally moves through any subfloor. Even in a dry house, the concrete slab is constantly breathing. This vapor picks up the pigments from the blue chalk and carries them upward. Through capillary action, the blue dye migrates through the underlayment and into the High-Density Fiberboard or HDF core of the laminate. Once it hits the core, it travels to the seams. Within six months, you will see a blue tint bleeding through the edges of your planks. It is impossible to clean because it is inside the material. If you must snap a line, use white chalk or a pencil. White chalk is typically just calcium carbonate and lacks the permanent staining agents found in blue or red variations.
“A floor is only as good as the subfloor beneath it; deflection is the enemy of every joint.” – Master Flooring Axiom
The molecular reality of floor leveling
Floor leveling requires a precise chemical balance of Portland cement and polymer modifiers to ensure the surface remains flat within 3/16 of an inch over ten feet. Most people assume that self-leveling underlayment is just watery concrete that finds its own level. That is a dangerous misconception. To achieve a successful pour, the subfloor must first be primed with a high-solids acrylic primer. This primer seals the pores of the concrete. If you skip this, the dry concrete slab will suck the water out of your leveling compound before it has a chance to flow. This results in a lumpy, sandy mess that will crumble under the weight of the floor. The chemistry here is about hydration. The polymers in the leveling mix need time to form a crystalline structure that can withstand the compressive forces of foot traffic. If the leveling compound is too thin, it lacks the tensile strength to hold together. If it is too thick without the proper aggregate, it will crack. You are building a bridge between the raw slab and the finished floor. Any failure in that bond will lead to the dreaded clicking sound when someone walks across the room.
[image]
Why showers and humidity zones demand different logic
Laminate flooring in areas near showers or high humidity requires a perimeter seal of 100 percent silicone to prevent edge swelling. Even if the box says waterproof, the core of most laminate is wood-based. When you install near a bathroom or a kitchen sink, the expansion gap at the edge of the floor becomes an entry point for liquid water. Capillary action is a powerful force. A small spill can be pulled under the baseboard and into the raw edge of the plank. Once the HDF core absorbs water, it undergoes an irreversible change in volume. The wood fibers expand and the resins that hold them together break down. This causes the edges to peak. A peaked seam is a trip hazard and a visual disaster. To prevent this, you must use a closed-cell backer rod in the expansion gap and then cap it with a high-quality silicone. This creates a flexible, watertight gasket that allows the floor to move while keeping the moisture out. The physics of wood expansion are relentless. You cannot stop the floor from moving, so you must engineer a way for it to move safely.
The difference between carpet install and rigid flooring
A carpet install relies on the compression of the padding to mask subfloor irregularities while laminate requires a perfectly flat plane to maintain joint integrity. When I am doing a carpet job, the subfloor only needs to be clean and structurally sound. The half-inch of rebond pad acts as a shock absorber. You can have a dip in the floor and the homeowner will never know. Rigid floors like laminate or luxury vinyl plank are different. They have mechanical locking systems. These click-lock joints are engineered to very tight tolerances. If the floor is installed over a dip, the joint will flex every time someone steps on it. This repeated stress leads to fatigue. Eventually, the thin plastic or wood tongue will snap. Once the tongue is gone, the planks will start to separate, creating gaps that collect dirt and moisture. This is why floor leveling is not an optional upgrade. It is a fundamental requirement for the longevity of the product. If you treat laminate with the same casual attitude as carpet, you are guaranteeing a failure within the first two years of the floor’s life.
| Feature | AC3 Laminate | AC4 Laminate | AC5 Laminate |
|---|---|---|---|
| Usage Class | Residential Heavy | Commercial General | Commercial Heavy |
| Wear Layer Thickness | 0.15mm | 0.20mm | 0.30mm |
| Impact Resistance | Medium | High | Very High |
| Core Density | 800 kg/m3 | 850 kg/m3 | 900 kg/m3 |
The ghost in the expansion gap
Expansion gaps must be maintained at every vertical obstruction to allow for the natural thermal expansion and contraction of the flooring units. A floating floor is a giant, heavy sheet of wood-based material. It expands when the humidity goes up and shrinks when the air gets dry. If you run the floor tight against a wall or a door frame, the floor has nowhere to go. The pressure will build up until the floor buckles. This often happens in the middle of a room, far away from the actual obstruction. It is a common sight to see a floor lifting six inches off the ground because it is pinched at a door casing. I always use spacers that are at least 3/8 of an inch thick. You have to account for the total run of the floor. A floor that spans forty feet will move significantly more than a floor that spans ten feet. In large open concepts, you often need to install T-moldings to break the floor into smaller sections. Many homeowners hate the look of T-moldings, but they are a necessary evil in the world of floating floors. Without them, the internal tension will eventually rip the joints apart.
- Check subfloor moisture levels with a pinless meter before starting.
- Remove all old adhesive residues to prevent chemical reactions with new underlayment.
- Vacuum the floor three times to ensure no grit gets trapped under the planks.
- Acclimate the laminate for at least 48 hours in the room where it will be installed.
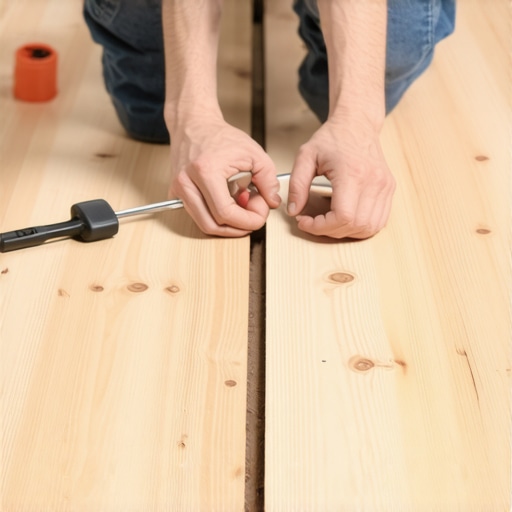
- Use a tapping block and a pull bar to avoid damaging the delicate locking tabs.
- Verify that the subfloor is flat to within 1/8 inch over a 6-foot radius.
“Deflection in the subfloor is the primary cause of locking system failure in floating floors.” – NWFA Technical Guidelines
The 1/8 inch that ruins everything
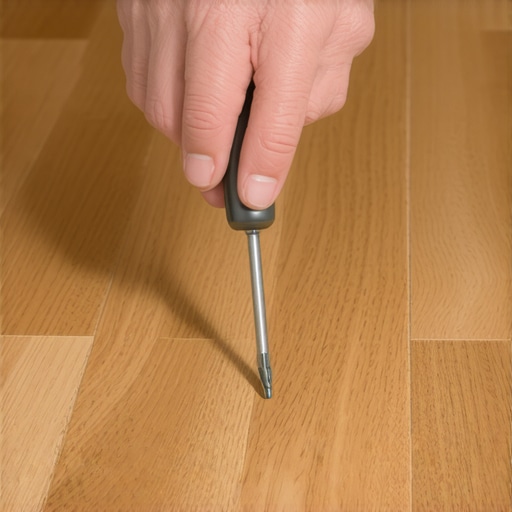
Precision in floor leveling is measured in fractions of an inch because even a slight deviation creates a hollow sound that ruins the premium feel of the home. When a homeowner walks across a floor and hears a hollow thud, they know the job was done poorly. That sound is the result of a gap between the laminate and the subfloor. Even if the joint doesn’t break, the sound is a constant reminder of the installer’s laziness. I use a straight edge and a set of feeler gauges on every job. If I can slide a 1/8 inch gauge under my level, that spot gets filled or ground down. Grinding concrete is a dusty, miserable process, but it is the only way to get a professional result. You have to use a diamond cup wheel and a high-powered vacuum system. This is where the men are separated from the boys. A hack will just roll out the foam and keep moving. A master will stop, mask off the area, and fix the substrate. The customer might not see the dust I cleared or the hours I spent with the grinder, but they will feel the difference every time they walk across their rock-solid floor.
The chemistry of underlayment selection
The choice of underlayment must be based on the moisture vapor emission rate of the slab rather than the marketing claims on the plastic wrap. Not all underlayment is created equal. Some are designed for sound dampening, others for moisture protection. If you are on a concrete slab, you must have a vapor barrier with a perm rating of less than 1.0. Many modern underlayments have a built-in film, but you must overlap the seams and tape them with a moisture-resistant tape. If you don’t, the vapor will find the gaps and attack the floor. There is also the issue of density. If the underlayment is too soft, it will allow the floor to flex too much. This brings us back to the problem of broken locking tabs. You want an underlayment with a high compressive strength. It should feel firm to the touch, not like a sponge. The physics of the assembly require a stable base that limits vertical movement while allowing horizontal expansion. It is a delicate balance that requires a deep understanding of the materials involved.
Final Walkthrough
The blue chalk mistake is just a symptom of a larger problem in the flooring industry. Too many people are focused on the surface and not enough on the science. A successful installation is the result of a hundred small decisions made correctly. It starts with the moisture test and ends with the final bead of silicone. If you ignore the subfloor, if you use the wrong chalk, or if you skimp on the leveling compound, you are not a flooring professional. You are just someone who knows how to click boards together. Real craftsmanship is about building something that will last for thirty years, not just until the check clears. When you take the time to do it right, when you respect the NWFA standards and the laws of physics, you create a floor that is both beautiful and permanent. That is what it means to be a master of this trade. It is not about the wood. It is about the foundation.