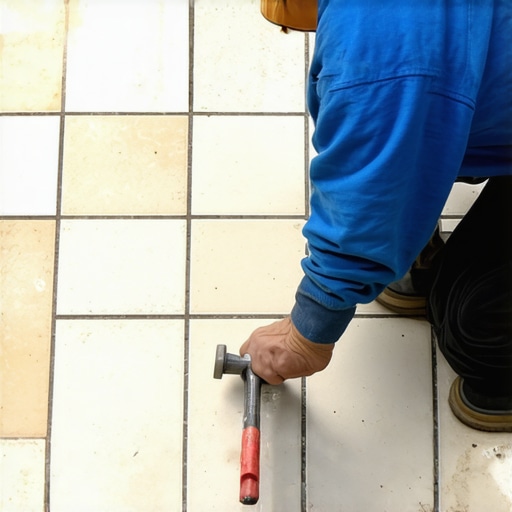
The ‘Hammer Tap’ Trick for Finding Hollow Spots Under Tile
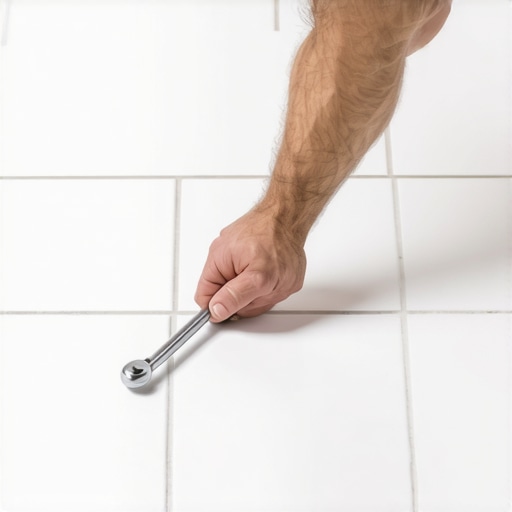
I spent three days grinding concrete on a job last month just so the floor wouldn’t click like a castanet. Most guys skip the leveling compound. They think the underlayment will hide the dip. It won’t. I once walked into a luxury kitchen where the homeowner had paid top dollar for Italian porcelain. Within weeks, the grout started cracking. I took a small finishing hammer and started tapping. The sound changed from a solid ping to a hollow thud across forty percent of the floor. The installer had used the spot-bonding method, also known as the five-dot method, which is a cardinal sin in the world of the Tile Council of North America. Those air pockets are structural weaknesses. Every time someone walks over a hollow spot, the tile flexes. That microscopic movement is what shears the bond and turns your expensive floor into a ticking time bomb of repairs. I ended up having to tear the whole thing out because you cannot fix a lack of coverage once the mortar is dry.
The acoustic physics of a hollow bond
The hammer tap trick utilizes acoustic resonance to identify voids beneath the tile surface. When a professional installer strikes a ceramic or porcelain tile, the vibration frequency reveals whether the thin-set mortar has achieved 100% coverage or if air pockets exist between the substrate and flooring. This nondestructive testing is the first line of defense against delamination. The science of this is rooted in how sound waves travel through different densities. In a perfectly bonded tile, the sound wave passes through the ceramic, through the mortar, and into the concrete slab or wooden subfloor. This creates a high-frequency, short-duration sound. When there is a gap, the sound wave hits the air pocket and reflects back, creating a lower-frequency, echoing thud. It is a simple tool, but it is more accurate than any expensive electronic sensor I have ever used. I carry a specific 4-ounce ball-peen hammer just for this. You do not need to swing hard. You are looking for a change in pitch, not trying to break the glaze. If you hear that drum-like sound, you know the mortar has failed to wet out the back of the tile or the substrate was too dusty for the chemical bond to take hold.
Why your subfloor is lying to you
Floor leveling requires a surface deviation of less than 1/8 inch over 10 feet to satisfy NWFA and TCNA standards. If the subfloor contains low spots, the tile or laminate will bridge the gap instead of resting on a solid foundation, leading to structural deflection and joint failure. You might look at a plywood subfloor and think it is fine because it was just installed. Plywood has a memory. If it sat in a humid warehouse and then dried out in your house, it is going to crown or cup. I always bring a 10-foot magnesium straightedge to every job site. I am looking for the daylight under that bar. If I see more than a eighth of an inch, out comes the grinder or the self-leveling underlayment. People hate the cost of prep. They want to spend their money on the pretty stuff. But the pretty stuff is only as good as the grey stuff underneath. If you are doing a carpet install, you can get away with more. Carpet hides a multitude of sins. But if you are moving to a hard surface, those sins will be shouted from the rooftops the moment you walk across the room.
The chemical failure of thin-set adhesives
The chemical bond in modified thin-set relies on polymer additives to create a bridge between the substrate and the tile. When installers use unmodified mortar on porcelain, the moisture is not absorbed correctly, leading to a mechanical failure where the tile simply pops off the cured mortar bed. Porcelain is an extremely dense material with a water absorption rate of less than 0.5 percent. This means the mortar cannot soak into the tile to create a mechanical grip. You need the polymers to act as a glue. I have seen guys mix their thin-set too dry because it is easier to stack the tile and it won’t slide. That is a recipe for disaster. If the mortar is too dry, it skins over before the tile is even set. You might think you have coverage, but when you pull that tile up, the back is as clean as the day it came out of the box. That is why I always pull a sacrificial tile every few rows. I want to see 100 percent coverage on the back. I want to see those ridges flattened out into a solid sheet of grey. If I see the lines of the trowel, the floor is going to fail.
“A floor is only as good as the subfloor beneath it; deflection is the enemy of every joint.” – Master Flooring Axiom
Moisture is the silent killer in showers
In showers, waterproofing and subfloor integrity are the most vital components of a long-term installation. If the hammer tap reveals hollow spots in a wet area, it suggests that water intrusion has begun to degrade the mud bed or that efflorescence is pushing the tile away from the membrane. This is where things get expensive. A hollow tile in a hallway is an annoyance. A hollow tile in a shower is an invitation for mold and rot. I have seen 2×10 joists that looked like Swiss cheese because someone didn’t seal a corner or didn’t get a good bond on the curb. When you tap a shower floor and hear that hollow sound, you are often hearing the sound of a saturated mortar bed. The water gets trapped between the tile and the liner. It cannot evaporate. It just sits there, rotting everything it touches. I tell people all the time that a shower is a localized swimming pool. You have to treat it with that level of respect. If the bond is not perfect, the system is compromised.
Comparing the stability of laminate and carpet install
While a carpet install is forgiving of subfloor irregularities, laminate flooring and tile require a rigid plane to prevent locking mechanism failure. Without floor leveling, a floating floor will bounce, creating air gaps that trap moisture and lead to mold growth or warping. Laminate is essentially high-density fiberboard with a picture of wood on top. It is sensitive to every dip in the floor. If you have a 3/16 inch dip, that laminate is going to flex every time you step on it. Over time, that thin tongue and groove is going to snap. Once it snaps, the floor starts to separate. You get those ugly gaps that collect dirt and hair. Carpet, on the other hand, is like a blanket. You put a thick 8-pound pad down and you can’t feel the floor. But don’t let that fool you. If the subfloor is rotting under the carpet, you won’t know until your foot goes through it. I always prefer a hard surface because the floor will tell you when something is wrong. It will click, it will tap, or it will crack.
Technical specifications for flooring substrates
| Substrate Type | Max Deflection | Recommended Prep | Moisture Limit |
|---|---|---|---|
| Concrete Slab | L/360 | Diamond Grinding | 3 lbs / 1000 sqft |
| Plywood Subfloor | L/720 for Stone | Sanding Seams | 12% MC |
| OSB Board | L/360 | Self-Leveling Primer | 10% MC |
The 1/8 inch that ruins everything
The industry standard for large format tile is a flatness of 1/8 inch over 10 feet. If the installer ignores this, the lippage will be unacceptable, creating tripping hazards and making grout lines impossible to align. Lippage is when one edge of a tile is higher than the adjacent tile. With modern tiles getting bigger and bigger, this is a nightmare. A 12×24 inch tile has no flexibility. If there is a hump in the concrete, that tile is going to teeter-totter. You can’t just ‘back-butter’ your way out of a bad subfloor. You have to fix the foundation. I spend more time with my leveling pins and my bags of compound than I do with the actual tile. That is the difference between a guy who does floors and a guy who is a flooring architect. I am looking at the physics of the load. I am looking at the coefficient of expansion. I am looking at how the house is going to move when the seasons change.
“The National Wood Flooring Association mandates that wood floors must acclimate to the living environment until they reach the equilibrium moisture content of the home.” – NWFA Standards
The ghost in the expansion gap
An expansion gap is a required perimeter space that allows flooring to expand and contract with temperature changes. If a laminate or hardwood floor is installed tight to the wall, the internal pressure will cause the planks to buckle or the joints to peak. I have seen entire floors lift four inches off the subfloor because some DIYer thought the baseboard would hide the gap. You need that 1/4 inch or 1/2 inch space. Wood is a living material. It breathes. It moves. If you trap it, it will find a way out, and usually, that way is up. This is even true for ‘waterproof’ vinyl. The vinyl itself might not move much, but the house does. The sun hitting a sliding glass door can heat that floor up to 120 degrees. Without a gap, that floor is going to bubble. It is simple physics, yet it is the most common mistake I see in the field. People want it to look ‘seamless,’ but in flooring, ‘seamless’ usually means ‘broken’ in six months.
The checklist for a professional flooring inspection
- Check subfloor moisture levels with a pin-less meter.
- Verify flatness using a 10-foot straightedge.
- Perform the hammer tap test on all installed tiles.
- Ensure a minimum 95% mortar coverage in wet areas.
- Check for the presence of expansion joints in large spans.
- Verify that the door casings have been undercut for a clean fit.
- Confirm that the correct thin-set was used for the tile type.