The ‘Blue Tape’ Strategy for Perfectly Straight Shower Niche Grout
Most guys skip the leveling compound. They think the underlayment will hide the dip. It won’t. I spent three days grinding concrete on a job last month just so the floor wouldn’t click like a castanet. That job taught me that if you don’t respect the substrate, the substrate will embarrass you in front of the client. Whether it is a shower niche or a thousand square feet of white oak, the physics of a flat surface remain the same. I have spent twenty-five years staring at 1/8 inch gaps that everyone else ignored until the tile cracked. Flooring is not about the pretty top layer. It is about the structural engineering that happens before the first bucket of mortar is even opened.
The myth of the flat wall
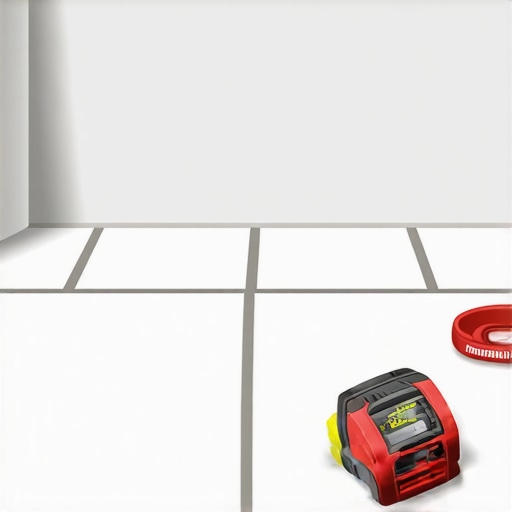
Shower niche grout lines require a substrate that is perfectly plumb and planar to avoid irregular shadows and uneven joints. Most residential framing is off by at least a quarter inch over four feet. When you are working with a small, recessed area like a niche, these discrepancies are magnified. You cannot fix a crooked stud with grout. You have to sister the studs or use shim strips to ensure the cement backer board sits on a true plane. If the wall is leaning, the grout lines in your niche will look like a staircase instead of a grid. I always tell my apprentices that a level is more important than a spacer. We use high-precision laser levels to project a grid across the entire shower before a single tile is cut. This ensures that the horizontal lines in the niche align perfectly with the main wall. Without this alignment, the entire installation looks amateur.
Why your subfloor is lying to you
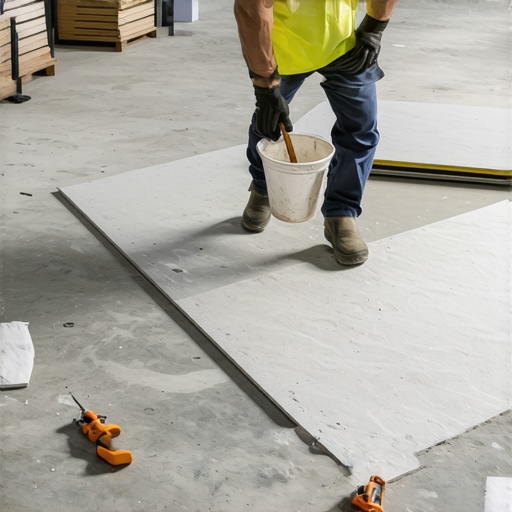
Floor leveling is the process of removing high spots and filling low spots to meet industry standards of 1/8 inch deviation over ten feet. Many installers trust their eyes, but your eyes are easily deceived by light and shadow. You need a ten-foot straightedge. If you are installing laminate or large format tile, a dip in the subfloor acts as a pivot point. Every time someone walks over that spot, the tongue and groove joint on the laminate or the grout joint on the tile flexes. Eventually, the mechanical bond fails. For concrete slabs, we look at the moisture vapor emission rate. A slab might look dry, but it could be pumping out pounds of water vapor that will delaminate your adhesive. We use calcium chloride tests or in-situ probes to get real data. Never trust a slab that has not been tested, especially in humid regions like the Gulf Coast where the vapor drive is relentless.
“A floor is only as good as the subfloor beneath it; deflection is the enemy of every joint.” – Master Flooring Axiom
Physics of the blue tape barrier
Straight grout lines in a shower niche are achieved by using painter’s tape to create a physical boundary that prevents mortar bleed and grout haze on the delicate edges. This strategy is about controlling the chemistry of the grout. When grout is pressed into a joint, the water in the mixture begins to migrate into the porous edges of the tile. By masking the face of the tile with blue tape, you ensure that the grout stays only where it belongs. This is particularly important for high-contrast grout colors. If you are putting black grout next to white marble, the tape is your only defense against permanent staining. We apply the tape exactly to the edge of the bevel, use a sharp utility knife to trim the corners, and then pack the joints. The result is a crisp line that looks like it was cut with a laser. It takes an extra hour of prep, but it saves four hours of cleaning and scrubbing.
Transitioning from tile to laminate
Laminate flooring requires a specific expansion gap when it meets a tiled shower curb or bathroom floor. One of the biggest mistakes I see is installers butting the laminate tight against the tile. Wood-based products expand and contract with seasonal humidity changes. In the winter, the planks shrink. In the summer, they swell. If there is no gap, the floor will peak in the middle of the room. You need at least a quarter inch of space, which is then covered by a T-molding or a custom transition strip. I prefer to undercut the tile baseboard so the laminate can slide underneath. This creates a clean, professional look without the need for clunky transition pieces. It is the difference between a floor that looks like it was slapped together and one that was engineered for the home.
| Material Type | Janka Hardness | Acclimation Time | Moisture Tolerance |
|---|---|---|---|
| Solid White Oak | 1360 | 7 to 14 Days | Low |
| Engineered Maple | 1450 | 3 to 5 Days | Medium |
| Stone Polymer Composite (SPC) | N/A | 24 Hours | High |
| Solid Walnut | 1010 | 10 to 14 Days | Very Low |
Carpet install pitfalls near wet areas
Carpet install procedures must account for the high moisture environment near a bathroom door. I have seen too many tack strips rot out because they were placed too close to a tile transition where water splashes. We use architectural tack strips with three rows of pins for better tension, and we ensure that the transition strip is sealed. The padding is another area where people cut corners. You want a high-density rebond pad that won’t collapse under heavy foot traffic. If the pad is too soft, the carpet will stretch and develop ripples over time. It is also vital to seal the subfloor near the bathroom to prevent spills from soaking into the wood and causing mold. A little bit of prep work prevents a lot of smell down the road.
Regional humidity and grout cure rates
Regional climate plays a massive role in how materials behave during installation. If you are in a dry climate like Phoenix, your grout will dry too fast, leading to cracking and powdery joints. You might need to mist the joints with water to slow down the hydration process. In a swampy environment like Houston or New Orleans, the humidity can prevent the grout from ever fully reaching its intended hardness. This is why we use high-performance, rapid-setting grouts that use chemical hydration rather than simple evaporation. We also pay close attention to the dew point. If the house isn’t climate-controlled, you are asking for a failure. I refuse to install hardwood or tile until the HVAC has been running for at least forty-eight hours to stabilize the environment. It is non-negotiable.
“Tile is a rigid system; if the structure moves, the tile breaks.” – TCNA Handbook Principles
The 1/8 inch that ruins everything
Expansion gaps are the most overlooked part of any flooring project. People think they can hide mistakes with baseboards, but the physics of the material won’t allow it. For LVP and laminate, the locking mechanisms are incredibly thin. If the floor hits a wall and has nowhere to go, those locks will snap. I have seen entire floors ruined because the installer didn’t leave a gap at the door casings. You have to undercut the jambs. You have to let the floor breathe. If you don’t, you will hear a clicking sound every time you walk. That is the sound of your floor dying. We use spacers around the entire perimeter to ensure that the gap is consistent. It is a simple tool that prevents a thousand-dollar repair bill.
- Check subfloor levelness with a 10-foot straightedge.
- Vacuum all dust to ensure a mechanical bond for adhesives.
- Verify moisture content of the wood and subfloor.
- Acclimate materials in the room where they will be installed.
- Use the correct trowel notch size for the tile being used.
- Apply blue tape to all niche edges before grouting.