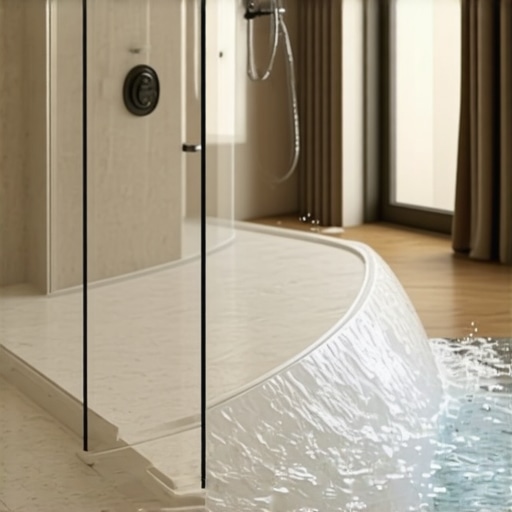
The ‘Quarter Test’ for Checking Proper Slope in a Curbless Shower
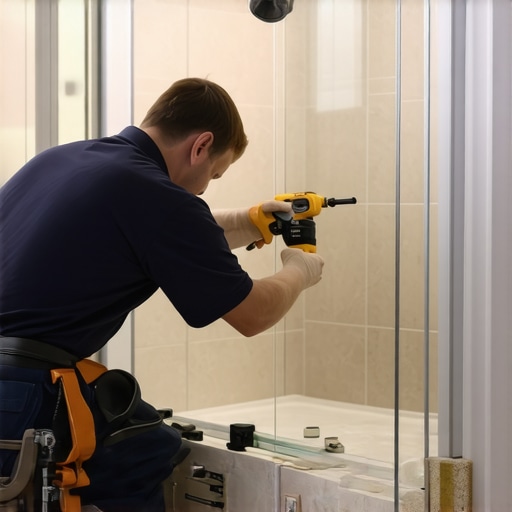
Most guys skip the leveling compound. They think the underlayment will hide the dip. It won’t. I spent three days grinding concrete on a job last month just so the floor wouldn’t click like a castanet. That job was a luxury condo where the developer thought close enough was good enough for a curbless entry. If I had just laid the tile, the water would have migrated straight into the master bedroom. You see, a floor is not a decoration. It is a structural engineering challenge that begins at the molecular level of the slab. Curbless showers represent the peak of this challenge because you are removing the safety net of the curb. Without that three-inch dam, you are relying entirely on the physics of slope and the surface tension of water. If your subfloor is off by even an eighth of an inch, you are looking at a failed inspection or a rot-out that will cost twenty thousand dollars to remediate. I have spent twenty five years on my knees with a straightedge and a moisture meter. I know when a floor is lying to me. This guide is about the reality of the quarter test and the structural prep required to make a curbless system actually work for the long haul.
The mechanical reality of the quarter test
The quarter test is a field verification method used by expert tile installers to ensure a minimum 1/4 inch per foot slope toward the drain. By placing a coin on the cured tile surface and observing water flow or using it as a height gauge under a level, installers verify that gravity-fed drainage will prevent pooling and capillary migration into dry zones. This test is the final check before the homeowner sees the job. If that quarter sits in a puddle, the floor is a failure. Water has a specific gravity and a surface tension that resists movement on flat surfaces. In a curbless environment, the transition from the bathroom floor to the shower pan must be a precise geometric plane. Most installers fail because they try to create this slope in the thin-set. That is a recipe for disaster. Thin-set is an adhesive, not a structural filler. It shrinks as it cures. If you build up a heavy bed to create a pitch, you end up with voids and uneven tension that will crack your grout joints within a year. The slope must be carved into the subfloor or the mud bed before a single piece of tile touches the ground.
“A floor is only as good as the subfloor beneath it; deflection is the enemy of every joint.” – Master Flooring Axiom
Why gravity wins every time in a wet room
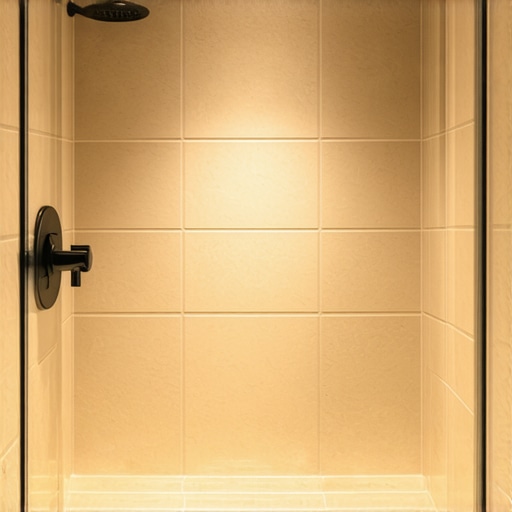
Proper drainage in showers requires a consistent pitch of two percent or one-quarter inch per foot of horizontal travel. This slope ensures that kinetic energy from the showerhead is converted into laminar flow toward the waste pipe, preventing biofilm accumulation and standing water. When you are dealing with curbless designs, you are essentially creating a funnel in a flat room. The physics of this are unforgiving. Water will always find the lowest point. If the lowest point is the seam where your tile meets the hardwood in the hallway, you have failed the most basic requirement of the trade. I see guys all the time trying to use self-leveling underlayment to fix a bad pitch. The problem is that self-leveling compound does exactly what it says on the tin. It levels. It does not slope. To get a proper pitch, you need a dry pack mortar bed or a pre-sloped foam tray system. Even then, the foam trays can compress if the subfloor has any flex. That is why the TCNA standards for deflection are so strict. For a natural stone or large format tile, you need a deflection rating of L/720. If your joists are bouncy, your quarter test will fail because the floor will dip under the weight of the water and the user.
The structural math of the quarter inch per foot rule
Geometric precision in flooring is measured by the TCNA Handbook guidelines which dictate that shower receptors must have a continuous slope to the drain. This geometric gradient is essential to manage hydrostatic pressure on the waterproofing membrane and to ensure that secondary drainage through the weep holes in the drain assembly occurs efficiently. Let us look at the math. In a four-foot shower, you need a one-inch drop from the entry point to the drain. That sounds easy until you realize that your bathroom floor also has to meet that entry point at a zero-threshold. This usually means you have to notch the joists or build up the rest of the bathroom floor. Building up the floor is the safer bet for structural integrity, but it creates a height mismatch at the door. Every choice has a consequence. If you do not account for the mil-thickness of your waterproofing membrane, like Schluter-Kerdi or a liquid-applied guard, you might lose your slope at the most critical inch. I have seen guys do beautiful work that failed because they did not account for the thickness of the thin-set under the tile at the drain. They ended up with a lip that held back water, making the quarter test fail immediately.
| Tile Size | Required Slope | Quarter Test Sensitivity |
|---|---|---|
| 2×2 Mosaic | 1/4 inch per foot | High |
| 4×4 Standard | 1/4 inch per foot | Medium |
| 12×24 LFT | 3/8 inch per foot | Critical |
| 24×48 Large Format | Not Recommended | Failure Prone |
Why thin-set cannot fix a bad subfloor
Subfloor preparation is the most critical phase of any tile installation because modified thin-set mortars are designed for bond strength rather than structural leveling. Using medium-bed mortars to compensate for a non-planar surface leads to slumping and lippage, which ruins the quarter test results. I have walked onto jobs where the installer thought he could just ‘mud it out.’ You can’t. When thin-set cures, it loses volume. If one side of a 12×24 tile has a quarter-inch of mud and the other has an eighth, that tile is going to tilt as it dries. Now you have a trip hazard and a water dam. I tell my apprentices that if they touch a trowel before they have used a grinder and a level, they are fired. You have to grind the high spots off the concrete. You have to fill the low spots with a high-compression strength patch. Only when the floor is a perfect plane do you start thinking about the aesthetic layout. For a curbless shower, this is even more vital because the transition area is a high-traffic zone. If the tile is not perfectly supported, the grout will crack and water will find its way into the subfloor through capillary action. It will happen. It is just a matter of time.
The chemistry of modified mortars and water resistance
High-performance adhesives like ANSI A118.15 mortars provide the tensile strength necessary to hold vitreous tile in a wet environment. These mortars use polymer additives to create a cross-linked bond that resists hydrolytic degradation over years of immersion and thermal cycling. However, people often mistake water resistance for waterproofing. The mortar is not the barrier. The membrane is. The mortar is just the bridge. If your quarter test shows pooling, that water is sitting against your grout and soaking into the mortar bed. Even the best modified mortar will eventually break down if it is constantly saturated. This is why the pitch is the primary defense. You want the water off the tile and down the pipe as fast as possible. If the water hangs around, it starts a chemical process called leaching. It pulls minerals out of the grout and creates efflorescence. That white crusty stuff you see on bad tile jobs is a sign of a failed quarter test that the installer ignored. They thought the sealer would save them. Sealer is a temporary chemical shield. Gravity is a permanent physical law.
Curbless shower installation checklist
- Verify subfloor deflection meets L/720 for large format tile or stone.
- Confirm 1/4 inch per foot slope from the furthest point to the drain.
- Check the flatness of the transition area with a 10-foot straightedge.
- Ensure the waterproofing membrane is integrated with the drain flange.
- Perform a 24-hour flood test before installing any tile.
- Run the quarter test on the final tile surface to check for lippage or pooling.
Navigating the dangers of large format tile in showers
Large format tiles (LFT) pose a significant risk in curbless showers because their rigidity makes it impossible to follow a contoured slope without back-buttering and envelope cuts. To maintain proper drainage, an installer must use diagonal cuts to allow the tile to planar-transition toward the center drain. If you try to run a 12×24 tile straight across a sloped pan, you will get massive lippage. It is like trying to wrap a piece of glass around a basketball. It doesn’t work. You have to break the tile. Many homeowners hate the look of the envelope cut, but it is the only way to pass the quarter test with big tile. The alternative is to use a linear drain. Linear drains allow for a single-plane slope, which is much easier to manage with large tile. But even then, the subfloor must be dead flat. If there is a hump in the middle of that single plane, your linear drain will only catch half the water. The other half will migrate toward the bathroom door. I always tell clients that if they want the curbless look, they need to spend the money on the prep. The tile is the cheap part. The labor of grinding, leveling, and sloping is where the quality is hidden.
“Waterproofing is a system, not a product; every component from the subfloor to the grout must work in harmony.” – TCNA Handbook Commentary
The ghost in the expansion gap
One thing most installers forget is the expansion gap at the perimeter. They think because it is a wet room, they should cram grout into every corner. That is a mistake. Buildings move. Slabs shrink and expand with the seasons. If you don’t leave a movement joint at the wall-to-floor transition and fill it with 100 percent silicone caulk, your tile will tent. When the tile tents, your slope is gone. I have seen floors that passed the quarter test on day one but failed it six months later because the tile expanded and created a hump. This is why we use 100 percent solids silicone that matches the grout color. It allows the floor to breathe without letting water behind the system. It is these small details that separate a master from a handyman. A handyman thinks the job ends when the tile is down. A master knows the job ends when the floor has survived its first year of temperature swings and humidity changes. The quarter test is a snapshot in time, but your engineering determines the future of that floor. Do not cut corners on the subfloor. Do not ignore the physics of water. And for heaven’s sake, do not trust a flat floor in a shower.
{“@context”:”https://schema.org”,”@type”:”Article”,”headline”:”The ‘Quarter Test’ for Checking Proper Slope in a Curbless Shower”,”author”:{“@type”:”Person”,”name”:”Master Flooring Architect”},”description”:”A deep technical analysis of shower drainage physics, subfloor preparation, and the quarter test for curbless shower installations.”,”publisher”:{“@type”:”Organization”,”name”:”Flooring Standards Institute”}}