Why Your New Grout Looks Blotchy and Discolored as It Dries
I once spent three days grinding concrete on a job last month just so the floor wouldn’t click like a castanet, but the real nightmare began when the grout started to dry. The homeowner had invested twenty thousand dollars in a custom walk-in shower with hand-pressed Italian tile. My team followed every protocol for floor leveling and substrate preparation. We mixed the grout precisely to the manufacturer’s specification. Yet, four hours later, the deep charcoal grout looked like a salt-stained sidewalk in Chicago. It was blotchy, streaked, and uneven. This is the reality of the flooring trade that the big-box stores never tell you. Grout is not just a filler. It is a complex chemical compound that reacts to every variable in the room, from the moisture in the air to the minerals in your tap water. If you treat it like mud, it will treat you like an amateur. Flooring is a structural engineering challenge, and grout is the weakest link in that chain. When people ask why their floor looks like a mess, I tell them to look at the chemistry, not the color card. Understanding why your grout is discolored requires a deep dive into the molecular mechanics of hydration and the physical reality of capillary action.
The physics of pigment migration in cementitious materials
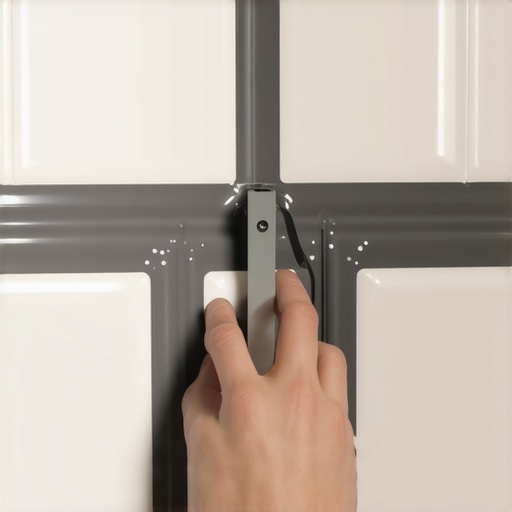
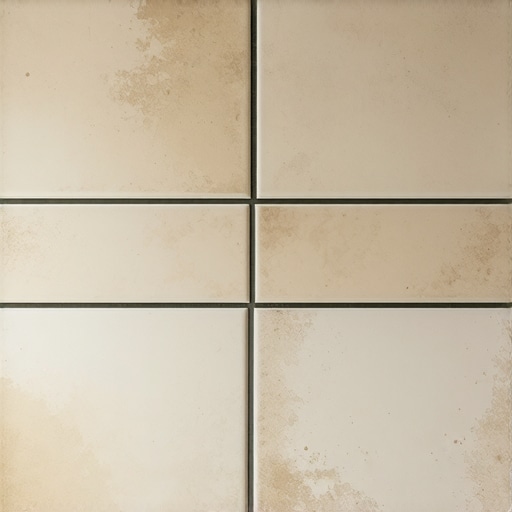
Grout discoloration occurs when pigment particles migrate unevenly during the hydration process due to excessive water or improper mixing techniques. When you mix Portland cement-based grout, you are initiating a chemical reaction that creates a crystalline structure. If the water-to-powder ratio is off by even a few percentage points, the surface tension of the liquid will carry the lighter pigments to the top while the heavier minerals sink. This creates a shaded effect known as mottling. Most installers treat grout like they are mixing pancake batter, but the precision required is closer to a laboratory experiment. If you add too much water to make it easier to spread, you are essentially diluting the glue that holds the color together. The excess water must go somewhere as the grout cures. It evaporates through the surface, and as it leaves, it pulls the pigment with it in irregular patterns. This is why you see dark spots next to light spots in the same joint. The densification of the grout is compromised, leaving you with a soft, chalky finish that will eventually crumble. You are not just looking at a color issue. You are looking at a structural failure of the cement matrix itself.
“A floor is only as good as the subfloor beneath it; deflection is the enemy of every joint.” – Master Flooring Axiom
The high cost of a dirty sponge during the wash phase
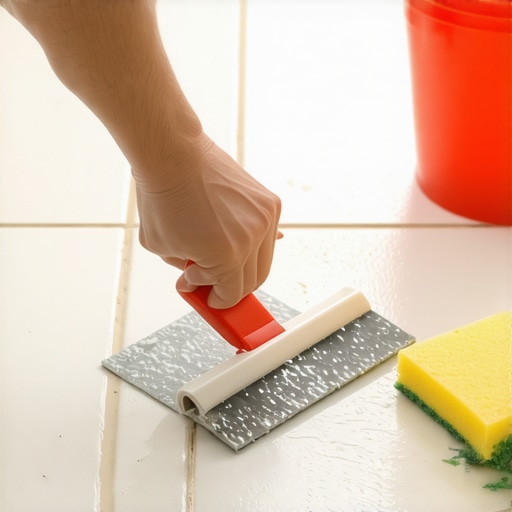
Excessive wash water is the primary cause of grout blotchiness because it introduces liquid to the surface before the cement has achieved its initial set. Many installers are in such a rush to clean the tile that they use a soaking wet sponge. This is a fatal mistake. Every drop of water you squeeze onto that fresh joint is diluting the pigment on the top layer. It washes away the fine particles that give the grout its rich hue. Think about a carpet install where the fibers are unevenly dyed. It looks terrible. The same happens with grout. You should use a sponge that is barely damp, almost dry to the touch. If you can squeeze a single drop of water out of it, it is too wet. The mechanical action of wiping the tile must be light. If you press too hard, you are pulling the polymers and dyes out of the joint. I have seen guys use the same bucket of water for an entire room. By the end of the job, they are basically washing the floor with a diluted slurry of gray silt. That silt settles back into the joints as it dries, creating a hazy, white film that looks like efflorescence but is actually just poor craftsmanship. Clean water is the cheapest tool on the job site, yet it is the one most often ignored by those looking for a shortcut.
How thinset height ruins the color consistency
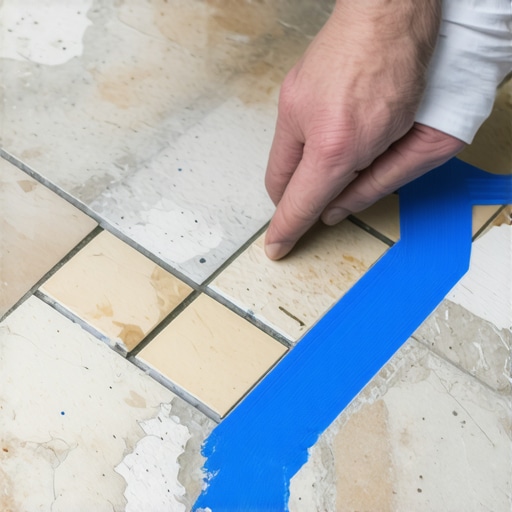
Thinset mortar that has squeezed up into the grout joints will bleed through the finish layer and cause permanent dark or light staining. When you are setting tile, you must ensure the joints are clean before the mortar hardens. If the thinset occupies more than one third of the joint depth, the grout on top of it will be thinner in those spots than in others. Thinner grout dries faster than deeper grout. This difference in drying time causes the color to develop differently across the floor. It is a common issue when people skip proper floor leveling. They use extra thinset to compensate for a dip in the subfloor, which leads to mortar oozing out of the joints. Even if you scrape it out later, the residue remains on the sides of the tile. This residue acts as a bridge for moisture, which leads to uneven hydration. Unlike a laminate floor where the joints are mechanical and consistent, tile joints are biological. They react to the environment. If you have gray mortar peeking through white grout, you will never get a clean look, no matter how much you scrub. It is a fundamental failure of the installation process that cannot be fixed with a sealer.
The ghost in the cement and the salt trap
Efflorescence is the migration of soluble salts to the surface of the grout joint where they crystallize into a white powdery substance. This is not a pigment issue. It is a chemistry issue. All cement products contain minerals and salts. When water moves through the grout, it dissolves these salts and carries them to the surface. As the water evaporates, the salts stay behind. This is particularly common in showers where the substrate might stay damp for days. If the waterproofing layer was not installed correctly, moisture stays trapped behind the tile and constantly feeds the grout with salt-laden water. You see this in regions with high humidity where the air is thick enough to slow down the drying process. Unlike a carpet install that can be dried with a fan, grout needs a controlled environment. If you have hard water at the job site, you are adding even more minerals to the mix. I always tell my guys to use distilled water for mixing grout. It sounds like overkill until you realize that a five dollar jug of water can save a five thousand dollar tile job. The minerals in city water can react with the polymers in modern grouts, causing a chemical clash that turns your