How to Get Rid of Dark Water Stains on Hardwood Near the Shower
How to Remove Dark Water Stains from Hardwood Near the Shower
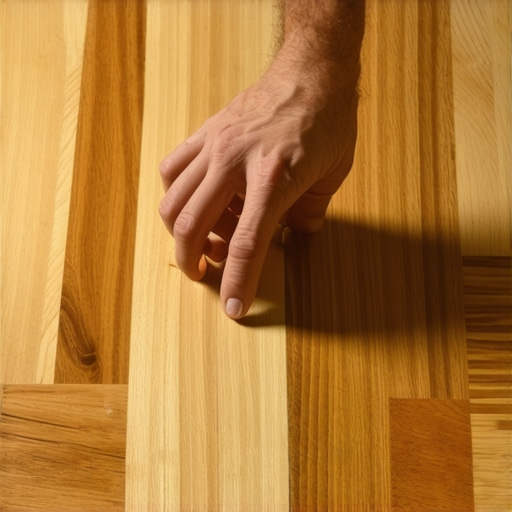
I once walked into a house where a $15,000 wide-plank walnut floor was cupping so bad it looked like a potato chip because the installer didn’t check the crawlspace humidity. The homeowner was focused on the aesthetics of the wood while the biology of the subfloor was rotting it from the bottom up. When you see dark stains appearing near your shower door, you are not just looking at a cosmetic blemish. You are looking at a chemical reaction between water, oxygen, and the tannins inside your wood. My hands have felt the grit of a thousand floor sanders and my knees have paid the price for every sloppy shower install I have had to fix. Getting rid of these stains requires more than a rag and some spray. It requires understanding the physics of wood fibers and the chemistry of bleaching agents.
The chemistry of the black mark
To get rid of dark water stains on hardwood near the shower you must use oxalic acid to break the iron tannate bond. These black spots are usually caused by minerals in the water reacting with the wood tannins. Sand the area lightly and apply the acid solution to neutralize the color.
When water sits on a finished floor, it eventually finds a microscopic entry point. This could be a hairline crack in the polyurethane or a gap at the butt-joint of the planks. Once the water penetrates the cell walls of the wood, it begins to oxidize. In species like red oak or white oak, the high tannin content reacts with the trace amounts of iron found in tap water or even in the nails used to secure the floor. This reaction creates iron tannate, which is the same chemical used to make traditional black ink. You are not just looking at a wet spot. You are looking at a permanent chemical dye that has bonded to the wood fibers at a molecular level. To reverse this, you cannot just scrub. You need a reducing agent that can break that bond without destroying the lignin that holds the wood together. This is where professional-grade oxalic acid comes into play. It is a specific wood bleach that targets the iron stains specifically, leaving the natural color of the wood relatively untouched compared to harsh chlorine bleaches.
“A floor is only as good as the subfloor beneath it; deflection is the enemy of every joint.” – Master Flooring Axiom
Why your subfloor is lying to you
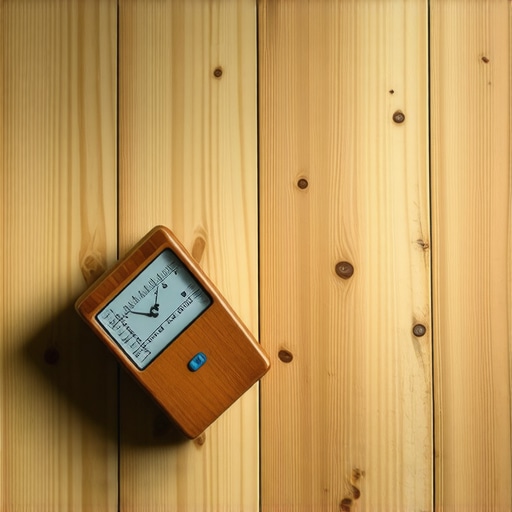
Subfloor moisture is often the hidden culprit behind surface stains near bathrooms because wood is hygroscopic and wicks liquid horizontally. Even if the surface looks dry, the underside of your hardwood might be saturated from a leaking shower pan. Check the subfloor moisture levels before attempting any surface repairs.
Many guys think that if they dry the surface of the floor, the job is done. That is a lie that will cost you a full replacement in two years. Wood is like a series of bundled straws. If the end of those straws is sitting against a damp subfloor or a leaking shower curb, it will suck that moisture up through capillary action. This is why you often see the stain spreading outward from the shower. The moisture is traveling through the grain. If your subfloor is 3/4 inch plywood and it is holding 18 percent moisture, your hardwood on top will never stay dry. You need to use a pin-type moisture meter to probe the gaps. If the reading is high, you have a structural leak, not just a splash problem. No amount of bleaching will fix a floor that is being fed water from the bottom. You have to address the shower pan integrity or the caulk line at the transition strip before you even think about the sander.
| Wood Species | Janka Hardness (lbf) | Tannin Level | Moisture Risk |
|---|---|---|---|
| White Oak | 1360 | Very High | High (Iron Reaction) |
| Red Oak | 1290 | High | Moderate |
| Black Walnut | 1010 | Moderate | Low |
| Hickory | 1820 | Low | High (Movement) |
The 1/8 inch that ruins everything
Expansion gaps at the shower transition are the primary failure point where water infiltrates the hardwood system and causes rot. Most installers crowd the tile or shower marble, leaving no room for the wood to breathe or for a proper waterproof sealant. A 1/8 inch gap is mandatory for protection.
I have spent three days grinding concrete on a job last month just so the floor wouldn’t click like a castanet. People underestimate how much wood moves. When you have a shower transition, that wood is constantly expanding and contracting due to the steam and humidity changes. If you butt the wood tight against the shower curb, there is nowhere for that energy to go. The wood buckles, the finish cracks, and water finds a home. You need a perimeter expansion gap. I prefer to fill this gap with a high-quality 100 percent silicone caulk that matches the color of the wood or the grout. Do not use cheap acrylic caulk. It will shrink and pull away within months. The silicone acts as a flexible gasket that prevents the “ghost in the expansion gap” from letting water seep under the planks. This is where the physics of the installation meets the chemistry of the sealant.
- Remove the existing transition molding or T-mold carefully.
- Check the moisture content of the wood using a calibrated meter.
- Sand the stained area with 80-grit sandpaper to remove the old finish.
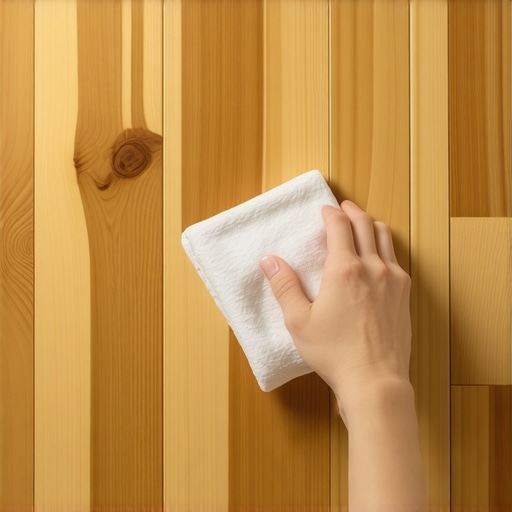
- Apply a saturated solution of oxalic acid to the dark spots.
- Wait for the wood to dry completely to see if the stain lifts.
- Neutralize the acid with a mixture of baking soda and water.
- Perform a final sand with 120-grit paper before refinishing.
The sanding strategy for deep penetration
Sanding water-stained wood requires a progressive grit sequence to ensure the bleached fibers are leveled without creating a dip in the floor. You must start with a medium grit like 60 or 80 and work up to 100 or 120 to close the grain. Proper sanding ensures the new finish adheres to the cells.
You cannot just hit the stain with a piece of 220-grit and expect it to work. You have to open the pores of the wood. The finish on your floor is a plastic shield. Until that shield is gone, the bleach cannot reach the iron tannate. I start with an orbital sander because it is easier to control in tight spaces near a shower. Be careful not to gouge the wood. You are looking to remove just enough to see raw timber. Once the wood is bare, apply your oxalic acid. You might need three or four applications. Be patient. Wood isn’t a microwave meal. It takes time for the chemicals to work through the cellular structure. After the stain is gone and you have neutralized the acid, the wood fibers will be “fuzzy.” This is called grain raise. You have to sand that fuzz off with 120-grit paper to get a smooth surface that will accept a sealer. If you skip this, your final finish will feel like sandpaper under your feet.
“A floor is only as good as the subfloor beneath it; deflection is the enemy of every joint.” – Master Flooring Axiom
Protection against the humidity of the shower
Waterproof finishes for hardwood near showers must have a high solids content to provide a thick enough wear layer against steam. While no wood floor is truly waterproof, using a high-quality oil-modified urethane or a moisture-cure urethane provides the best defense against recurring dark stains.
One contrarian data point I always tell my clients is that while most people want the thickest underlayment, too much cushion actually causes the locking mechanisms on LVP or engineered wood to snap under pressure. For solid hardwood near a shower, the protection is all in the finish. You want a finish that is elastic. I often recommend a water-based finish with a hardener additive for bathroom-adjacent areas. These dry fast and allow you to build up three or four coats in a single day. Each coat adds a layer of mil-thickness that prevents water from reaching the wood. Keep your bath mats dry. Never leave a wet towel on the floor. The best finish in the world will eventually fail if it is subjected to standing water for eight hours a day. The humidity in the bathroom should be managed with a high-CFM exhaust fan to keep the ambient moisture from settling into the wood grain. This is the structural engineering of a dry home. Every detail matters from the CFM of the fan to the grit of the sandpaper.