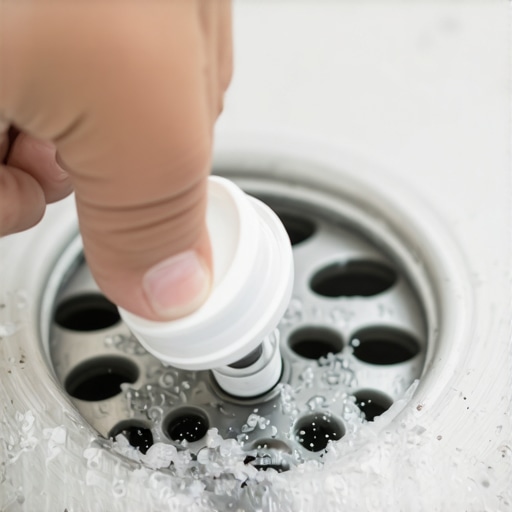
How to Seal a Shower Drain Without Messy Putty
The smell of WD-40 and oak dust is a permanent part of my skin. After twenty five years on my knees with a moisture meter and a level, I have seen enough failed shower pans to last three lifetimes. Most guys skip the leveling compound. They think the underlayment will hide the dip. It won’t. I spent three days grinding concrete on a job last month just so the floor wouldn’t click like a castanet because the previous installer ignored a quarter inch drop over four feet. This same negligence happens in plumbing. People think plumber’s putty is a universal fix. It is not. In fact, it is often the start of a slow motion disaster that ruins your subfloor and eventually rots the carpet install in the adjacent room. Real pros have moved on to better chemistry.
The mess behind the plumbers putty myth
Sealing a shower drain without putty involves using 100% RTV silicone or specialized rubber gaskets to create a flexible, waterproof bond. These materials provide superior adhesion to PVC, ABS, and stainless steel components while resisting the cracking and drying that plagues traditional oil based compounds over time. When you eliminate the putty, you eliminate the risk of the sealant leaching oils into your porous stone or failing during the natural expansion and contraction of the building envelope.
Plumber’s putty is a relic. It is essentially clay mixed with linseed oil. Over time, that oil evaporates. When the oil is gone, the putty becomes a brittle, chalky mess that can no longer handle the vibration of someone stepping into a fiberglass shower stall. Every time you step into that shower, the pan flexes. If your sealant is brittle, the bond breaks. Water starts its slow journey into your subfloor. By the time you notice the dampness, you are looking at a full floor leveling project because the plywood has delaminated. This is why I advocate for 100% silicone. It stays flexible for decades. It is a chemical bond rather than a mechanical plug.
The ghost in the expansion gap
A shower drain is part of a larger structural system that includes the subfloor, the joists, and the finished floor. The TCNA standards emphasize that deflection is the enemy of every joint. If your shower drain is not properly sealed and secured, the moisture will migrate, causing laminate floor bubbling or carpet pad mold in the hallway. Maintaining a 1/8 inch tolerance for the drain flange depth is critical for proper drainage physics and long term sealant performance.
“A floor is only as good as the subfloor beneath it; deflection is the enemy of every joint.” – Master Flooring Axiom
I remember a job in a high rise where the installer used putty on a marble shower floor. The oil in the putty wicked into the marble, creating a dark, greasy ring around the drain that no chemical could remove. The homeowner was out five grand. If they had used a high quality silicone or a compression gasket, that stone would still be pristine. This is the structural reality of flooring. Everything is connected. A leak in the shower is a death sentence for a nearby carpet install. The water travels along the subfloor, hits the tack strip, and starts the rotting process from the bottom up. You won’t even see it until the room smells like a swamp.
Chemical reality of silicone sealants
Using 100% RTV silicone provides a waterproof seal that handles the thermal expansion of hot water pipes. Unlike putty, silicone creates a molecular bond with the drain flange and the shower pan. This prevents capillary action leaks and ensures that the watertight integrity remains intact even during the structural settling of the home. Always choose mildew resistant formulations specifically labeled for 100% silicone content to ensure the longevity of the installation.
Let’s talk about the physics of the squeeze. When you tighten a drain assembly with putty, you are essentially trying to trap a solid in a gap. When you use silicone, you are creating a custom gasket. I always apply a thick bead, tighten the nut until the silicone just begins to bulge, and then wait twenty minutes for it to skin over before the final tightening. This creates a high density gasket that is physically bonded to both surfaces. This is the difference between a builder grade hack job and a professional installation that lasts forty years.
Sealant Performance Comparison Table
| Feature | Plumbers Putty | 100% RTV Silicone | Rubber Gaskets |
|---|---|---|---|
| Flexibility | Low (Brittle over time) | Extremely High | High |
| Chemical Bond | None (Mechanical only) | Strong Molecular Bond | None (Compression) |
| Thermal Resistance | Poor | Excellent | Good |
| Stain Risk | High (Oil based) | Zero | Zero |
| Life Expectancy | 5 to 10 years | 30 plus years | 20 plus years |
Master checklist for a bone dry drain
Following a strict preparation protocol is the only way to ensure the sealant adheres properly to the substrate.
- Clean all surfaces with denatured alcohol to remove manufacturing oils.
- Check the drain hole for burrs or sharp edges that could tear a gasket.
- Apply a continuous 1/4 inch bead of 100% silicone to the underside of the flange.
- Verify that the subfloor is level within 1/8 inch over 10 feet to prevent pooling.
- Tighten the locking nut by hand, then a quarter turn with a wrench.
- Remove excess silicone with a plastic scraper to avoid scratching the finish.
- Allow 24 hours for full chemical curing before testing with water.
If you are working over a concrete slab, floor leveling becomes even more critical. I have seen guys try to install a shower on a slab that had a half inch dip. The drain was high, the water pooled at the edges, and the constant hydrostatic pressure eventually forced water under the sealant. It does not matter how good your silicone is if your floor is a mess. You have to grind the high spots and fill the low spots. I use a self leveling underlayment that reaches at least 4,000 PSI to ensure that the shower pan has a rock solid foundation. If the pan moves, the seal fails. It is that simple.
The 1/8 inch that ruins everything
Precision in the rough in phase determines the success of the finish flooring. If the drain pipe is too high, the shower pan will bridge, creating a void that causes flexing. This mechanical stress will eventually snap the locking mechanisms of nearby laminate or cause cracks in grout lines. Ensuring the subfloor is flat and the drain is flush is the only way to prevent premature sealant failure and structural rot.
“Modern flooring materials require surgical precision in subfloor preparation; moisture is a patient predator.” – Tile Council of North America Standards
When you are looking at the chemistry of these products, consider the acetoxy cure versus the neutral cure. For most shower drains, an acetoxy cure silicone is fine, but if you are working with natural stone or specific metals, a neutral cure is safer because it doesn’t release acetic acid during the curing process. This level of detail is what separates a master from a handyman. A handyman wants to get in and out. A master wants to never see that drain again. We are building systems, not just fixing leaks. Every choice, from the floor leveling compound to the brand of silicone, affects the integrity of the home’s primary moisture barrier.
Avoiding the laminate and carpet trap
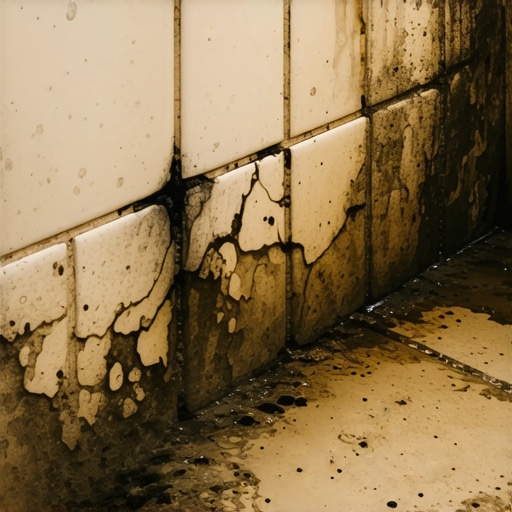
A leaking shower drain will destroy adjacent flooring long before the leak is visible on the ceiling below. Moisture travels through capillary action across the subfloor, saturating the underside of laminate planks or carpet tack strips. This leads to mold growth, warping, and permanent odors that require a total floor replacement. Proper drain sealing is the first line of defense for the entire home’s flooring investment.
I have replaced hundreds of feet of laminate because of a two dollar putty failure. The laminate looks fine on top, but underneath, the mdf core has turned into wet cardboard. If the installer had spent the extra ten minutes to use a high quality silicone seal, that floor would still be there. Don’t be the guy who saves five dollars on putty and costs the client five thousand on a new floor. Use the right chemistry. Level your subfloor. Respect the physics of water. That is the only way to build a floor that lasts. It is about the structural engineering of the surface, not just the aesthetics of the tile. Do it once, do it right, and let the other guys deal with the callbacks.