The ‘Mirror Trick’ for Seeing Behind Your Shower Valve
I spent three days grinding concrete on a job last month just so the floor would not click like a castanet. Most guys skip the leveling compound. They think the underlayment will hide the dip. It will not. I spent those days in a cloud of dust with my vacuum screaming because the homeowner wanted a flat floor but had a slab that looked like the rolling hills of Kentucky. If you do not get the substrate right, everything you put on top is garbage. This is especially true in the bathroom where a tiny leak behind a wall can rot your joists before you even see a puddle. You need to use the mirror trick to check your shower valve before you even think about a carpet install or laying laminate. I have seen fifteen thousand dollar floors ruined because someone was too lazy to look behind a trim plate. The subfloor is the boss. It tells you what you can and cannot do. If you ignore the moisture levels or the flat tolerances, you are just throwing money into a dumpster.
The mirror trick that prevents subfloor rot
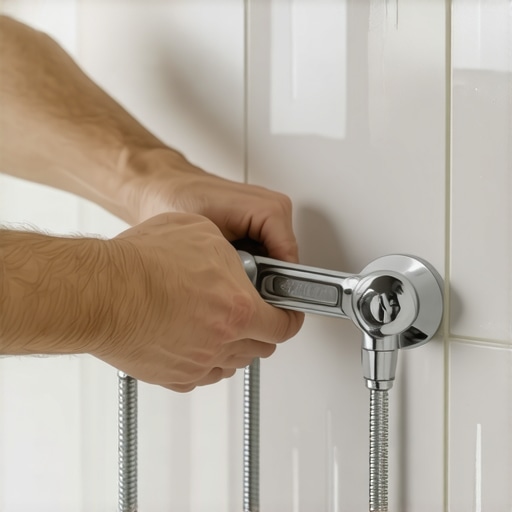
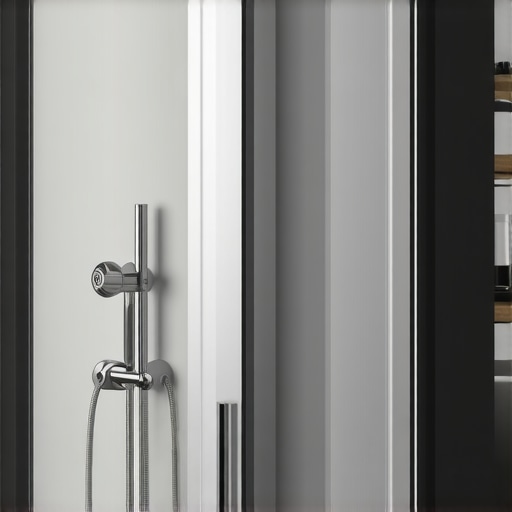
Checking behind a shower valve requires a small telescoping mirror and a high lumen flashlight to inspect the internal wall cavity for moisture. This method allows you to see the backside of the plumbing connections and the condition of the subfloor wood or concrete slab through the escutcheon plate opening. It is a non-destructive way to verify that a slow weep is not feeding a mold colony or compromising your floor leveling efforts. You remove the handle, slide back the metal plate, and angle your mirror into the dark. If you see wood that looks like wet coffee grounds, your flooring project is dead before it starts. The moisture will migrate. It will travel under your laminate. It will soak into your carpet pad. You cannot hide from water. It always wins. I once saw a guy try to install luxury vinyl over a damp spot. Three months later the planks were floating like driftwood. He did not use the mirror trick. He just used a hammer. Do not be that guy.
“A floor is only as good as the subfloor beneath it; deflection is the enemy of every joint.” – Master Flooring Axiom
Why your subfloor is lying to you
Subfloors often appear dry and stable on the surface while harboring significant moisture or structural instability in the lower layers. A concrete slab might look bone dry, but the relative humidity deep inside the core could be ninety percent. When you seal that slab with a non-breathable flooring like laminate, you create a greenhouse effect. The moisture rises, hits the bottom of your floor, and turns into liquid water. This is called the dew point transition within a floor assembly. You must use a pinless moisture meter or an RH probe. I do not care if it looks dry. I do not care if the house is fifty years old. Physics does not care about your feelings. You have to measure the flatness too. If you have a dip of more than three sixteenths of an inch over ten feet, your locking joints will snap. It is just a matter of time. The constant flexing of the boards as you walk over that void acts like a paperclip being bent back and forth. Eventually, it breaks. Then you have a gap. Then you have a problem.
| Subfloor Type | Max Moisture Content | Levelness Tolerance | Recommended Underlayment |
|---|---|---|---|
| Plywood / OSB | 12% MC | 1/8 inch per 6 feet | Silicone Vapor Shield |
| Concrete Slab | 75% RH | 3/16 inch per 10 feet | 6-mil Polyethylene |
| Existing Tile | 0% Visual Leaks | 1/8 inch per 10 feet | High Density Foam |
The 1/8 inch that ruins everything
Floor leveling requires a tolerance of 1/8 inch over a six foot radius to ensure the mechanical integrity of modern click-lock flooring systems. When an installer ignores a high spot, the flooring creates a bridge over the adjacent low spots. This air gap results in a hollow sound when walked upon and puts immense stress on the tongue and groove. You must use a self-leveling underlayment or a hand-applied patch to fill these voids. I prefer Portland cement based compounds over gypsum based ones because they have higher compressive strength. You need at least three thousand PSI to support heavy furniture. If the patch is too soft, it will crumble under the weight of a refrigerator. That dust then gets into the locking tracks and acts like sandpaper. It grinds the floor from the inside out. I have pulled up floors where the back of the laminate was nothing but gray powder because the installer used a cheap gypsum patch that failed. It is a mess that no one wants to clean up.
- Remove all baseboards and shoe molding to inspect the perimeter expansion gap.
- Use a ten foot straight edge to identify every bird bath in the subfloor.
- Vacuum the substrate until you can eat off it or the primer will not stick.
- Mix the leveling compound with a high shear mixer to avoid lumps.
- Check the shower valve with the mirror trick to ensure no water is hitting the new patch.
The ghost in the expansion gap
Expansion gaps must be maintained at every vertical obstruction to allow for the natural hygroscopic expansion and contraction of flooring materials. Wood and laminate are organic fibers. They breathe. They grow when it is humid and shrink when it is dry. If you run your floor tight against a wall or a kitchen island, the floor has nowhere to go when it expands. It will buckle in the middle of the room. It looks like a tent. I have seen people try to fix this by putting heavy furniture on the hump. That just breaks the floor. You need a quarter inch gap minimum. I do not care if the baseboard is thin. Get thicker baseboard or use a quarter round. Do not trap the floor. It is a living thing. The same applies to a carpet install where the tack strip is too close to the wall. It can cause the carpet to pull away or create a trip hazard at the transition. Professionalism is found in the gaps you leave, not just the boards you lay down.
“Proper acclimation is not a suggestion; it is a thermal and hygroscopic necessity for wood fiber stability.” – NWFA Technical Manual
Adhesive chemistry and the bond of trust
Modified thin-set and pressure sensitive adhesives rely on a chemical cross-linking process to create a permanent bond with the substrate. If you are installing tile in a shower, you need a polymer modified mortar that can handle the vibration of the house. A house is not a static object. It moves. It settles. If your mortar is too brittle, the tiles will pop or the grout will crack. This is why the TCNA has such strict rules about deflection. You need a subfloor that does not bounce. If you can feel the floor move when you jump, it is too weak for tile. You need to add another layer of plywood or use a cement backer board. But remember that backer board is not structural. It is just a bonding surface. It will not stop a bouncy floor from cracking your grout. You have to fix the joists. You have to address the root cause. This is the difference between a floor that lasts five years and a floor that lasts fifty. Most people want the cheapest bid. The cheapest bid is usually the guy who does not know what a joist is. He will be gone when the cracks show up. I am still here because I do the work right the first time. I use the mirror trick. I check the moisture. I grind the humps. I do not take shortcuts because shortcuts lead to the unemployment line.