The ‘String Line’ Method for Perfectly Straight Tile Rows
The String Line Method for Perfectly Straight Tile Rows
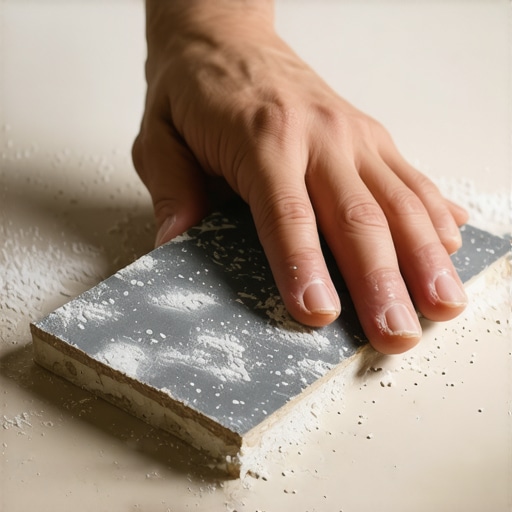
Most guys skip the leveling compound. They think the underlayment will hide the dip. It won’t. I spent three days grinding concrete on a job last month just so the floor wouldn’t click like a castanet. The homeowner thought I was crazy, but once that tile went down, it felt like solid rock. That is the difference between a floor that lasts twenty years and a floor that fails in two. A floor is a structural engineering challenge. It is not a decorative rug. If the foundation is trash, the finish will be trash. I have sawdust under my nails and a permanent ache in my knees because I do things by the book. I do not follow the fast way. I follow the right way.
Why your subfloor is lying to you
Subfloor preparation requires a straightedge, a moisture meter, and floor leveling compound to ensure the surface meets TCNA standards for flatness and structural integrity. Most concrete slabs or plywood sheets have a deflection or a dip that will cause tile lippage or cracked grout joints if not addressed before the first row is set. You look at a slab and it looks flat. It is not. It is a series of hills and valleys. If you lay a large format tile over a valley, that tile will bridge the gap. When someone steps on it, the tile flexes. Ceramic and porcelain do not like to flex. They want to stay rigid. When they flex, the bond breaks. The tile pops. Your job is now a failure.
“A floor is only as good as the subfloor beneath it; deflection is the enemy of every joint.” – Master Flooring Axiom
The geometry of the first row
Layout planning involves calculating the center point of the room and using the 3-4-5 triangle method to establish a perfectly square grid for the first tile row. If you start against a wall, you are asking for trouble. Walls are never straight. They bow and they curve. If you follow a wall, your tile lines will look like a snake by the time you reach the other side. You must find the center. You must snap your lines from there. This is where the physics of the room takes over. You are building a grid that exists independently of the crooked walls. This ensures that when you finally reach the perimeter, the cuts are consistent and visually balanced. It prevents those tiny, ugly slivers of tile that mark the work of an amateur.
The physics of the string line
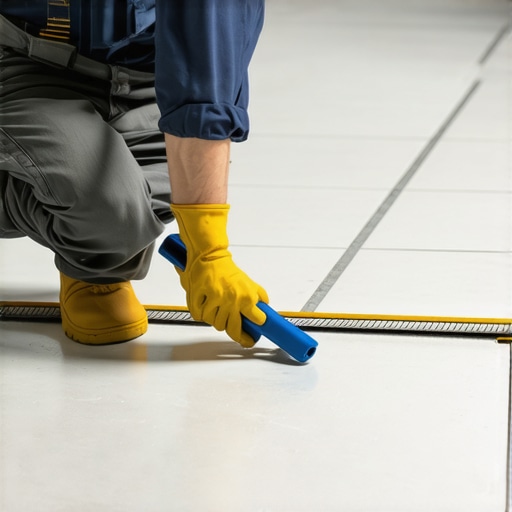
String lines provide a physical layout guide that ensures tile rows remain perfectly straight across large spans without the risk of mortar coverage obscuring chalk lines. A chalk line is fine for a reference, but once you spread your thin-set, that line is gone. A string line is different. It is suspended just above the height of the tile. It is a physical barrier that your tile edge must kiss but never push. I use a high-tension nylon string. It does not stretch much. It does not sag. It stays true. When you are working in large commercial spaces or long hallways, this is the only way to maintain a line over fifty or sixty feet. Lasers are nice, but if the battery dies or a helper bumps the tripod, your line is gone. The string is reliable. The string is honest.
Why showers demand surgical precision
Shower installations require waterproof membranes, sloped mortars, and surgical tile alignment to prevent water pooling or mold growth in the drain assembly. In a shower, the ‘string line’ method is your best friend for the envelope cut. This is where the tile must slope from four directions toward a single point. If your lines are not perfectly square to that drain, the cuts will look like a jigsaw puzzle gone wrong. You are not just worried about aesthetics here. You are worried about hydrology. Water must move. It must move toward the drain. If your tile is crooked, the grout lines will trap water. Standing water leads to mineral buildup and eventually failure of the topical sealer. I treat a shower like a laboratory. Everything is measured. Everything is checked with the level and the string.
Comparing materials for maximum durability
Material selection dictates the installation method, as porcelain, ceramic, and laminate each possess different moisture absorption rates and expansion coefficients. You cannot treat a carpet install the same way you treat a stone floor. You cannot treat laminate like it is waterproof, even if the box says so. Laminate is a wood-based product. It moves. It breathes. It needs an expansion gap at every wall. If you lock it in tight, it will buckle when the humidity hits eighty percent. Porcelain is different. It is dense. It is fired at higher temperatures than ceramic. It has an absorption rate of less than point five percent. This means it needs a high-polymer modified thin-set to create a chemical bond, because it will not absorb the water from the mortar to create a mechanical bond.
| Material Type | Janka Hardness | Absorption Rate | Expansion Gap Needed |
|---|---|---|---|
| Porcelain Tile | 7.0+ (Mohs) | < 0.5% | 1/8 inch |
| Ceramic Tile | 5.0-7.0 (Mohs) | 3.0% – 7.0% | 1/8 inch |
| Laminate Flooring | N/A | High (Fiberboard) | 1/2 inch |
| Solid White Oak | 1360 (Janka) | High (Natural) | 3/4 inch |
The checklist for a flawless layout
- Verify subfloor flatness within 1/8 inch over 10 feet using a magnesium straightedge.
- Measure the moisture content of the concrete slab using a calcium chloride test.
- Calculate the 3-4-5 triangle to ensure the primary layout line is square to the entry door.
- Set the tension blocks for the nylon string line at the height of the finished tile surface.
- Check the thin-set open time based on the local humidity and temperature.
- Back-butter every large format tile to ensure 95 percent mortar coverage.
- Inspect the expansion joints at the perimeter to ensure no mortar is bridging the gap.
Managing expansion and adhesive chemistry
Adhesive chemistry involves the hydration process of Portland cement and the cross-linking of latex polymers to provide shear strength and flexibility. When you mix your thin-set, you are starting a chemical reaction. If you add too much water, you weaken the crystal structure of the cement. If you do not let it slake, the chemicals do not fully activate. I see guys mixing mud with a high-speed drill and creating a frothy mess. That is air. Air has no strength. You want a peanut butter consistency. You want the polymers to do their job. These polymers allow the tile to move slightly with the building. Every building moves. Every foundation settles. The string line keeps your rows straight, but the adhesive chemistry keeps them on the floor. If you use a cheap, unmodified mortar for porcelain, you are wasting your time. The tile will pop. It is a matter of when, not if.
“Deflection at the subfloor level is the primary cause of ceramic tile failure in residential construction.” – TCNA Handbook for Ceramic, Glass, and Stone Tile Installation
Beyond the tile floor leveling basics
Floor leveling is not a suggestion, it is a mandatory requirement for large format tile to prevent lippage and ensure a level walking surface. If your floor has a hump, the string line will show it immediately. The string will be closer to the floor in one spot than another. This is the moment of truth. You can either stop and fix it, or you can try to ‘build up’ the thin-set. Never build up the thin-set. Mortar is not a leveler. As mortar cures, it shrinks. If you have a half-inch of mud under one tile and an eighth of an inch under another, they will shrink at different rates. By morning, you will have a lip that will stub toes and ruin the job. Use a self-leveling underlayment. It is expensive. It is messy. It is the only way to get a professional result. The physics of the installation do not care about your budget or your timeline.
The ghost in the expansion gap
Perimeter expansion joints must remain free of debris and mortar to allow for the natural movement of the flooring system. I call it the ghost because people forget it is there until it causes a problem. If you run your tile tight against the drywall, you have nowhere for the floor to go. In the summer, when the humidity rises, that floor will expand. If it hits the wall, it has nowhere to go but up. I have seen floors tent three inches off the ground because there was no expansion gap. You need a minimum of an eighth of an inch for tile and much more for wood or laminate. You cover it with baseboard or shoe molding. It is a simple step, but it is one that many installers skip because they want a ‘clean’ look. A clean look that fails is just a pretty disaster. Use the string line to keep your layout centered, which naturally leaves you with even gaps around the edges. This is how you build a floor that lasts a century. This is how you respect the craft.