The ‘Wet Towel’ Secret for Removing Hardwood Scuffs
I once walked into a house where a $15,000 wide-plank walnut floor was cupping so bad it looked like a potato chip because the installer did not check the crawlspace humidity. The homeowner was devastated. They thought it was a defective product. It was not. It was a failure of the installer to respect the physics of moisture and the structural reality of the wood. Most people look at a floor and see a color or a texture. I see a dynamic system of cellulose, lignin, and vapor pressure. I smell the sharp tang of freshly sanded oak and the chemical bite of oil-based polyurethane every morning. My hands are calloused from decades of wrestling with subfloors that were never flat to begin with. You can have the most expensive material in the world, but if your subfloor is not within an eighth of an inch over a ten-foot span, that floor will fail. It is that simple.
The hardwood heartbreak that haunts my shop
Hardwood floor cupping occurs when the bottom of the wood plank absorbs more moisture than the top, causing the edges to rise higher than the center. This structural failure is often caused by high humidity in a crawlspace or a concrete slab that was not properly tested with a calcium chloride kit. A floor is a living thing. It breathes. It expands. It shrinks. When you ignore the environmental conditions of the home, you are asking for a catastrophe. I have seen million-dollar builds ruined because someone wanted to save a few hundred bucks on a proper vapor barrier. It is the kind of mistake that keeps me up at night. If you want a floor that lasts, you have to start in the dark, damp places of the house first. You have to ensure that the moisture content of the subfloor is within two to four percentage points of the finish flooring before the first nail is even driven.
The physical chemistry of a surface scuff
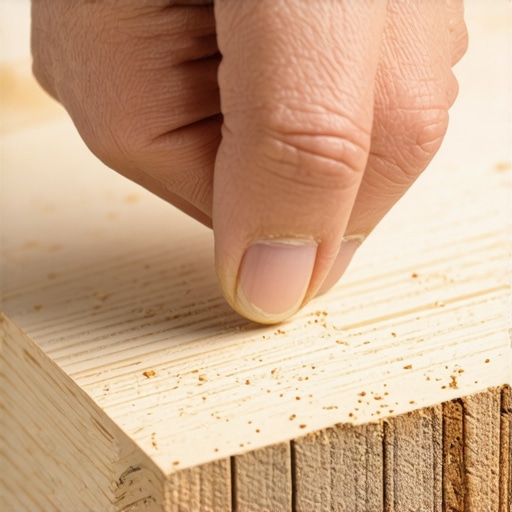
Surface scuffs on hardwood are usually localized compressions of the wood fibers or abrasions in the protective polyurethane wear layer. These marks are not just cosmetic issues; they represent a breach in the integrity of the finish that protects the organic material underneath. When a heavy object is dragged across the surface, it creates friction that generates heat. This heat can soften the finish, allowing the object to bite into the grain. Most people reach for a marker or a stain pen. That is a mistake. You are just painting over a wound. You need to understand whether you are dealing with a scratch that has cut through the finish or a dent that has compressed the cellular structure of the wood itself. If the fibers are just compressed, they can often be salvaged without a full sand and finish.
The steam and iron method for compressed fibers
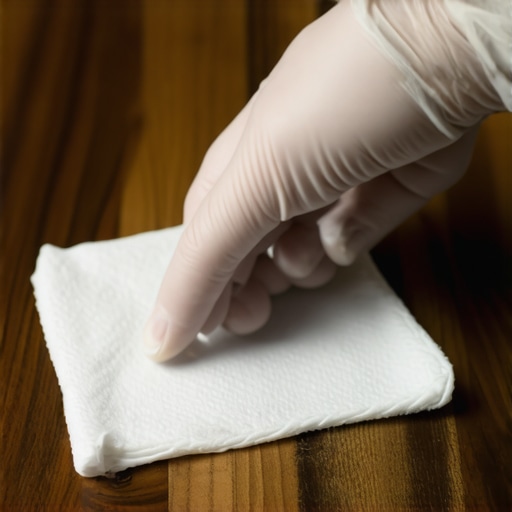
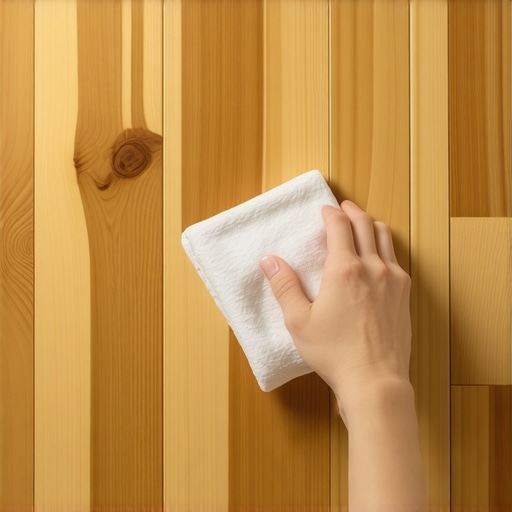
The wet towel secret uses thermal expansion and moisture absorption to force compressed wood fibers back to their original state. By placing a damp, lint-free cotton cloth over a dent and applying a hot clothing iron, you create a pressurized steam environment. This steam penetrates the finish and enters the cell walls of the wood. The water molecules bond with the cellulose, causing the cells to swell and return to their former shape. You must be careful. Too much heat will blister the finish. Not enough heat will fail to generate the necessary vapor pressure. You move the iron in small, circular motions for no more than thirty seconds at a time. It is a delicate dance between restoration and destruction. If done correctly, the dent vanishes as if it were never there. If done poorly, you have a white heat mark that requires a professional to fix. This is not for the faint of heart.
“A floor is only as good as the subfloor beneath it; deflection is the enemy of every joint.” – Master Flooring Axiom
The danger of ignoring floor leveling before installation
Floor leveling involves using a self-leveling underlayment or grinding down high spots in a concrete slab to ensure a perfectly flat surface for the finished floor. If the subfloor is uneven, any rigid flooring like laminate or engineered wood will bounce and flex when you walk on it. This movement puts immense stress on the locking mechanisms. Over time, those tongues and grooves will snap. It will buckle. It will creak. You will hear a clicking sound that reminds you of your failure every time you walk to the kitchen. I spent three days grinding concrete on a job last month just so the floor would not click like a castanet. Most guys skip this. They think a thick underlayment will hide the dip. It will not. While most people want the thickest underlayment, too much cushion actually causes the locking mechanisms on LVP to snap under pressure. You need a firm, flat foundation.
| Material Type | Janka Hardness Rating | Typical Wear Layer | Acclimation Time |
|---|---|---|---|
| Solid White Oak | 1360 lbf | N/A (Site Finished) | 7 to 14 Days |
| Engineered Walnut | 1010 lbf | 3mm to 6mm | 3 to 5 Days |
| Premium Laminate | N/A (AC4/AC5) | 12 mil to 20 mil | 48 Hours |
| Luxury Vinyl Plank | N/A | 20 mil to 28 mil | 48 Hours |
Comparing durability across different surface materials
Laminate and luxury vinyl offer high resistance to scuffs and scratches due to their aluminum oxide wear layers and dense core constructions. Unlike solid wood, these materials are engineered to withstand the impact of high-traffic households and pets. However, they lack the soul of real timber. A laminate floor is a photograph of wood glued to a fiberboard core. When it gets a deep scratch, you cannot steam it out. You cannot sand it. You have to replace the entire plank. In showers, you cannot use these materials at all unless they are specifically rated for wet areas with integrated waterproof cores. Most people forget that the transition from a tiled bathroom to a wood hallway is the most common point of failure. If the height of the floor leveling compound was not calculated correctly, you end up with a bulky T-molding that looks like a speed bump in your own home. It is sloppy. It is avoidable.
The structural requirements for a carpet install
Carpet install protocols require a dry, debris-free subfloor and the correct tensioning of the textile over a high-density foam or rubber pad. While carpet is more forgiving of subfloor imperfections than hardwood, it still requires a level of precision that most DIYers ignore. If the tack strips are not placed exactly one-half inch from the baseboard, the carpet will eventually pull away or bunch up. The smell of a new carpet is the smell of synthetic fibers and latex backing. It is a soft surface, but it hides a lot of sins. Some installers use carpet to cover up rotting subfloors or uneven joists. This is a crime in my book. You are just burying a problem that will eventually result in a structural failure. Always inspect the plywood or OSB before the pad goes down. If there is any flex, add more screws. If there is any moisture, find the leak.
“Wood flooring is a natural product that will expand and contract with changes in atmospheric conditions; failure to provide expansion gaps is a failure to understand the material.” – NWFA Technical Manual
The ghost in the expansion gap
An expansion gap is a mandatory space left around the perimeter of a room to allow the floor to grow and shrink without hitting the walls. Every floating floor and every nail-down hardwood floor needs this space. If you tight-fit a floor against the drywall, it has nowhere to go when the humidity rises in the summer. It will lift off the subfloor. It will create a bubble. I have seen entire floors rise six inches off the ground because an installer forgot to leave a half-inch gap under the baseboard. This gap is the most important part of the installation. It is the breathing room. It is the insurance policy against seasonal shifts. You cover it with baseboard or shoe molding, but the gap must exist. Without it, the floor is a ticking time bomb.
The maintenance standards that keep a floor alive for decades
Follow this checklist to ensure your flooring investment does not degrade within the first five years of its life. These steps are non-negotiable for a professional-grade result.
- Monitor indoor relative humidity and keep it between 30 and 50 percent year-round.
- Use a moisture meter to check the subfloor before every installation.
- Always allow wood products to acclimate in the room where they will be installed for at least 72 hours.
- Never wet-mop a hardwood floor with excessive water.
- Place felt protectors on the bottom of every piece of furniture.
- Check the flatness of the subfloor using a 10-foot straight edge.
- Vacuum regularly to remove grit that acts like sandpaper on the finish.
The secret to a perfect floor is not a magic cleaner or a special wax. It is the boring, tedious work of preparation. It is the grinding of concrete. It is the checking of moisture levels. It is the patience to wait for the wood to acclimate. If you take the time to do the structural work, the cosmetic beauty will take care of itself. If you try to cut corners, the floor will eventually tell everyone what you did. It will creak. It will gap. It will cup. Listen to the material. Respect the physics. Build a floor that your grandkids can walk on. That is the mark of a true architect of the floor.