How to Fix a Pothole in Your Concrete Subfloor
The Master Guide to Fixing Concrete Subfloor Potholes
Most guys skip the leveling compound. They think the underlayment will hide the dip. It won’t. I spent three days grinding concrete on a job last month just so the floor wouldn’t click like a castanet. The homeowner had bought some expensive laminate and expected it to feel like solid oak. The concrete looked fine from the door, but once I put the laser level on it, the surface looked like the moon. I have spent twenty five years on my knees with a moisture meter and a level. I have seen the damage a single overlooked crater can do to a high end installation. When you are standing in a house where a fifteen thousand dollar wide plank walnut floor is cupping because of moisture or subfloor failure, you realize that aesthetics mean nothing without engineering. This guide is for the person who wants a floor that lasts decades, not just until the check clears.
Why your subfloor is lying to you
Concrete subfloors often hide significant potholes and craters that remain invisible until you apply a ten foot straightedge across the room. These topographical irregularities cause mechanical failure in laminate flooring and LVP locking systems by allowing vertical movement that eventually snaps the plastic tongues. A floor is a performance surface. If the substrate is not within the NWFA standard of one eighth inch over ten feet, your installation is doomed to fail. I have walked into jobs where the installer tried to use extra carpet padding to fill a hole. It is a hack move that results in a floor that feels like a trampoline. You need to understand the physics of deflection. When you step on a plank over a void, the pressure concentrates on the joint. Without a solid base, the joint flexes, fatigues, and breaks. You are not just filling a hole. You are creating a structural foundation.
The concrete crater problem
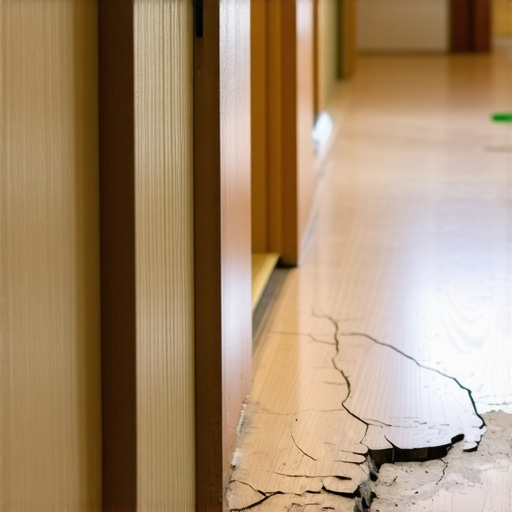
Concrete potholes and deep craters in your subfloor are usually the result of moisture intrusion, laitance, or poor aggregate distribution during the initial pour. These voids are especially dangerous in areas near showers where hydrostatic pressure can push moisture through the slab and degrade the patching compound. When you ignore these depressions, you allow for air pockets to form. These air pockets trap humidity and create a breeding ground for mold. If you are doing a carpet install, a crater might just feel like a soft spot, but for hard surfaces, it is a catastrophic flaw. You have to look at the chemistry of the concrete. Over time, salt and minerals can migrate to the surface in a process called efflorescence. This weakens the bond between the slab and whatever you put on top of it. You must mechanically remove this layer before you even think about opening a bag of leveler.
“A floor is only as good as the subfloor beneath it; deflection is the enemy of every joint.” – Master Flooring Axiom
Chemical bonds that actually hold
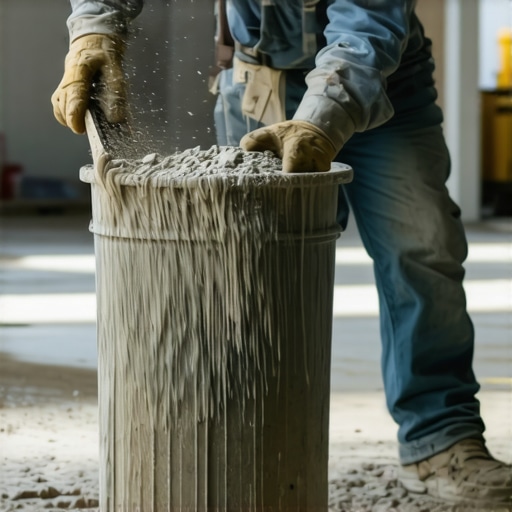
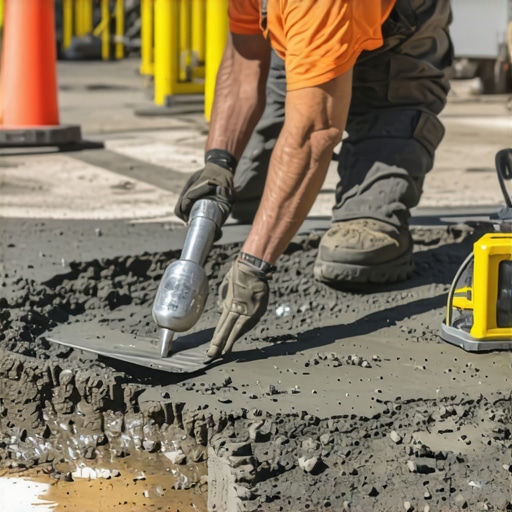
Repairing a concrete pothole requires more than just dumping wet cement into a hole because portland cement does not naturally bond to old concrete. You must use a high performance acrylic bonding primer or a polymer modified patching compound to ensure the new material stays fused to the substrate. The chemistry of the bond is everything. Old concrete is thirsty. If you put a wet patch on dry concrete, the old slab will suck the moisture out of the patch before it has a chance to hydrate and form a crystalline lattice. This results in a brittle, dusty repair that will delaminate under the weight of a refrigerator. I use a secondary bonding agent that acts like a bridge between the old and the new. We are talking about molecular adhesion. You want a product with high tensile strength. I prefer calcium aluminate cements because they dry through a chemical reaction rather than just evaporation. This means less shrinkage and a much harder surface that can withstand the point load of heavy furniture.
The 1 1/8 inch that ruins everything
Floor leveling is a game of precision where a one eighth inch deviation can cause laminate planks to separate or tile grout to crack. While most people want the thickest underlayment to hide these flaws, too much cushion actually causes the locking mechanisms on LVP to snap under pressure. You need a rigid substrate. When I am prepping a floor for laminate, I am looking for a surface profile that resembles fine sandpaper. If the subfloor has a dip, the plank will bridge that gap. Every time you walk over it, the plank bends. Eventually, the friction of that bending wears down the finish and the locking system. It is a slow death for a floor. I have seen homeowners spend thousands on materials only to have the floor ruined by a twenty dollar bag of patch they were too lazy to use. You need to use a level, not your eyes. Your eyes will deceive you. The physics of the lever arm dictate that a small dip in the center of a room becomes a massive problem at the edges.
| Patch Type | Compression Strength PSI | Drying Time Hours | Maximum Depth Inches |
|---|---|---|---|
| Portland Cement | 4000 | 24 | 2.0 |
| Calcium Aluminate | 5000 | 4 | 5.0 |
| Gypsum Based | 2500 | 12 | 0.5 |
Moisture is a silent killer
Concrete moisture levels must be measured using a calcium chloride test or a relative humidity probe before any patching or floor leveling begins. If the vapor emission rate is too high, the alkalinity of the concrete will destroy the adhesive bond and cause the patch to turn back into mush. I have seen guys patch a floor in a basement without a vapor barrier and the whole thing was floating six months later. You have to understand capillary action. Concrete is like a hard sponge. It pulls water from the earth. If you seal the top with a non porous material like vinyl or laminate, that water has nowhere to go. It builds up pressure. Eventually, that pressure finds the weakest point, which is usually your repair. I always check the pH of the slab. Anything above a nine is going to eat your glue. You need to neutralize the surface or use a moisture mitigation system that can handle the high pH levels found in new or wet concrete.
Preparation is the only stage that matters
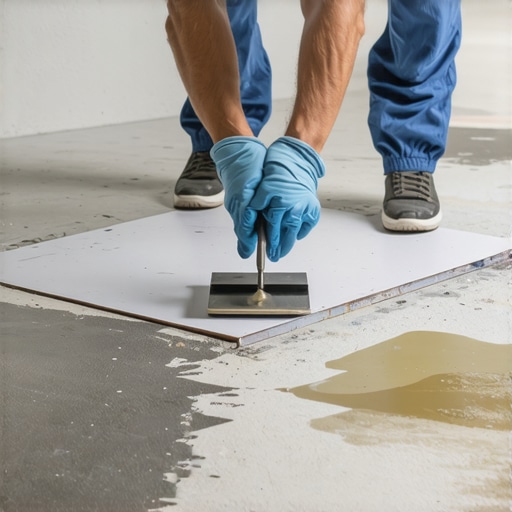
Grinding concrete subfloors with a diamond cup wheel is the only way to remove laitance, curing compounds, and adhesive residue to create a Concrete Surface Profile of CSP 3. Without this mechanical prep, your self leveling underlayment will not stick, leading to hollow spots and cracking in your carpet install or laminate project. I spend more time with a grinder than I do with a trowel. You have to get down to the virgin concrete. If there is paint, oil, or wax on the surface, your patch is just a temporary filler. I use a HEPA vacuum system because I don’t want to breathe that dust and neither should you. Once the slab is clean, you apply the primer. The primer should be scrubbed into the pores with a stiff bristle broom. You are looking for a uniform film without any puddles. If the primer turns clear too fast, the slab is too porous and you need a second coat. This is the difference between a professional job and a DIY disaster.
“Surface preparation requires the removal of all laitance and contaminants to ensure a mechanical bond.” – TCNA Handbook Summary
- Diamond cup wheel grinder with dust shroud
- HEPA vacuum for silica dust containment
- Ten foot professional box level
- Calcium chloride moisture test kit
- High flow self leveling underlayment
- Acrylic bonding primer and soft bristle brush
- Magnesium float for hand finishing deep craters
Final inspection of the subfloor
Checking the flatness of your repaired subfloor requires a laser level or a long straightedge to verify that all potholes have been eliminated. You should also perform a bond test by tapping the cured patch with a hammer to listen for hollow sounds that indicate delamination. If the patch sounds like a drum, you have to rip it out and start over. There are no shortcuts in this business. If you are installing over a crawlspace, make sure the humidity is under control before you lay the first plank. The environment in the house must be acclimated to living conditions for at least fourteen days. This includes the subfloor. A cold, wet slab will expand and contract differently than the flooring material. You are looking for equilibrium. When the moisture content of the subfloor and the flooring are within three percent of each other, you are ready to go. Don’t rush it. A floor is the most used part of a house. Treat it like the structural component it is and it will last a lifetime.