The ‘Bucket Hack’ for Mixing Self-Leveling Underlayment
Most guys skip the leveling compound. They think the underlayment will hide the dip. It won’t. I spent three days grinding concrete on a job last month just so the floor wouldn’t click like a castanet. I was working on a high end laminate install where the homeowner spent five figures on the material but the slab looked like the rolling hills of Kentucky. If I hadn’t stepped in, that floor would have failed in six months. A floor is a performance surface. It is the foundation of every step you take in your home. When you ignore the subfloor, you are building a house on sand. This guide explores the mechanical reality of subfloor preparation and the specific techniques used to ensure a flat plane for carpet, laminate, and tile showers.
The 1/8 inch that ruins everything
Floor leveling requires a subfloor flatness of 1/8 inch over 10 feet to prevent laminate locking failure or carpet ripples. If the substrate is not within this tolerance, the structural integrity of the finished floor is compromised. I have seen calcium aluminate cements crack because the installer didn’t understand surface tension or deflection.
“A floor is only as good as the subfloor beneath it; deflection is the enemy of every joint.” – Master Flooring Axiom
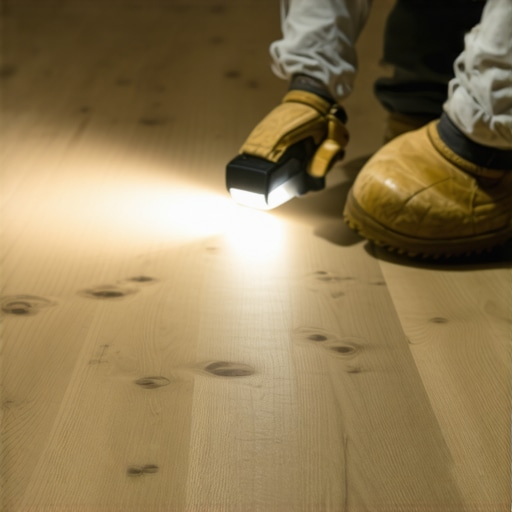
Every project starts with a straightedge. You cannot trust your eyes. You have to get down on your knees with a ten foot level and mark every low spot with a pencil. These valleys are where the self-leveling underlayment or SLU will live. The physics of SLU are simple. It is a hydraulic cement that uses gravity to find a level plane. However, the chemistry is far from simple. You are dealing with polymers, flow agents, and retardants that dictate how the material moves across the concrete. If your mix is too thick, it won’t flow. If it is too thin, the aggregate will settle at the bottom and the top will be a weak, dusty mess that won’t hold a bond.
The secret chemistry of hydraulic cement
Self-leveling underlayment is a polymer modified blend of Portland cement and calcium aluminate designed for high flow and rapid strength gain. The compressive strength usually exceeds 4,000 PSI within twenty eight days. To understand why this matters, you have to look at the molecular bond. When you pour SLU, the polymers act as a bridge between the old concrete and the new material. This is why priming is not optional. A high solids acrylic primer seals the pores of the concrete. If you don’t seal those pores, the dry concrete will suck the water out of the SLU faster than a sponge. This creates pinholes. Pinholes are the result of air escaping the concrete and bubbling through your fresh pour. It looks like a moonscape and ruins the surface. You need that primer to create a film-forming barrier that prevents dehydration of the mix. I smell like floor wax and wet cement most days because I spend the time to scrub that primer into the substrate with a stiff broom. You don’t just paint it on. You work it in.
The two bucket system for continuous flow
Mixing self-leveling underlayment requires a high-torque drill and dual buckets to maintain a wet edge during the continuous pour. This is what I call the bucket hack. Most rookies mix one bag, pour it, and then go start the next bag. By the time they come back with the second bag, the first one has already started to skin over. This creates a visible seam and a height difference. To win, you need a station. You have two 15-gallon barrels. While one bag is being mixed, the other is being poured. You use a measuring bucket for the water. Never guess. Even a half cup of extra water can break the chemical chain and cause segregation of the materials. I use a 650 RPM drill. Any faster and you whip air into the mix. Air leads to oxidation and weak spots. You want a vortex that pulls the powder down without splashing. The bucket hack also involves pre-measuring. I have five buckets of water lined up before I even open a bag of cement. This allows me to move with the speed of a machine. Speed is your friend because most SLU has a working time of only ten to fifteen minutes before it begins the exothermic reaction that leads to hardening.
Why laminate requires absolute flatness
Laminate flooring depends on tongue and groove integrity which will snap or creak if the subfloor deflection exceeds 3/16 inch over 10 feet. When you walk across a floating floor that has a hollow spot underneath, the joint flexes. Do that a thousand times and the plastic locking mechanism shears off. Now you have a gap. That gap collects dirt and moisture. This is why carpet install guys who transition to laminate often fail. They think the foam underlayment will act like a cushion for the imperfections. It won’t. In fact, if you use an underlayment that is too thick, you increase the vertical movement of the floor. You want a flat, hard surface. The SLU provides that. When the floor is flat, the laminate stays locked. It feels like solid wood. It doesn’t sound like a plastic drum.
“Substrate preparation is the most significant factor in the success of any resilient or wood flooring installation.” – NWFA Technical Guidelines
I have seen $20,000 jobs ruined because the installer thought a 1/4 inch dip was fine. It is never fine.
| Metric | Tolerance Requirement | Material Impact |
|---|---|---|
| Surface Flatness | 1/8″ per 10 feet | Prevents joint separation |
| Moisture Vapor | < 3 lbs per 1000 sqft | Prevents adhesive failure |
| Compressive Strength | > 3500 PSI | Supports heavy furniture |
| Primer Type | High Solids Acrylic | Ensures mechanical bond |
The shower floor slope versus level planes
Tile showers require a sloped substrate for drainage, but the bathroom floor outside the curb must be perfectly level for a zero-threshold transition. This is where the TCNA standards become vital. When I am prepping a bathroom, I am often mixing mortar beds and SLU on the same day. The shower pan is a pitched plane, usually 1/4 inch per foot toward the drain. But the main floor? That needs to be level so the tile layout is symmetrical. If the floor is leaning, your grout lines will grow or shrink as you move up the wall. It looks amateur. I use metal lath if I am going over a wood subfloor. The lath provides the tensile strength that the cement lacks. Cement is great at compression but terrible at tension. The lath keeps the SLU from cracking as the house shifts with the seasons. In a bathroom, moisture is the enemy. Even under the leveler, I often want a vapor retarder to stop the upward migration of dampness from a crawlspace.
Moisture barriers and vapor drive
Concrete moisture is measured using relative humidity probes or calcium chloride tests to ensure the vapor emission won’t delaminate the leveling compound. You cannot just pour over wet concrete. If the slab is fresh, it needs at least twenty eight days to cure. But even old slabs can have hydrostatic pressure. Water is pushed up through the slab by the ground. If you trap that water under a layer of SLU and then a layer of laminate, it will rot. I always use a calcium chloride test. If it comes back high, I have to use a moisture mitigation epoxy. This is a thick, nasty coating that stops the water in its tracks. Only then can you pour your leveler. People hate the cost, but they hate a moldy floor more. The osmotic pressure can actually pop the leveler right off the floor if you don’t handle the moisture first. This is the difference between a pro and a handyman. I look at the geology of the site, not just the floor.
- Check subfloor for 1/8 inch deviation using a 10-foot straightedge.
- Vacuum all dust and debris to ensure a clean mechanical bond.
- Apply high-solids primer and scrub into the substrate with a broom.
- Pre-measure water in dedicated buckets for a 100 percent accurate mix ratio.
- Use a high-torque, low-RPM drill to avoid entraining air into the slurry.
- Pour in a continuous fashion to maintain a wet edge and avoid cold joints.
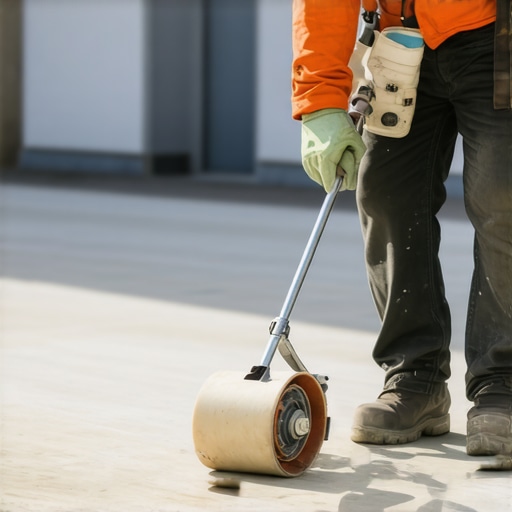
- Use a spiked roller or a gauge rake to distribute material and release air.
The ghost in the expansion gap
Expansion gaps are mandatory around the perimeter of any poured underlayment to allow for thermal expansion and structural shifting. If you pour the SLU tight against the drywall, it has nowhere to go when the house warms up. It will buckle or tent. I use foam strips around the edges. This creates a soft joint. Once the leveler is dry, I pull the foam and I have a perfect 1/4 inch gap. This is the same gap you need for your laminate or hardwood. Wood is a hygroscopic material. It grows and shrinks with the relative humidity of the room. If the floor is flat thanks to your bucket hack, the wood can slide easily across the surface. If there are bumps, the wood gets hung up. Then you get gapping in the winter and cupping in the summer. It all goes back to the prep work. The mechanic knows that the beauty of the floor is just a thin veneer over the engineering of the subfloor. Spend the time on the mix. Respect the chemistry. Keep your levels long and your buckets clean. That is how you build a floor that lasts a lifetime. ArticleSchema: {“@context”:”https://schema.org”,”@type”:”Article”,”headline”:”The ‘Bucket Hack’ for Mixing Self-Leveling Underlayment”,”author”:{“@type”:”Person”,”name”:”Master Flooring Architect”},”publisher”:{“@type”:”Organization”,”name”:”Flooring Pros”},”articleSection”:”Subfloor Preparation”,”keywords”:”carpet install, laminate, showers, floor leveling”}