How to Remove Rust Stains from a Shower Floor
The science of iron oxide removal from porous ceramic and stone
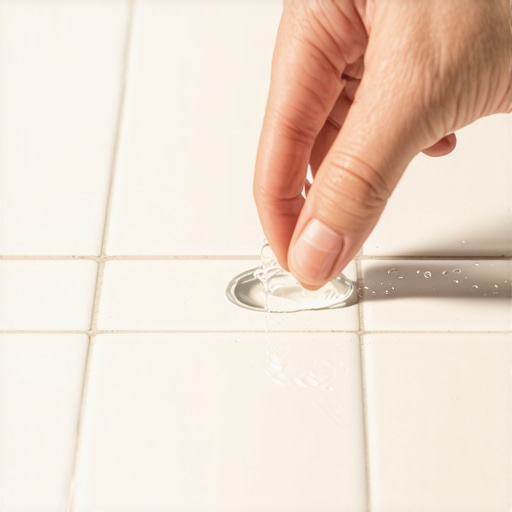
To remove rust stains from a shower floor you must utilize a chemical reducing agent or a mild acid that breaks the molecular bond between the iron oxide and the substrate without etching the surface finish. Rust is a byproduct of oxidation where iron, water, and oxygen meet to create a stubborn mineral deposit. In a shower environment, this often occurs due to metal shave cream cans, hairpins, or high iron content in the municipal water supply. Effective removal requires identifying the porosity of your floor material, as a solution for porcelain might destroy a natural marble floor. You must apply the agent, allow it to dwell for a specific period to react with the iron, and then mechanically agitate the surface with a non abrasive brush.
Most guys skip the leveling compound. They think the underlayment will hide the dip. It won’t. I spent three days grinding concrete on a job last month just so the floor wouldn’t click like a castanet. I see the same lazy habits in bathrooms. A shower floor is a precision engineered drainage system. When an installer fails to respect the pre slope, water pools in the micro depressions of the tile. That standing water is where the rust begins its life. If you have a low spot, you have a rust trap. I have spent twenty five years fixing these architectural failures. You cannot hide bad geometry with a fancy tile. The water always finds the truth. Whether you are doing a carpet install or laying high end stone, the subfloor is the boss. If the subfloor is not flat, the finished product will eventually scream about it. I have seen laminate buckle in a dry room because of a half inch dip, so imagine what happens in a wet shower pan with poor drainage. It is a recipe for chemical staining and structural rot.
The ghost in the expansion gap
Rust stains often signal a deeper moisture migration issue where water is interacting with hidden metallic fasteners or old galvanized piping beneath the tile surface. When water penetrates the grout line, it can travel laterally along the mud bed. If that water hits a non galvanized screw or an old pipe, it oxidizes. The rust then bleeds upward through the capillary pores of the grout. This is why you see a stain that seems to reappear even after a deep clean. You are not just cleaning a surface mark, you are dealing with a subterranean chemical leak. Addressing the root cause requires a meticulous inspection of the perimeter caulk and the integrity of the grout joints. If the moisture barrier is compromised, the rust is just the messenger of a failing system.
“A floor is only as good as the subfloor beneath it, deflection is the enemy of every joint.” – Master Flooring Axiom
The chemistry of acid based cleaners
The most effective rust removers contain oxalic acid or phosphoric acid which convert insoluble iron oxide into a water soluble form that can be rinsed away easily. Oxalic acid is a dicarboxylic acid that acts as a chelating agent. It grabs the iron ions and holds them in suspension. This is far more effective than bleach. In fact, never use bleach on a rust stain. Bleach is an oxidizer. It will actually set the stain and make it permanent. You need a reducer, not an oxidizer. For natural stone like marble or travertine, you must avoid these acids entirely. Acid will eat the calcium carbonate in the stone, leaving a dull white etch mark that looks worse than the rust. For stone, you need a pH neutral rust remover specifically formulated with a sulfur based odor to signify the chemical reaction is occurring.
Mechanical action and surface tension
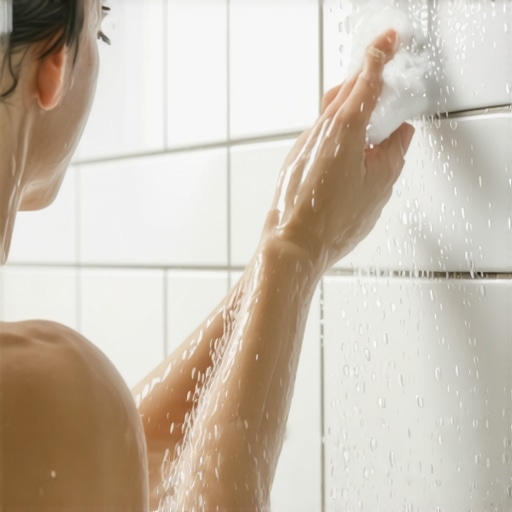
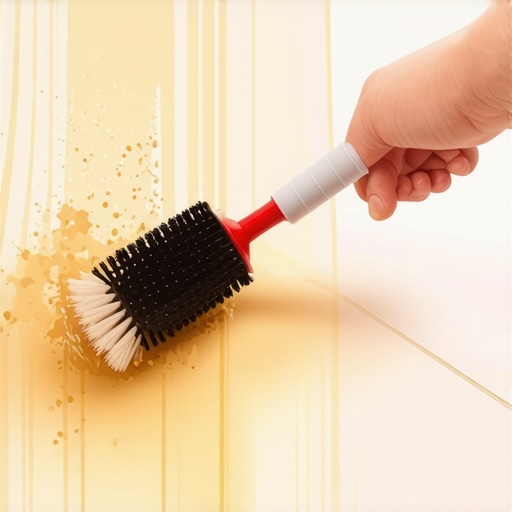
Success in stain removal depends on breaking the surface tension of the water and allowing the chemical agent to reach the microscopic valleys of the tile texture. If you look at a tile under a microscope, it looks like a mountain range. The rust sits in the valleys. A simple wipe will only hit the peaks. You need a stiff nylon brush and a circular scrubbing motion. This creates a slurry that lifts the iron particles out of the pores. Do not use steel wool. Steel wool leaves behind microscopic shards of metal that will rust tomorrow. You would be solving one problem by creating a thousand smaller ones. Use a white or blue non scratch scouring pad or a dedicated grout brush. The goal is agitation without abrasion. You want to move the chemical, not scratch the glaze.
| Cleaner Type | Active Ingredient | Ideal Substrate | Reaction Time |
|---|---|---|---|
| Acidic Gel | Oxalic Acid | Porcelain/Ceramic | 5 to 10 Minutes |
| Neutral Liquid | Sodium Gluconate | Marble/Limestone | 15 to 20 Minutes |
| Abrasive Paste | Baking Soda/Lemon | Light Surface Stains | 30 Minutes |
| Industrial Spray | Phosphoric Acid | Heavy Scale/Concrete | 2 to 5 Minutes |
The 1/8 inch that ruins everything
Precision in floor leveling and slope is the only long term defense against mineral buildup and oxidation in a wet environment. The TCNA mandates a slope of 1/4 inch per foot toward the drain. If your installer was off by just an 1/8 of an inch, you get a birdbath. That birdbath collects soap scum and iron deposits. In a carpet install, a small bump might just be a nuisance. In a shower, it is a structural liability. I always tell my clients that if they want a clean floor, they need a flat floor. Leveling is not an option, it is the foundation of the entire aesthetic. We use self leveling compounds for a reason. They provide a monolithic surface that ensures water obeys the laws of gravity. Without it, you are just fighting a losing battle against physics.
“The integrity of the waterproof membrane is secondary only to the geometry of the slope it covers.” – TCNA Technical Guide
Regional moisture and hard water variables
The mineral profile of your local water supply dictates the frequency and severity of rust staining on your shower floor. In regions like the Southwest or the Midwest, hard water is the norm. The high calcium and magnesium content creates scale. This scale acts as a primer for iron oxide. It creates a rough surface that catches every bit of metal dust. If you live in an area with high humidity, like the Gulf Coast, the drying time for your shower is extended. This longer wet time allows the oxidation process to continue for hours after you step out of the stall. In these climates, a squeegee is not a luxury, it is a piece of maintenance equipment. You have to physically remove the fuel for the rust reaction. This is the same reason we use specific underlayments for laminate in humid basements. Moisture management is a universal rule in flooring.
The master flooring maintenance checklist
- Inspect grout lines every six months for hairline cracks or voids.
- Squeegee the floor after every use to prevent mineral accumulation.
- Apply a high quality penetrating sealer to stone and grout once a year.
- Replace any metal shower accessories with plastic or high grade stainless steel.
- Check the water softener system to ensure iron levels are being managed.
- Avoid using harsh alkaline cleaners that can strip away protective sealers.
Why your subfloor is lying to you
A subfloor might look flat to the naked eye but a ten foot straight edge will reveal the truth about the structural dips that cause pooling. When I walk onto a job, I don’t care what the homeowner tells me about the previous guy. I check the subfloor. If you are putting down laminate or a shower pan, you have to find the high spots. Rust stains are the forensic evidence of a subfloor that was never properly prepared. If you see a stain in the center of a tile far from any metal source, it means water is sitting there because the floor is not true. No amount of cleaning will fix a floor that was built wrong. You can scrub until your knuckles bleed, but if the water stays, the rust stays. It is a hard truth that many people do not want to hear. Professionalism starts at the joists and ends at the finish. Anything less is just a temporary cover up.
{“@context”:”https://schema.org”,”@type”:”HowTo”,”name”:”How to Remove Rust Stains from a Shower Floor”,”step”:[{“@type”:”HowToStep”,”text”:”Identify the tile material to ensure the cleaner will not etch the surface.”},{“@type”:”HowToStep”,”text”:”Apply a rust remover containing oxalic or phosphoric acid for ceramic, or a pH neutral remover for stone.”},{“@type”:”HowToStep”,”text”:”Allow the cleaner to dwell for 10 minutes without letting it dry completely.”},{“@type”:”HowToStep”,”text”:”Scrub the area with a non abrasive nylon brush using circular motions.”},{“@type”:”HowToStep”,”text”:”Rinse the area thoroughly with clean water and dry with a microfiber towel.”}]}