How to Level a Plywood Floor Without Adding Too Much Vertical Height
I spent three days grinding concrete on a job last month just so the floor wouldn’t click like a castanet. Most guys skip the leveling compound. They think the underlayment will hide the dip. It won’t. I have seen fifteen thousand dollar wide-plank walnut floors turn into potato chips because an installer ignored the subfloor moisture or the flat plane of the room. You can smell the oak dust and the machine oil on a job site like that, but the only thing you should be smelling is the neutral scent of a job done right. We are not decorating here. We are performing structural surgery on your home. If your subfloor is out of level, your laminate or hardwood is a ticking time bomb. Let us talk about the chemistry of the bond and the physics of the flat surface without ruining your door thresholds.
The physics of a sagging subfloor
Subfloor leveling on a plywood base requires a strict adherence to L/360 deflection standards to ensure the integrity of the flooring material. When you have joist movement or plywood dips, you cannot simply pour self-leveling underlayment at a two-inch thickness because the vertical height will ruin transitions and door clearances. You must address the structural plane by identifying the low spots and high spots across the subfloor grid using a ten-foot straightedge. A floor that is not flat creates a pumping effect. Every time you step, the air gap beneath the plank compresses, forcing friction into the locking mechanism. Eventually, that milled joint will shear off. You are not just looking for level, which refers to the horizontal plane relative to the earth, but flatness, which is the consistency of the surface itself. Most manufacturers require a tolerance of 3/16 of an inch over 10 feet. If you miss this, the warranty is dead before you even open the first box of planks.
“A floor is only as good as the subfloor beneath it; deflection is the enemy of every joint.” – Master Flooring Axiom
Why your subfloor is lying to you
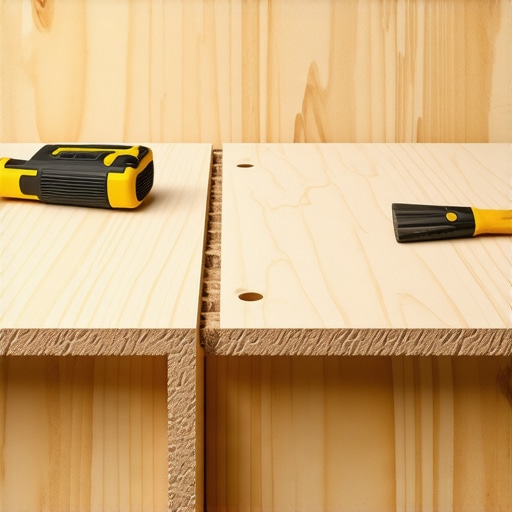
Plywood subfloors often hide structural inconsistencies like crowned joists or settled beams that cannot be fixed with a simple patch. If your subfloor is OSB or CDX plywood, it reacts differently to moisture and weight than a solid wood surface. Moisture content in the plywood must be within 2 to 4 percent of the flooring material before you even think about leveling. In the swampy humidity of Houston, plywood expands, while in the dry heat of Phoenix, it will shrink and pull away from the fasteners. This expansion and contraction cycle means that any leveling compound you use must have a high polymer content to remain flexible. If you use a rigid cement over a moving wood base, it will crack and pulverize under the foot traffic. This is why mechanical fastening of the subfloor is the first step. You should go through and screw down every single sheet into the joists, eliminating squeaks and vertical play before you ever touch a trowel.
[IMAGE_PLACEHOLDER]
The 1/8 inch that ruins everything
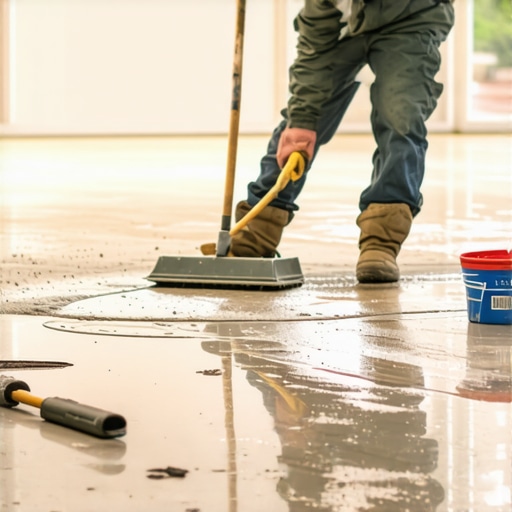
Vertical height is the primary constraint when leveling for carpet install or laminate in renovation projects. If you add too much bulk, you end up with tripping hazards at the doorways or thresholds that look like small mountains. The secret to low-profile leveling is feathering. Instead of a full-flood pour of self-leveling compound, you use a trowelable patch with a high-solids polymer base. This allows you to start at a zero-edge and ramp up to the required thickness. You are looking for a compressive strength of at least 3,000 PSI to ensure the patch does not crumble. While most people want the thickest underlayment, too much cushion actually causes the locking mechanisms on LVP to snap under pressure. You need density, not softness. The density of the patch and the underlayment must work in tandem to support the static load of furniture and the dynamic load of walking.
Sanding the high spots into submission
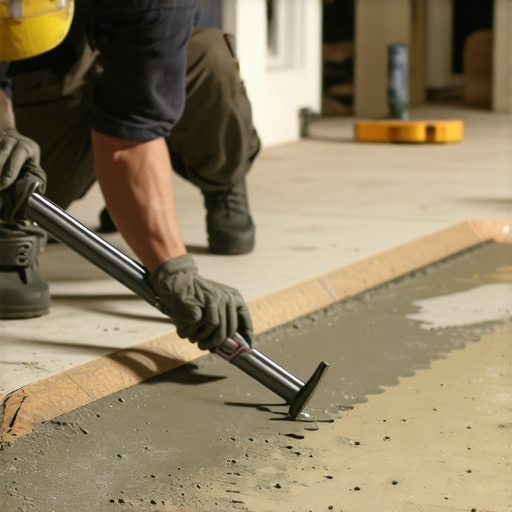
Mechanical abrasion is the most effective way to level a plywood floor without adding any vertical height at all. By sanding down the high spots, usually found at the seams or over crowned joists, you bring the high points down to the low points. You need a heavy-duty drum sander or an edger with 36-grit sandpaper to eat through the veneer. You must be careful not to compromise the structural thickness of the plywood. If you have 3/4 inch subflooring, you can safely sand a 1/8 inch off a seam without weakening the structure. This is dusty and labor-intensive work that smells like burnt resin and pine, but it is the only method that guarantees zero added height. After sanding, you must vacuum the pores of the wood to ensure the adhesion of any secondary patch or flooring adhesive.
| Method | Height Added | Drying Time | Flexibility |
|---|---|---|---|
| Sanding High Spots | 0 mm | Immediate | High |
| Feathering Compound | 1 mm to 10 mm | 2 to 4 Hours | Medium |
| Self-Leveling Pour | 3 mm to 30 mm | 12 to 24 Hours | Low |
| Plywood Overlay | 6 mm to 12 mm | Immediate | Medium |
Chemistry of the feathering compound
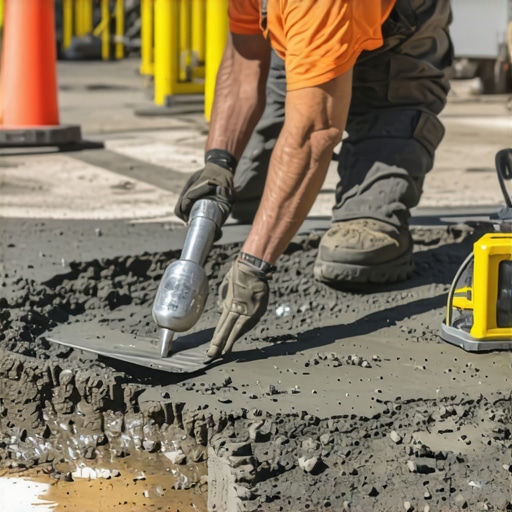
Feather-finish patches utilize portland cement blended with redispersible polymers to create a tenacious bond to wood fibers. These compounds are designed to dry quickly through a chemical hydration process rather than evaporation. This is vital because evaporation-based drying can warp the underlying plywood by introducing moisture. A high-quality patch like those certified by the TCNA for showers or wet areas will have alkali resistance. When you mix the powder, you want the consistency of peanut butter. If it is too watery, the polymers will segregate, and the patch will chalk. If it is too thick, you cannot feather it to a true zero. The molecular bond formed between the cement crystals and the wood cellulose is what keeps your floor from delaminating over the next decade.
“Subfloor preparation is 90 percent of the job; the flooring is just the wrapper.” – NWFA Installation Guidelines
Preparation checklist for the perfect plane
- Inspect for moisture using a calibrated pin meter across the entire surface.
- Locate all joists and sink fasteners every 6 inches on the edges and 12 inches in the field.
- Identify high spots with a laser level or straightedge and mark them with a carpenter pencil.
- Sand wood seams and ridges to minimize the need for filler.
- Apply a latex-based primer if using self-leveling liquids to prevent pinholes.
- Mix patching compound in small batches to avoid premature setting.
- Verify flatness again after drying to ensures no ridges remain.
Maintaining thresholds for showers and wet areas
Shower transitions and bathroom floors require waterproof integrity while maintaining a level plane for tile installation. When leveling plywood near a shower curb, you must account for the anti-fracture membrane thickness. If your subfloor is unlevel here, the tile will lippage, creating sharp edges that catch feet and water. You should use a fiber-reinforced patch in these high-stress areas. These fibers act like micro-rebar, distributing the tension across the plywood seams. This is especially important in older homes where the bathroom floor might slope toward the stack. You are not trying to fix the slope of the house, but you are creating a flat foundation for the rigid tile to rest upon. Tile has zero flexibility. If the plywood underneath bends even a fractional amount, the grout will cracked and the waterproofing will fail.
The invisible threat of moisture and movement
Acclimation is the step most DIY installers skip, but it is fundamental to maintaining a level floor. If you level a subfloor while the house is at 80 percent humidity and then crank the AC, the plywood will contract. This movement can shear the bond of your leveling compound. You must measure the ambient conditions. Engineered wood is more stable than solid wood, but it still reacts to the environment. When you are architecting a subfloor, you are managing the forces of nature inside a controlled box. Use a vapor barrier if you are installing over a crawlspace. Even if the plywood looks dry, moisture vapor from the earth will migrate upward and weaken the adhesion of your patches. A dry, flat, and stable subfloor is the only way to ensure your new flooring remains beautiful for years to come.