The Secret to Cutting Thick Laminate Planks Without Smoking Your Blade
I once walked into a job site where a homeowner was trying to install a 12mm laminate with a standard framing blade. The room smelled like a campfire and the edges of the planks were charred black. Most guys skip the leveling compound and think the underlayment will hide the dip, but I spent three days grinding concrete on a job last month just so the floor would not click like a castanet. If you do not respect the material, the material will break you. My hands smell like WD-40 and oak dust because I know that a floor is a performance surface, not just a pretty picture. When you are dealing with thick laminate, you are essentially cutting through a mixture of compressed wood fiber and literal rock particles. If you do not have the right strategy, you will smoke your blade before you even finish the first row.
Why your saw blade dies at noon
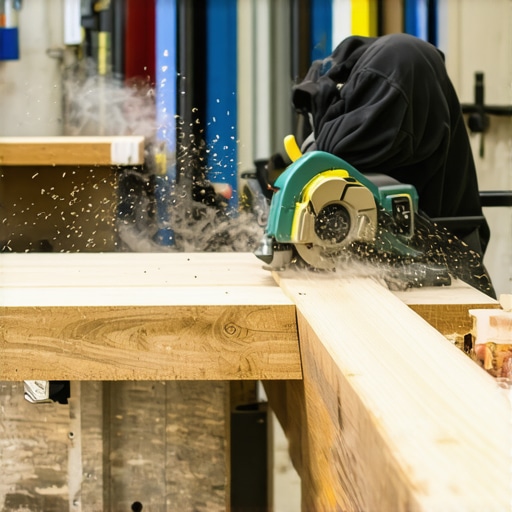
Cutting thick laminate planks requires understanding that aluminum oxide wear layers act like sandpaper on carbide tipped blades. You must use specialized laminate blades with a negative hook angle to prevent the high density fiberboard core from splintering or overheating during the cut. Standard wood blades will dull within ten cuts because of the high density of the resin and the abrasive nature of the surface coating. The wear layer of a modern laminate floor is designed to withstand years of foot traffic, which means it is incredibly hard. When a saw blade spinning at 4000 RPM hits that layer, the friction generates intense heat. If that heat is not dissipated, it anneals the carbide tips, making them soft and useless. This is why you see smoke and burn marks on your planks. You are not just cutting wood, you are grinding through a ceramic-like shield that protects the decorative paper layer underneath.
The physics of the high density fiberboard core
The core of a 12mm or 14mm laminate plank is a marvel of engineering that most people ignore. It is made by taking wood fibers and saturating them with urea-formaldehyde resins before pressing them under immense pressure. This creates a material that is far denser than natural oak or maple. When your saw blade enters this core, it encounters a uniform resistance that differs from the alternating grain of natural wood. This uniformity is why the blade gets so hot. There is no relief for the teeth. In a standard hardwood board, the blade gets a micro-second of relief as it passes through softer springwood. With laminate, it is a constant, grinding battle. To survive this, you need a blade with a Triple Chip Grind. This geometry features a trapezoidal tooth followed by a flat raker tooth. The trapezoid does the heavy lifting, while the raker cleans out the debris. This configuration reduces the load on each individual tooth and allows the blade to stay cool for hundreds of linear feet of cutting.
“A floor is only as good as the subfloor beneath it; deflection is the enemy of every joint.” – Master Flooring Axiom
The 1/8 inch that ruins everything
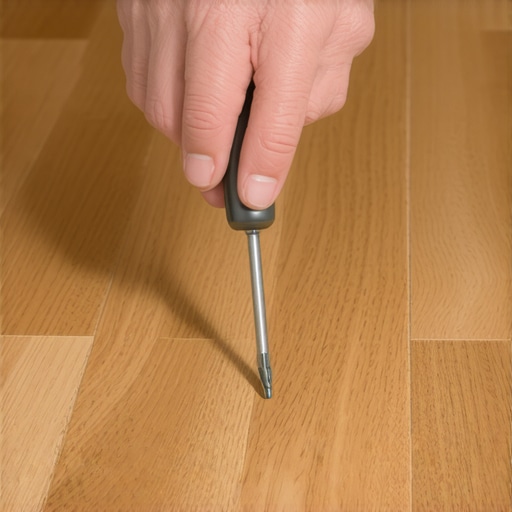
Floor leveling is the foundation of a successful laminate install and the primary reason why professional cuts eventually fail at the joints. If the slab has a dip greater than 1/8 inch over ten feet, the plank will flex every time someone walks on it. This vertical movement causes the tongue and groove locking system to rub against itself, creating a clicking sound. Eventually, the friction wears down the locking mechanism until the floor separates. Before I ever pull out my saw, I use a ten foot straight edge to map the high spots on the concrete. I grind them down with a diamond cup wheel attached to a HEPA vacuum. If there are low spots, I use a high-strength, polymer-modified self-leveling underlayment. You cannot rely on a 3mm foam underlayment to fix a structural dip. It is a cushion, not a structural filler. If you ignore the subfloor, even the most perfect cut with a brand new blade will not save your reputation when the floor starts gapping six months later.
Managing transitions from a carpet install
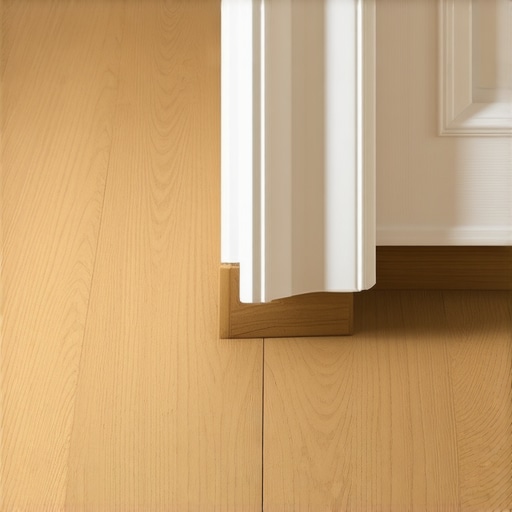
When you transition from a bedroom with a plush carpet install to a hallway with laminate, you have to account for the height difference and the expansion gap. Carpet is forgiving, but laminate is rigid. You cannot just butt the laminate up against the carpet tack strip. You need a transition molding, often a T-molding or a reducer, that allows the laminate to slide underneath it. This is because laminate floors are floating floors. They expand and contract with changes in humidity and temperature. If you pin the floor down at the doorway by trying to make a tight, no-gap transition, the floor will buckle in the center of the room. I always leave at least a 1/4 inch gap at every vertical obstruction. This includes door jambs, which I undercut with an oscillating saw so the floor can breathe underneath the wood trim. It is a technical necessity that many amateur installers skip to save time.
Protecting the core from showers and moisture
Laminate floors and showers are generally a recipe for disaster unless you understand the chemistry of the core. If water gets into the HDF core, the wood fibers will swell and the edges of the planks will peak. This is an irreversible process. If you are installing in a bathroom, you must use a waterproof rated laminate and seal every single perimeter edge with 100 percent pure silicone. I use a foam backer rod in the expansion gap before applying the silicone. This allows the floor to expand while the silicone creates a watertight gasket. You also need to pay attention to the wax coating on the tongues and grooves of some premium planks. This wax is there to repel moisture, but it also creates friction during the installation. A small drop of a specialized laminate tapping block lubricant can help those joints seat perfectly without the need for excessive force that might damage the locking profile.
“The moisture content of the subfloor must be within 4 percent of the flooring material for a stable installation.” – Master Flooring Axiom
Blade comparison for different plank thicknesses
Selecting the right tool is not about price, it is about matching the tooth geometry to the resin density. A blade designed for ripping pine will fail miserably on an AC4 rated laminate. Below is a breakdown of what I use in my shop to keep my cuts clean and my blades sharp.
| Plank Thickness | Blade Type | Tooth Count | Expected Life |
|---|---|---|---|
| 8mm Laminate | ATB Carbide | 40 Teeth | 500 Square Feet |
| 12mm Laminate | TCG Carbide | 60 Teeth | 800 Square Feet |
| 14mm+ Laminate | PCD Diamond | 4-8 Teeth | 5000+ Square Feet |
The technical checklist for perfect laminate cuts
Follow these steps to ensure you do not ruin your material or your equipment. Accuracy in the first row determines the success of the entire room.
- Acclimate the planks in the room for at least 48 hours to reach moisture equilibrium.
- Check the subfloor for levelness using a 10 foot straight edge.
- Set the saw blade depth to 1/8 inch deeper than the plank to reduce heat buildup.
- Use a high-quality painters tape over the cut line to prevent micro-chipping of the wear layer.
- Clean the saw blade every 100 feet with a pitch remover to prevent resin buildup.
- Never force the saw through the material; let the RPMs do the work.
- Maintain a consistent feed rate to prevent localized overheating of the carbide tips.
The ghost in the expansion gap
The most common failure I see is the lack of an expansion gap. Homeowners think it looks ugly, so they push the planks tight against the drywall. Then summer hits, the humidity rises, and the floor has nowhere to go. It will buckle. It will lift the baseboards. It might even pop the locking joints. You must leave that gap. The baseboard and shoe molding are there to hide it, not to pin the floor down. I use plastic spacers every twelve inches during the install to ensure that gap remains consistent. If you are installing in a large room over 30 feet in length, you might even need an internal expansion joint. This is the structural reality of working with wood-based products. They move. They breathe. If you try to fight the physics of wood expansion, you will lose every time. Spend the extra time on the prep and the right blade, and your floor will look like a million bucks for decades. Skip the prep, and you are just throwing money into the dumpster. Final thoughts for the job site, keep your blades sharp, your subfloor flat, and your expansion gaps wide.