How to Stop Laminate Boards from Sliding Apart in High Traffic
Listen, I have spent the last twenty-five years with sawdust under my fingernails and the smell of WD-40 on my shirt. I have seen every mistake in the book when it comes to floating floors. Most people think a laminate floor is just a big puzzle you snap together and walk away from. They are wrong. A floor is a structural engineering challenge that happens to look like wood. I spent three days grinding concrete on a job last month just so the floor would not click like a castanet because the homeowner thought they could skip the floor leveling phase. It is that kind of corner-cutting that leads to the phone call I get once a month about planks sliding apart in hallways. If your floor is gapping, it is not a mystery. It is physics. You have kinetic energy from heavy foot traffic meeting a low-friction subfloor and a locking mechanism that is probably failing under the stress of deflection. We are going to look at why these boards move and how to lock them down permanently using the same standards the NWFA and TCNA expect from high-end professionals.
The hidden physics of the sliding joint
To stop laminate boards from sliding apart in high traffic you must increase the friction between the plank and the subfloor while ensuring the locking mechanism is physically intact. Boards separate when the lateral force of walking exceeds the mechanical hold of the click-lock system, often due to subfloor unevenness. When you walk across a hallway, your foot pushes the floor forward and down. In a floating system, that energy has to go somewhere. If the floor is not perfectly level, the plank flexes. That flex acts like a tiny crowbar, slowly prying the tongue out of the groove. Over time, the friction that is supposed to keep the boards together just vanishes. You end up with a gap that collects dirt and moisture, which only makes the problem worse. If you are near wet areas like showers, that moisture can actually lubricate the joints, making them slide even faster. You have to understand that a floating floor is a single unit. If one piece moves, it means the entire unit is struggling to find its center.
“A floor is only as good as the subfloor beneath it; deflection is the enemy of every joint.” – Master Flooring Axiom
Why your subfloor is lying to you about levelness
Floor leveling is the most overlooked part of any laminate installation and the primary reason for board separation in high-traffic zones. A subfloor that deviates more than 3/16 of an inch over a 10-foot radius will cause the locking mechanisms to fail under the weight of foot traffic. I have walked into countless homes where the installer just threw down some cheap foam and hoped for the best. That does not work. If there is a dip in the subfloor, every time you step on that spot, the plank sinks. As it sinks, the tongue of the board pulls away from the groove of its neighbor. This is called vertical deflection. You cannot fix sliding boards until you fix the dip. In some cases, this means pulling up the boards and using a high-quality self-leveling compound to create a dead-flat surface. If you are working over concrete, you need to check for moisture too. A damp slab will warp the underside of the laminate, changing its shape and making those tight factory tolerances a thing of the past. Professional floor leveling is not a suggestion, it is a requirement for a floor that stays together.
The 1/8 inch that ruins everything
Expansion gaps at the perimeter are essential for a stable laminate floor but they must be managed with precise spacers to prevent the entire floor from shifting. If a floor is installed too tight against a wall or too loose, the force of walking will eventually push the planks into the void. I have seen guys leave huge gaps at the doorway and nothing at the baseboard. When you walk down a high-traffic hallway, you are basically acting as a human hammer, tapping the floor toward the wall. If there is a gap large enough, the boards will just slide into it. You need exactly 1/4 inch to 3/8 inch around the perimeter, no more and no less. If the gap is too large, the floor has room to drift. If the gap is too small, the floor will buckle. Both lead to the same result which is the failure of the locking system. You must also consider the transitions. Using a T-molding in every doorway is a pain for the minimalist look, but it is necessary for long runs to break up the weight of the floor.
Comparison of Underlayment Resistance
| Material Type | Density Rating | Compression Resistance | Best Use Case |
|---|---|---|---|
| Standard Poly Foam | Low | Poor | Low traffic bedrooms only |
| High Density Fiber | High | Excellent | Hallways and kitchens |
| Rubber Underlayment | Very High | Superior | Commercial grade laminate |
| Cork Underlayment | Medium | Good | Sound dampening needs |
The chemical bond and the friction fix
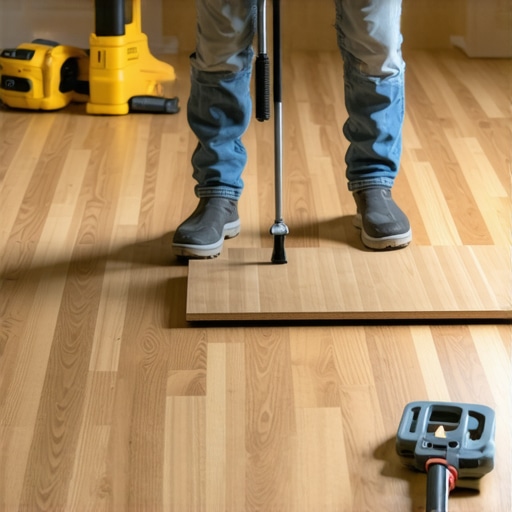
Using a drop of PVA wood glue in the tongue and groove of the sliding boards is the most effective way to repair a gap without tearing up the entire floor. This creates a permanent mechanical and chemical bond that resists the lateral forces of high-traffic movement. I do not like using glue on a floating floor usually, but for a repair, it is the only way to go. You first have to clean the gap. Use a vacuum with a narrow nozzle to get every bit of grit and hair out of there. If there is dust in the joint, the glue will not stick. Once it is clean, apply a very thin bead of wood glue to the bottom of the groove. Then, use a glass suction cup or a piece of scrap wood double-taped to the board to tap it back into place. You need to pull the board toward the rest of the floor, not push it away. Once it is closed, wipe off any squeeze-out immediately with a damp rag. Let it cure for 24 hours before anyone walks on it. This creates a bridge that stops the sliding cold.
Transitioning from carpet install to laminate without failure
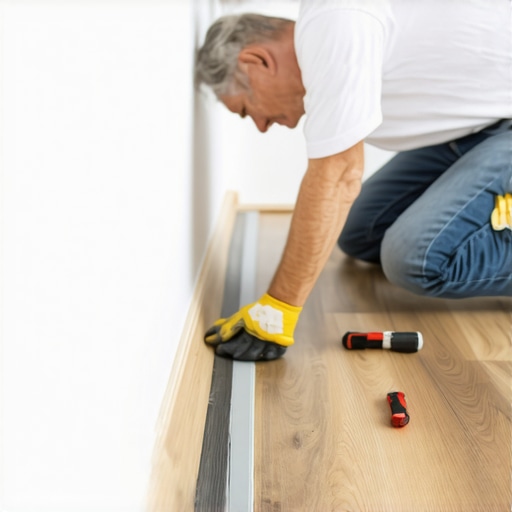
Laminate boards often slide apart at the transition point where a carpet install meets the hard surface because of the lack of a secure threshold. The transition strip must be anchored to the subfloor and not to the laminate to allow for proper movement and stability. When you have a soft surface like carpet meeting a hard surface like laminate, there is a lot of vertical movement. If the transition strip is loose, the laminate boards at the edge will take all the abuse. I always use a heavy-duty metal track for my transition strips. I screw that track directly into the subfloor. This creates a hard stop for the laminate. It keeps the edge boards from drifting into the carpeted area. If you are doing a carpet install next to your new floor, make sure the tack strip is set back far enough so it does not interfere with the laminate expansion. A solid transition is like an anchor for the entire hallway. Without it, the floor is just a raft floating on a choppy sea.
The moisture trap near showers and bathrooms
Humidity and standing water near showers can cause the core of the laminate to swell, which weakens the locking mechanism and allows the boards to slide apart. In high-traffic areas near water, a 100% silicone sealant must be used in the expansion gap to prevent water infiltration. I have walked into bathrooms where the laminate was literally floating because the homeowner did not seal the edges. When moisture gets into the HDF (High-Density Fiberboard) core, it expands. This expansion puts massive pressure on the click-lock system. Once the core dries out, it shrinks back, but the locking mechanism is often permanently deformed. It is like stretching out a spring; it never goes back to quite the same shape. This is why the boards start sliding. If you are installing laminate anywhere near showers or tubs, you need to use a water-resistant laminate and seal every perimeter edge with a high-quality silicone. This prevents the moisture from getting under the floor and ruins the friction that keeps the planks together.
Repair Protocol Checklist
- Vacuum the gap to remove all debris and dust
- Inspect the locking tongue for any physical damage or snaps
- Apply a thin bead of PVA wood glue to the groove interior
- Use a floor pull bar or suction cup tool to close the gap
- Clean excess glue immediately with a clean damp cloth
- Place a heavy weight over the joint for at least 12 hours
- Check the perimeter expansion gaps to ensure the floor has room to move
Regional climate factors and board stability
The swampy humidity of Houston or the deep south means solid wood and even some laminates are a death wish because the high moisture content will cause the boards to swell and shift. In these regions, you must acclimate the laminate for at least 72 hours in a climate-controlled room to ensure the planks are at their stable dimension. If you take laminate from a cold warehouse and put it straight into a humid house, it is going to move. I have seen floors grow by half an inch in a single day. That growth can snap the locking joints right off. Conversely, in the dry heat of Phoenix, the boards will shrink. If you install them when it is humid, they will shrink in the winter and the joints will just fall apart. You have to match the moisture content of the floor to the average humidity of the home. This is why I always carry a moisture meter. It is not just for wood; it is for knowing what the subfloor is doing too. If your subfloor is holding 12 percent moisture and your laminate is at 6 percent, you are in for a world of hurt. You have to balance the environment before you click the first board together.
“Deflection is the silent killer of the modern floating floor system.” – Master Flooring Axiom
The structural reality of floating floors
At the end of the day, a laminate floor is a system. It is not just a collection of boards. Every part of the system has to work together. The subfloor must be flat, the underlayment must be dense enough to resist compression, and the installation must allow for the natural movement of the material. If you skip the floor leveling, if you use the wrong transition near a carpet install, or if you ignore the moisture near showers, the floor will fail. It is not a matter of if, but when. Sliding boards are just the first sign that the system is under stress. If you catch it early and use the glue-and-tap method, you can save the floor. But if you let it go, the locking joints will eventually snap, and then you are looking at a full tear-out. Do it right the first time. Take the time to prep the subfloor. Use the right tools. And for heaven’s sake, do not treat your living room like a swimming pool just because the box says waterproof.