The best way to remove old grout without damaging the tiles
The 1/8 inch that ruins everything
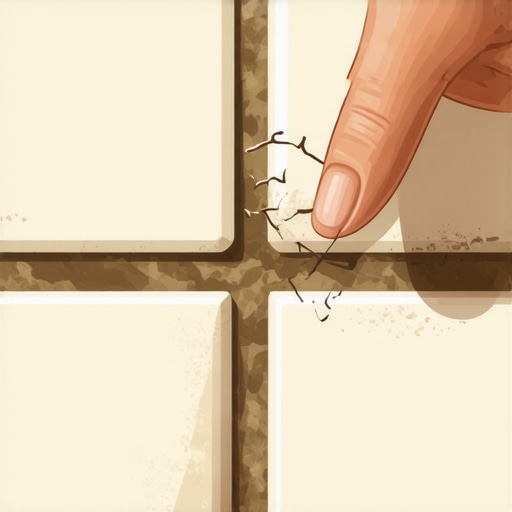
Removing old grout safely requires a mechanical understanding of the bond between the cementitious material and the ceramic or stone edge. Most homeowners and even some green contractors assume that grout removal is a brute force task, but it is actually a surgical operation. If you approach a grout line with too much aggression, you will chip the factory edge of the tile, leading to a permanent structural and aesthetic defect. This guide provides the exact technical steps to clear those joints while preserving the integrity of your installation. I spent three days grinding concrete on a job last month just so the floor wouldn’t click like a castanet. Most guys skip the leveling compound. They think the underlayment will hide the dip. It won’t. I’ve seen carpet install crews try to stretch over bad subfloors, and I’ve seen laminate floors separate because the installer was too lazy to use a level. Grout is no different. If you don’t respect the physics of the material, the material will fail you. I smell like oak dust and floor wax most days, and I have seen $20,000 bathroom remodels ruined by a single slipped blade. When you are working in showers, the stakes are even higher. A nick in the tile can lead to water intrusion, and a slip of the hand can puncture a waterproofing membrane. You have to be precise. You have to be patient. You have to work with the chemistry of the grout, not against it.
The physics of the oscillating tool versus the manual saw
Selecting the right tool for grout removal depends on the width of the joint and the hardness of the grout itself. For joints narrower than 1/8 inch, manual carbide-tipped saws often provide the most control, whereas wider joints in large format floor tile usually necessitate an oscillating multi-tool with a diamond-grit blade. The oscillating tool works through high-frequency vibration rather than a rotating motion. This is vital because a rotating blade like an angle grinder is far more likely to skip across the surface and gouge the tile face. When you use an oscillating tool, the blade moves back and forth at roughly 20,000 oscillations per minute. This creates a localized friction that breaks down the Portland cement bond of the grout without generating the dangerous centrifugal force of a spinning wheel.
“A floor is only as good as the subfloor beneath it; deflection is the enemy of every joint.” – Master Flooring Axiom
This axiom applies to grout removal because any movement in the tile during the removal process can cause a crack. If the tile was installed over an unlevel subfloor without proper floor leveling, the tiles may be under tension. When you remove the grout, that tension is released, and the tile can pop or crack. Always check for loose tiles before you start. If the tile sounds hollow when tapped, no amount of careful cutting will save it from eventually failing.
The ghost in the expansion gap
Proper grout removal must account for the expansion and contraction of the entire floor assembly. Many people forget that floors are living things. They breathe. They move. In humid environments, the moisture enters the substrate and causes microscopic expansion. If you are removing grout to replace it with a more flexible material like an epoxy or a high-performance acrylic, you must clear the joint down to the substrate. Partial removal is a recipe for a bond failure. The new grout needs a clean, deep channel to grab onto. I’ve seen guys try to skim coat new grout over old grout. It lasts about six months before it starts flaking out like bad dandruff. You need to get at least 2/3 of the depth of the tile clear. If the tile is 3/8 inch thick, you need a 1/4 inch deep trench. This ensures the new grout has enough surface area to create a mechanical lock. For laminate transitions or carpet install edges where tile meets another material, the cleaning of the edge is even more essential. Any debris left in that transition will prevent the T-molding or Z-bar from sitting flush, creating a trip hazard and an eyesore.
| Tool Type | Best Use Case | Risk Level |
|---|---|---|
| Manual Grout Saw | Narrow joints, delicate tile | Low |
| Oscillating Multi-Tool | Large areas, standard grout | Medium |
| Rotary Tool (Dremel) | Intricate patterns, small repairs | High |
| Carbide Scraper | Removing residue after bulk cut | Low |
Specialized chemistry of softened cementitious bonds
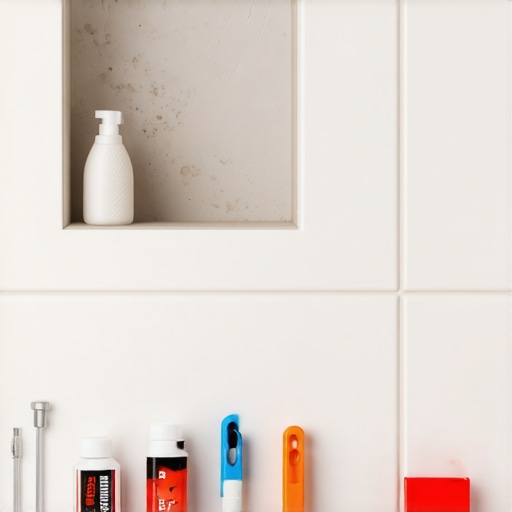
Using chemical softeners can reduce the physical force required to extract stubborn grout. There are acidic solutions specifically designed to dwell on the grout line and break down the calcium carbonate bonds within the cement. However, you must be careful. If you are working with natural stone like marble or travertine, an acid-based softener will etch the stone immediately. You will end up with a dull, white mark that no amount of polishing can easily fix. For ceramic and porcelain, these chemicals are safer. Apply the softener and let it sit for the manufacturer-recommended time, usually 10 to 20 minutes. This dwell time allows the liquid to penetrate the capillary structure of the grout. Once the bond is softened, the manual saw will glide through the material like a knife through cold butter. This is particularly helpful in showers where the grout has been hardened by years of mineral deposits from hard water. Removing that scale and the grout simultaneously requires a dual approach of chemical softening and mechanical agitation.
“Tile industry standards require that the substrate be prepared to a tolerance of 1/8 inch in 10 feet for large format units.” – TCNA Handbook Standards
If your floor leveling was not done to this standard, you may find that some grout joints are wider at the top than the bottom, making removal even more frustrating. Consistency in the joint width is a sign of a pro install, but you rarely find that in builder-grade homes.
The step by step mechanical removal protocol
A systematic approach to grout extraction prevents accidental damage and ensures a clean site. Follow this checklist to ensure you do not destroy your backsplash or floor during the process.
- Vacuum the area thoroughly to remove any grit that could scratch the tile face under your shoes.
- Tape off the edges of adjacent surfaces, especially if you are working near carpet install zones or baseboards.
- Start in the center of a grout joint, not at a cross-section or corner.
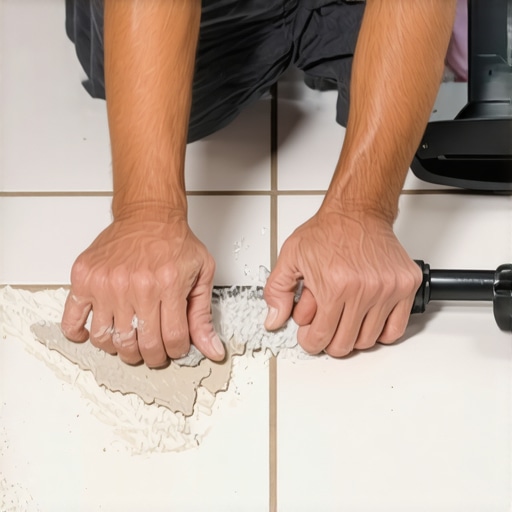
- Hold the oscillating tool with two hands to maintain a 90-degree angle to the floor.
- Work in short 12-inch sections, vacuuming out the dust as you go to keep your line of sight clear.
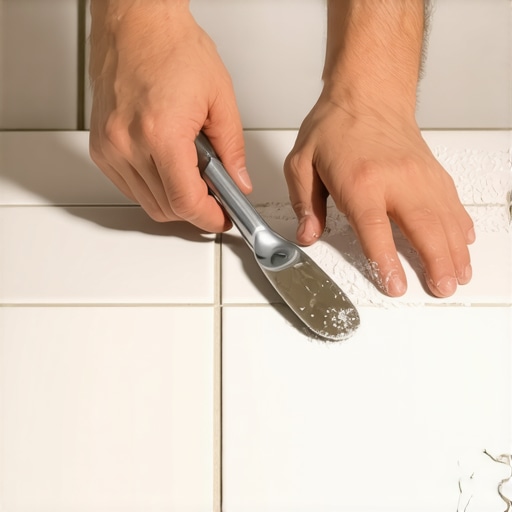
- Use a manual scraper for the final bits of grout clinging to the tile edge.
The most common mistake is trying to go too fast. I’ve seen it a thousand times. A guy gets confident, starts moving the tool like he’s racing, and then he hits a hard spot in the grout. The tool kicks, the diamond blade skids across the face of a $15 tile, and now the whole job is a mess. You have to let the tool do the work. Do not push. If the blade isn’t cutting, the grit is spent. Change the blade. A $15 blade is cheaper than replacing a tile that is no longer in production.
Why your subfloor is lying to you
The hidden condition of the mortar bed often dictates how difficult the grout removal will be. If the original installer used a high-polymer modified thin-set and let it squeeze up into the joints, you aren’t just fighting grout. You are fighting fortified concrete. This happens often when people don’t use the right spacers or fail to clean their joints as they go. If you hit a spot that feels like iron, you are likely hitting thin-set. Do not try to power through it with the same speed. Slow down the oscillations. If you are in an area with high humidity, like a coastal town or a basement without a vapor barrier, the moisture can actually make the grout tougher over time through a process of continued hydration. This is why floor leveling and moisture membranes are so important. They isolate the tile from the movements and chemical changes of the slab. When you are done removing the grout, the joints must be cleaned with a stiff nylon brush and a vacuum. Any dust left behind will act as a bond-breaker for your new grout. Think of it like painting a car. The prep work is 90 percent of the job. The actual grouting is just the victory lap. If your prep is trash, your floor will be trash. It will buckle. It will crack. It will fail. Respect the process, protect the edges, and take your time. Final walkthrough requires checking every linear inch for remaining debris. Only then are you ready to mix the new batch.