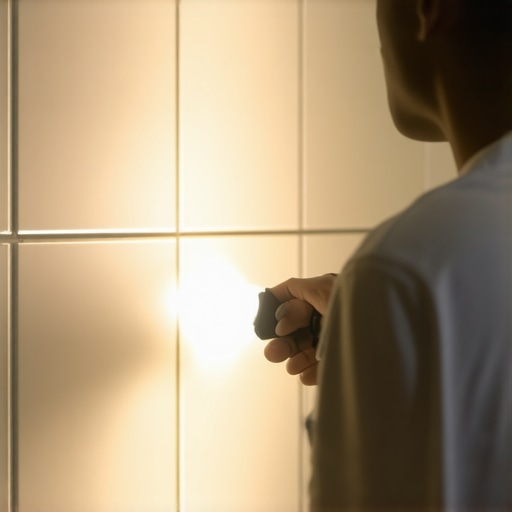
The ‘Flashlight Hack’ for finding missing grout in your shower
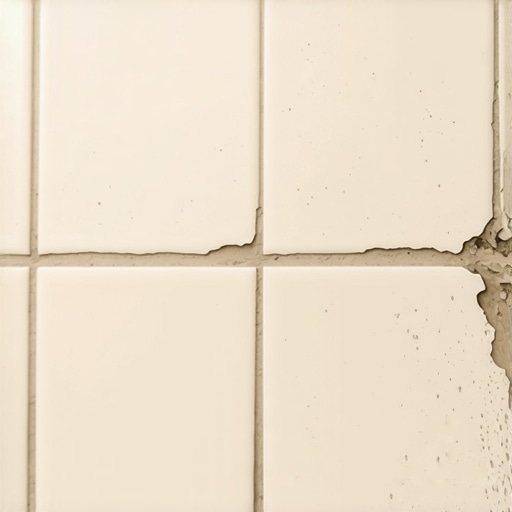
Most guys skip the leveling compound. They think the underlayment will hide the dip. It won’t. I spent three days grinding concrete on a job last month just so the floor wouldn’t click like a castanet. That same laziness follows installers into the shower. If the backer board is not flat, the grout lines vary in depth. A shallow grout line is a weak grout line. It will crack. It will flake. Then the water gets in. I have seen thousand dollar tile jobs ruined because a guy did not want to spend twenty minutes with a flashlight checking his work. The flashlight hack for finding missing grout in your shower is the only way to ensure your waterproof barrier stays dry. You take a high lumen LED flashlight and press the lens flat against the tile surface. You shine the beam across the grout lines at a parallel angle. This grazing light reveals every pinhole, every holiday, and every low spot that the naked eye misses from five feet up. If there is a gap, it will cast a long, jagged shadow. That shadow is the footprint of a future leak. Water does not need a door to ruin your house. It only needs a pinhole and a little bit of capillary action.
The shadow of a pinhole
The flashlight hack works by using grazing illumination to highlight topographical inconsistencies in the grout joint. By placing a light source directly against the tile wall, you create high contrast shadows that reveal voids, air bubbles, and thin spots. This method is far superior to overhead lighting which tends to wash out small defects in the cementitious matrix. When you see a shadow, you are seeing a failure point where water will eventually penetrate the substrate. This is especially vital in floor leveling scenarios where the transition from the shower pan to the drain must be perfectly pitched. Any dip in the grout here will collect standing water, leading to the breakdown of the polymer bonds over time.
“A floor is only as good as the subfloor beneath it; deflection is the enemy of every joint.” – Master Flooring Axiom
Why your subfloor is lying to you
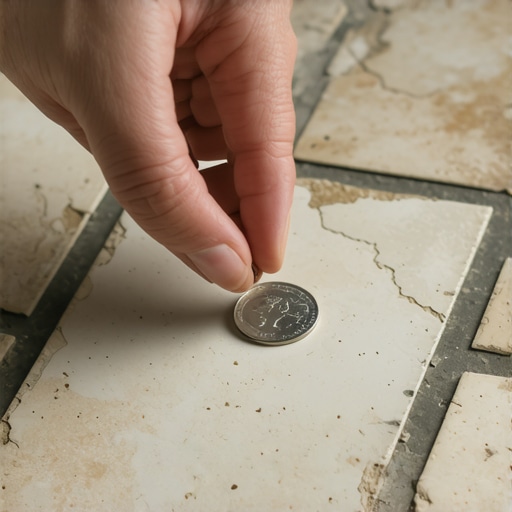
Subfloor deflection and improper joist spacing are the primary causes of grout failure in residential showers. If your floor has even a sixteenth of an inch of bounce, the grout will eventually turn to powder. I have walked onto jobs where the homeowner complained about missing grout, and within five minutes, I could tell the joists were spaced twenty four inches on center with only a single layer of five eighths plywood. No amount of grout will stay in those joints. You are fighting physics. You need a rigid substrate. In high humidity regions like Houston, the moisture in the air can actually cause the subfloor to expand and contract if not properly sealed. This movement puts immense shear stress on the tile bond. When you use the flashlight hack, you are often seeing the first signs of this structural movement. Those tiny cracks are not just cosmetic. They are warnings that your house is moving and your floor is not. You have to treat the shower as a single, monolithic unit. If the subfloor flexes, the grout is the first thing to snap.
The chemistry of the cementitious bond
Modern grouts rely on polymer additives to provide flexibility and water resistance in the tile joint. When you mix a bag of standard Portland cement grout, you are initiating a chemical reaction that requires a specific water to powder ratio. If you add too much water to make it easier to spread, you are weakening the crystalline structure of the cured product. This leads to soft grout that washes away during cleaning. The flashlight hack reveals the resulting pits. High performance grouts like those meeting ANSI A118.7 standards contain hydrophobic powders that repel water on a molecular level. However, even these advanced materials fail if the installer leaves air pockets behind the grout face. These air pockets, or holidays, are often hidden just beneath a thin skin of cement. The grazing light of a flashlight will show the slight indentation where the skin has collapsed, indicating a void that needs to be packed with fresh material. I always tell my guys that if the light shows a shadow, the job is not done.
| Grout Type | ANSI Standard | Best Use Case | Cure Time |
|---|---|---|---|
| Sanded Grout | A118.6 | Joints wider than 1/8 inch | 72 Hours |
| Unsanded Grout | A118.6 | Polished stone or narrow joints | 72 Hours |
| High Performance | A118.7 | Steam showers and high traffic | 48 Hours |
| Epoxy Grout | A118.3 | Chemical resistance and zero porosity | 24 Hours |
The moisture meter never lies
Before you ever think about carpet install or laminate in an adjacent room, you must verify the shower is watertight. I have seen water travel thirty feet along a plate line from a leaky shower and rot out the tack strip in a bedroom. People think the tile is the waterproof layer. It is not. The tile and grout are the wear layer. The waterproofing is the membrane behind the tile. But if the grout is missing, you are asking that membrane to do all the heavy lifting. Eventually, the hydrostatic pressure of the water trapped behind the tile will find a way through a screw hole or a corner transition. I use a pinless moisture meter on the drywall outside the shower every time I do an inspection. If I find a high reading, I pull out the flashlight. Nine times out of ten, I find a missing chunk of grout right where the wall meets the floor. That corner is a notorious failure point. Most installers forget that you should use 100 percent silicone in change of plane joints, not grout. Grout in a corner will crack because the two walls move independently. The flashlight hack will show that crack long before it becomes a visible gap to the casual observer.
The 1/8 inch that ruins everything
Precision in grout joint width is the hallmark of a professional installation and the key to longevity. When joints vary from 1/16 to 1/4 inch on the same wall, the grout cures at different rates. This causes color mottling and structural inconsistencies. A narrow joint might not have enough mass to hold the polymer bond, while a wide joint might shrink too much and pull away from the tile edge. When you run your flashlight along these lines, the shadows will show you exactly where the shrinkage has occurred. I always use spacers, and I never trust my eyes alone. The flashlight is the final judge. If the shadow is inconsistent, the joint is inconsistent. You also have to watch out for the thin-set squeezing up into the joint. If the thin-set is too high, the grout is only a thin veneer. That veneer will pop out the first time someone drops a bottle of shampoo. You have to scrape those joints clean before you grout. It is a dirty, miserable job, but it is what separates a master from a handyman.
- High lumen LED flashlight with a flat bezel
- Nylon scrub brush for cleaning the voids
- Pre-mixed or bagged grout matching the original color
- Small margin trowel for packing the joints
- Microfiber sponge for the final wipe down
- Distilled water for mixing to avoid mineral staining
Methods for a repair that lasts
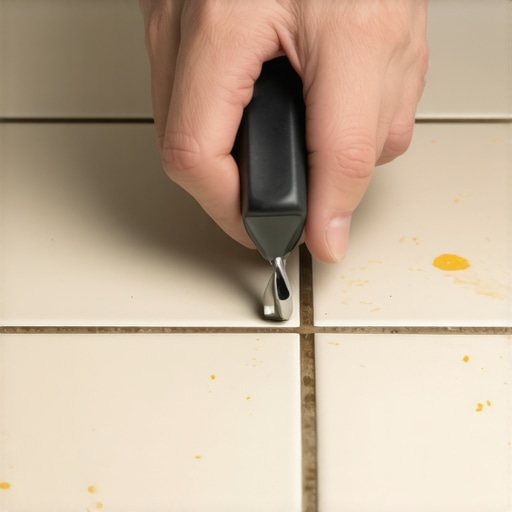
Repairing missing grout requires more than just smearing new paste over the old hole. You have to remove any loose material first. If you just grout over the top, the new layer will not bond and it will flake off within weeks. I use a carbide tipped grout saw to carefully rake out the joint to a depth of at least 1/8 inch. Once the area is clean and dry, I pack the new grout in with a small margin trowel, forcing it deep into the void to eliminate air pockets. While most people want the thickest underlayment in their homes, too much cushion actually causes the locking mechanisms on LVP to snap under pressure, and a similar principle applies here. You do not want a soft, spongy base behind your grout. It needs to be a solid, dense pack. After the grout has sat for about twenty minutes, I use a damp, not wet, sponge to tool the joint. If you use too much water now, you will wash the pigment out and end up with a white, chalky mess. This is where the flashlight comes back into play. Use it one last time to make sure your repair is flush and shadow free. This attention to detail is why my floors do not fail. I treat every shower like it is going to be hit by a hurricane every morning. Because in a way, it is. The mechanical force of pressurized water is a relentless enemy. You have to be more relentless than the water.