How to Stop Your Kitchen Laminate from Swelling Near the Dishwasher
The invisible enemy under the dishwasher kickplate
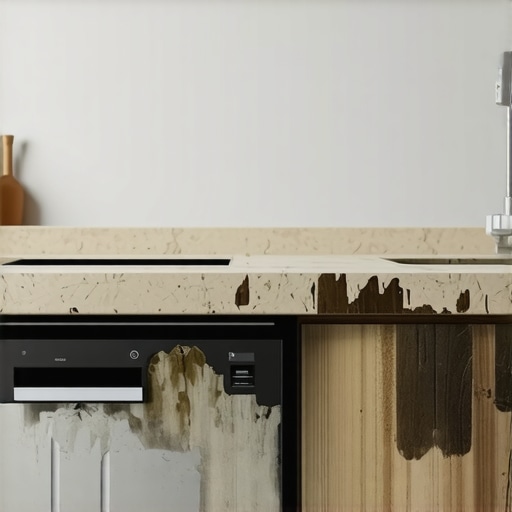
Stopping kitchen laminate from swelling near the dishwasher requires a complete moisture barrier system and a perfectly level subfloor. Most failures occur because of steam penetration into the high-density fiberboard (HDF) core through the micro-gaps of the locking mechanism. To prevent this, you must apply a 100 percent silicone sealant to the expansion gaps and ensure the dishwasher is properly insulated to prevent thermal transfer. Homeowners always ask why their waterproof vinyl or laminate is buckling. Usually, it is because they locked it under a heavy kitchen island or a poorly installed appliance, killing the floor ability to breathe. I spent three days grinding concrete on a job last month just so the floor would not click like a castanet because the subfloor was out of spec by a quarter inch. When that dishwasher runs, it creates a localized micro-climate of high humidity. If your subfloor is not flat, the planks flex. That flex opens the joints. Once the joint opens, the steam gets in. It is game over for the HDF core.
The chemistry of high density fiberboard expansion
Laminate floors are essentially compressed wood fibers held together by melamine resin and wax. When we talk about swelling, we are talking about the hygroscopic nature of these fibers. They want to drink. A dishwasher cycle involves hot water and detergent. This creates a pressurized vapor. This vapor finds the path of least resistance. If you did not seal the cut edges of the laminate where it meets the dishwasher cavity, you have exposed the raw core. It will soak up moisture like a sponge in a bucket. The resin can only do so much. Once the fibers expand, the structural integrity of the click-lock tongue and groove system is compromised. The edges lift. This is called peaking. It is not a manufacturing defect. It is an installation failure. You have to understand the molecular bond. The melamine wear layer is waterproof, but the seams are the Achilles heel of the entire assembly. Water does not sit on top. It migrates down. It sits in the groove. It rots the floor from the inside out.
“A floor is only as good as the subfloor beneath it; deflection is the enemy of every joint.” – Master Flooring Axiom
The geometry of expansion gaps and perimeter seals
Every floating floor needs room to move. It is a living, breathing mechanical system. In a kitchen, the temptation is to run the laminate tight against the cabinets for a clean look. That is a mistake. You need a minimum of one quarter inch of space. Near the dishwasher, this gap is the entry point for steam. The solution is not to eliminate the gap, but to bridge it with a flexible, waterproof membrane. We use 100 percent silicone because it remains pliable. Do not use cheap acrylic caulk. It will crack in six months. I have seen guys try to use wood putty. It is useless. You need something that can handle the thermal expansion of the dishwasher heating up and cooling down. The silicone acts as a gasket. It seals the raw edge of the HDF core while allowing the floor to expand and contract without binding against the appliance legs or the cabinetry. If the floor cannot move, it will find the weakest point and pop. Usually, that is right in front of the sink.
Leveling the subfloor to prevent joint fatigue
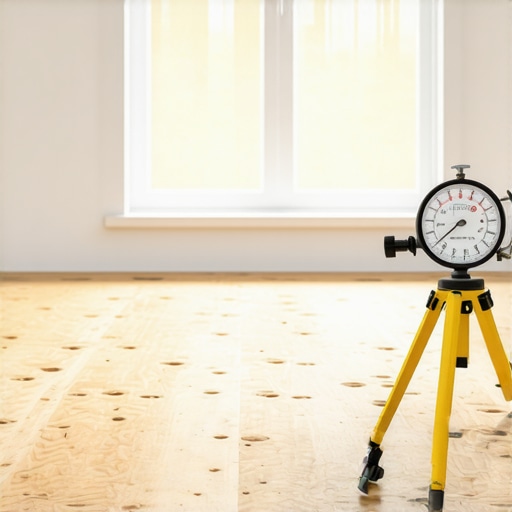
Floor leveling is the most ignored step in a residential kitchen remodel. If your subfloor has a dip of more than three sixteenths of an inch over a ten foot span, the laminate will fail. As you walk across the floor, or as the dishwasher vibrates during the spin cycle, the planks bounce. This mechanical stress wears down the locking profile. It creates microscopic cracks in the wax coating of the joints. Now the steam has an open door. I always tell my crew to spend more time with the straightedge than the saw. We use self-leveling underlayment to create a plane. This is not just about aesthetics. It is about engineering. A flat floor distributes the load across the entire surface. A wavy floor concentrates the load on the tongues. When those tongues snap, the floor is no longer water resistant. You might as well have installed cardboard. Even in showers or adjacent bathrooms, the principle holds. Moisture follows gravity and air currents. If there is a void under the plank, moisture will find it.
Technical specifications for moisture resistance
| Material Type | Water Resistance Rating | Acclimation Time | Expansion Gap Required |
|---|---|---|---|
| Standard Laminate | 4 to 24 Hours | 48 Hours | 1/4 to 3/8 Inch |
| Waterproof Laminate | 72 to 100 Hours | 48 Hours | 1/4 Inch |
| Solid Hardwood | 0 Hours | 7 to 14 Days | 3/4 Inch |
| Engineered Wood | 12 to 24 Hours | 72 Hours | 1/2 Inch |
The table above shows why the dishwasher area is so volatile. Standard laminate cannot handle standing water for long. If your dishwasher has a slow leak that you cannot see, the floor will be ruined before you even notice a puddle. This is why we insist on a leak tray under the appliance. The tray catches the drips and funnels them toward the front where you can see them. It is a five dollar piece of plastic that saves a five thousand dollar floor. Most people want the thickest underlayment, but too much cushion actually causes the locking mechanisms on LVP or laminate to snap under pressure. You want a high density, low compression underlayment. It should feel like firm rubber, not a yoga mat. If it is too squishy, every step you take near the dishwasher is like a bellows, sucking moist air into the joints.
Checklist for a moisture proof kitchen installation
- Verify subfloor flatness within 3/16 inch over 10 feet.
- Install a dedicated moisture barrier of 6 mil poly film over concrete.
- Apply ClickGuard or a similar joint sealant to all planks within 3 feet of the dishwasher.
- Leave a 1/4 inch expansion gap and fill with 100 percent silicone near the appliance.
- Ensure the dishwasher steam vent is not directed downward toward the floor.
- Check that the dishwasher legs are resting on the subfloor or on a stable, level portion of the laminate.
The physics of thermal expansion in kitchen appliances
Dishwashers get hot. Very hot. This heat radiates through the sides and bottom of the unit. Thermal expansion is a real threat to laminate floors. When the HDF core heats up, the molecules move faster and occupy more space. If the dishwasher is packed tight against the flooring, the planks have nowhere to go. They will bow. This creates a trip hazard and an ugly floor. I have seen installations where the installer ran the floor under the dishwasher and then screwed the dishwasher mounting brackets through the laminate into the cabinetry. This is a cardinal sin. You have just pinned the floor. You have turned a floating floor into a fixed floor. It will rip itself apart at the seams. You must allow the floor to float. Use a T-molding at the entrance of the kitchen if the run is longer than 30 feet. This breaks the tension. In places like Houston where the humidity is high, wood is a death wish without massive climate control. In Phoenix, the dry air will shrink the boards until you see the tongues. You have to balance the ambient moisture with the localized heat of the kitchen.
“Moisture content in a concrete slab must be measured using in situ probes to ensure long term stability of the floating assembly.” – NWFA Technical Guidelines
Repairing the damage when the floor starts to peak
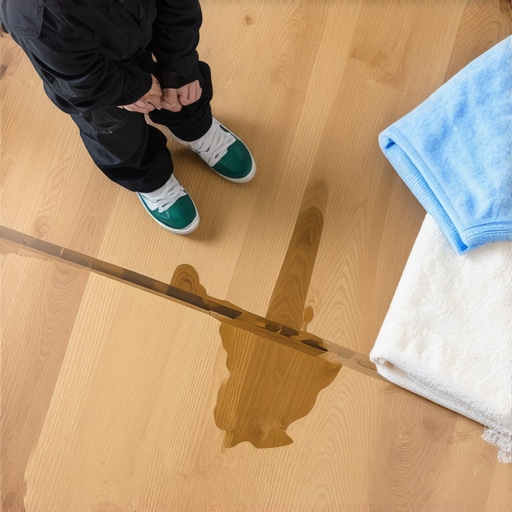
If you see the edges of your laminate start to lift, you have a small window of time to act. First, pull the dishwasher out. Check for leaks. If the floor is wet, get a fan on it immediately. Do not use a heat gun. You will melt the wear layer. Use a dehumidifier. Sometimes, if the swelling is minor, the floor will settle back down once the moisture is removed. However, if the HDF core has blown out, the structural integrity is gone. You will have to replace those planks. This is why you always buy two extra boxes of flooring. You will never find that same dye lot three years later. When you replace the planks, be aggressive with the sealer. Use a bead of joint sealer in the groove of the new boards. It is messy, but it works. Wipe the excess off immediately with a damp rag. This creates a chemical weld that prevents future steam from entering the core. Most guys skip this because it takes an extra hour. I do it because I do not want to come back for free to fix a buckled floor. Professionalism is found in the details of the chemistry. It is found in the patience of the prep work. A floor is a machine. Treat it like one.