Why Your Self-Leveler is Peeling Off the Concrete Like Wet Paper
The Mechanical Truth About Why Your Self Leveler Is Delaminating From The Concrete Slab
I spent three days grinding concrete on a job last month just so the floor wouldn’t click like a castanet. Most guys skip the leveling compound. They think the underlayment will hide the dip. It won’t. I have seen countless $20,000 installations fail because someone thought they could pour a polymer-modified cement over a dusty, unprimed slab and expect it to hold. It does not work that way. Flooring is not a cosmetic layer. It is a structural engineering challenge. When that self-leveling underlayment starts peeling off like wet paper, you are looking at a total bond failure caused by a lack of mechanical interlock or a chemical incompatibility at the microscopic level.
The chemistry of a failed bond
Self-leveling underlayment failure occurs when the bond strength between the cementitious material and the concrete substrate is compromised by moisture vapor, surface contaminants, or improper priming. If the tensile strength of the leveler exceeds the bond strength to the slab, the material will delaminate and crack. You have to understand the physics of the pour. Concrete is a porous sponge. If you do not treat it with the respect its pore structure deserves, it will suck the water right out of your leveler before the cement particles have a chance to hydrate and lock into the surface. This creates a soft, chalky underside that has zero structural integrity. I have walked onto jobs where you could peel up the leveler with a putty knife because the installer didn’t understand the Interfacial Transition Zone. That is the microscopic area where the new cement meets the old concrete. If that zone is weak, your floor is a ticking time bomb.
“A floor is only as good as the subfloor beneath it; deflection is the enemy of every joint.” – Master Flooring Axiom
Why laitance ruins everything
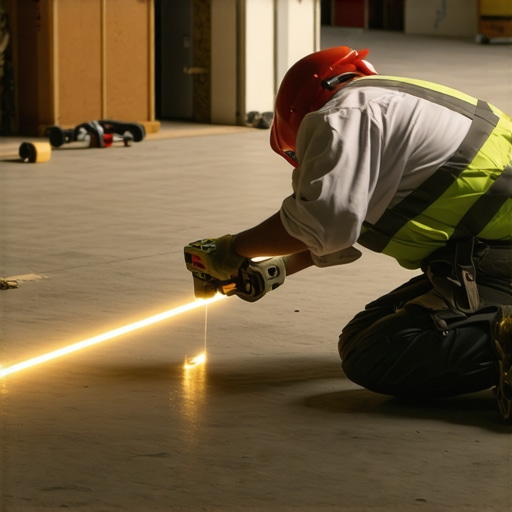
Concrete laitance is a weak, friable layer of cement dust and fine aggregates that rises to the surface of a concrete slab during the curing process. This layer must be mechanically removed through diamond grinding or shot blasting to expose the CSP 3 profile required for proper adhesion. You look at a slab and see a smooth gray surface. I look at it and see a layer of garbage that will prevent my leveler from ever touching the actual structural concrete. If you pour over laitance, you are essentially gluing your new floor to a layer of dust. It will hold for a month. Then the seasonal humidity hits, the house shifts, and suddenly you hear that hollow ‘crunch’ when you walk across the room. That is the sound of your money turning into gravel. You need to get down to the aggregate. If you are not seeing the small stones inside the concrete after your grinder passes over it, you are not ready to pour. I don’t care how many bags of expensive leveler you bought. The chemistry doesn’t care about your budget.
Why your subfloor is lying to you
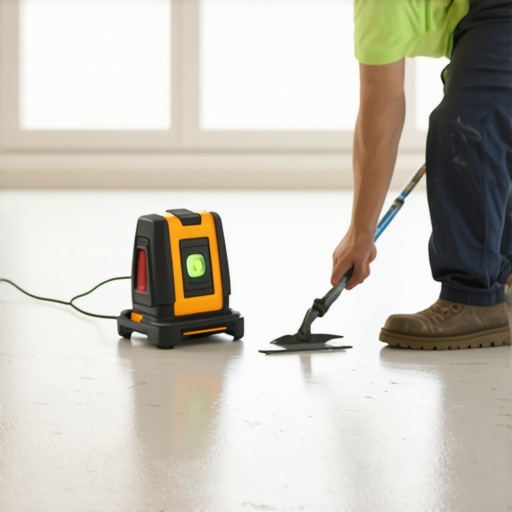
Subfloor flatness is often confused with subfloor levelness, but for laminate and LVP installations, the surface deviation must not exceed 1/8 inch over 10 feet. A slab might be level across the house but have micro-undulations that cause locking mechanisms to snap. People trust their eyes too much. I trust a 10-foot straightedge and a set of feeler gauges. If you have a dip that is 3/16 of an inch deep, and you think a piece of foam underlayment is going to support that, you are wrong. The foam compresses. The plastic joint on your expensive vinyl plank flexes. Eventually, that joint fatigues and breaks. Now you have a gap. Now you have a floor that bounces. You should have spent the time grinding the high spots and filling the low spots with a high-quality, polymer-modified underlayment. [IMAGE_PLACEHOLDER]
The ghost in the expansion gap
An expansion gap is a mandatory perimeter space of at least 1/4 inch that allows flooring materials to expand and contract with changes in relative humidity and temperature. Without this gap, the floor will buckle or crown as it hits the drywall. This is where the amateurs fail. They run the leveler right up to the plate, or worse, they lock the floor in with heavy cabinetry. I once saw a $15,000 wide-plank walnut floor cupping so bad it looked like a potato chip because the installer didn’t check the crawlspace humidity and left no room for the wood to breathe. You have to think about the floor as a living thing. It moves. It expands when the humidity hits 70 percent in the summer. It shrinks when the heater kicks on in the winter. If you don’t give it that 1/4 inch of ghost space under the baseboards, it will find its own space by pushing up into a tent in the middle of your kitchen.
| Substrate Condition | Required CSP Rating | Recommended Prep Tool |
|---|---|---|
| New Concrete (Light Traffic) | CSP 1-2 | Sanding/Acid Etch |
| Self-Leveling Pour (Standard) | CSP 3 | Diamond Grinding |
| High-Build Overlays | CSP 4-5 | Shot Blasting |
| Heavy Industrial Coatings | CSP 6+ | Scarifying |
The 1/8 inch that ruins everything
Vertical deflection in a subfloor must be minimized because excessive movement will cause ceramic tile grout to crack and click-lock vinyl to separate. Most homeowners want the thickest, softest underlayment they can find. This is a mistake. While most people want the thickest underlayment, too much cushion actually causes the locking mechanisms on LVP to snap under pressure. You want a high-density underlayment with a high compression strength. If the floor can move vertically more than a fraction of a millimeter, the mechanical bond of the tongue and groove is under constant shear stress. You are essentially asking a piece of plastic to act as a structural bridge. It will fail every single time. You need a rock-solid base. If your plywood subfloor has bounce, add another layer of 3/8 inch AC plywood, glued and screwed every 6 inches on the grid. Don’t tell me it is too much work. Replacing a floor is more work.
“Moisture vapor emission is the silent killer of polymer modified cementitious overlays.” – TCNA Technical Bulletin
Mixing for the molecular bond
Water-to-powder ratios in self-leveling underlayment must be measured with graduated cylinders to ensure the polymer matrix achieves its rated compressive strength of 4,000 PSI or higher. I see guys using a dirty five-gallon bucket and a garden hose. They ‘feel’ the consistency. That is how you get a floor that turns into dust. If you add too much water, the polymers stay at the bottom and the sand rises to the top. The surface will look smooth, but it will have the structural integrity of a sugar cube. You need a high-speed mixer, a clean bucket, and the exact amount of water specified by the manufacturer. Not a cup more. Not a cup less. The temperature of the water matters too. If you are in the 100-degree heat of Phoenix, your leveler is going to flash set before it even hits the ground. You need to use ice water to keep the working time manageable. In a humid place like Houston, you need to worry about the slab’s moisture content more than the air. If that slab is sweating, your leveler will never stick.
- Check the concrete moisture content using an ASTM F2170 in-situ probe.
- Grind the surface to a CSP 3 profile to remove all paint, oil, and laitance.
- Vacuum the floor with a HEPA filter to ensure no microscopic dust remains.
- Apply a dedicated film-forming primer and let it get tacky.
- Mix the leveler with a barrel mixer to ensure a lump-free consistency.
- Pour in a continuous wet-edge fashion to avoid cold joints.
The final step is the hardest for most people. You have to wait. You can’t walk on it in two hours just because the bag says so. You can’t install carpet or laminate until the moisture levels have dropped back down to the manufacturer’s threshold. If you trap that moisture under a vapor-impermeable layer of vinyl, it will find its way to the edges and rot your baseboards or create a mold colony that will make your house smell like an old basement. Do it right the first time. Respect the chemistry. Respect the subfloor. Your knees and your wallet will thank you later.